Seed Hawk Raven 2012 User Manual
Page 65
4
Manual No. 016-3001-003
53
Initial Set Up and Navigation
The screen tools available in this area will vary slightly depending upon which tab is active on the display.
Note:
Refer to the Screen Icons section on page 111 for information on additional screen tools available
on the Guide tab during active guidance applications.
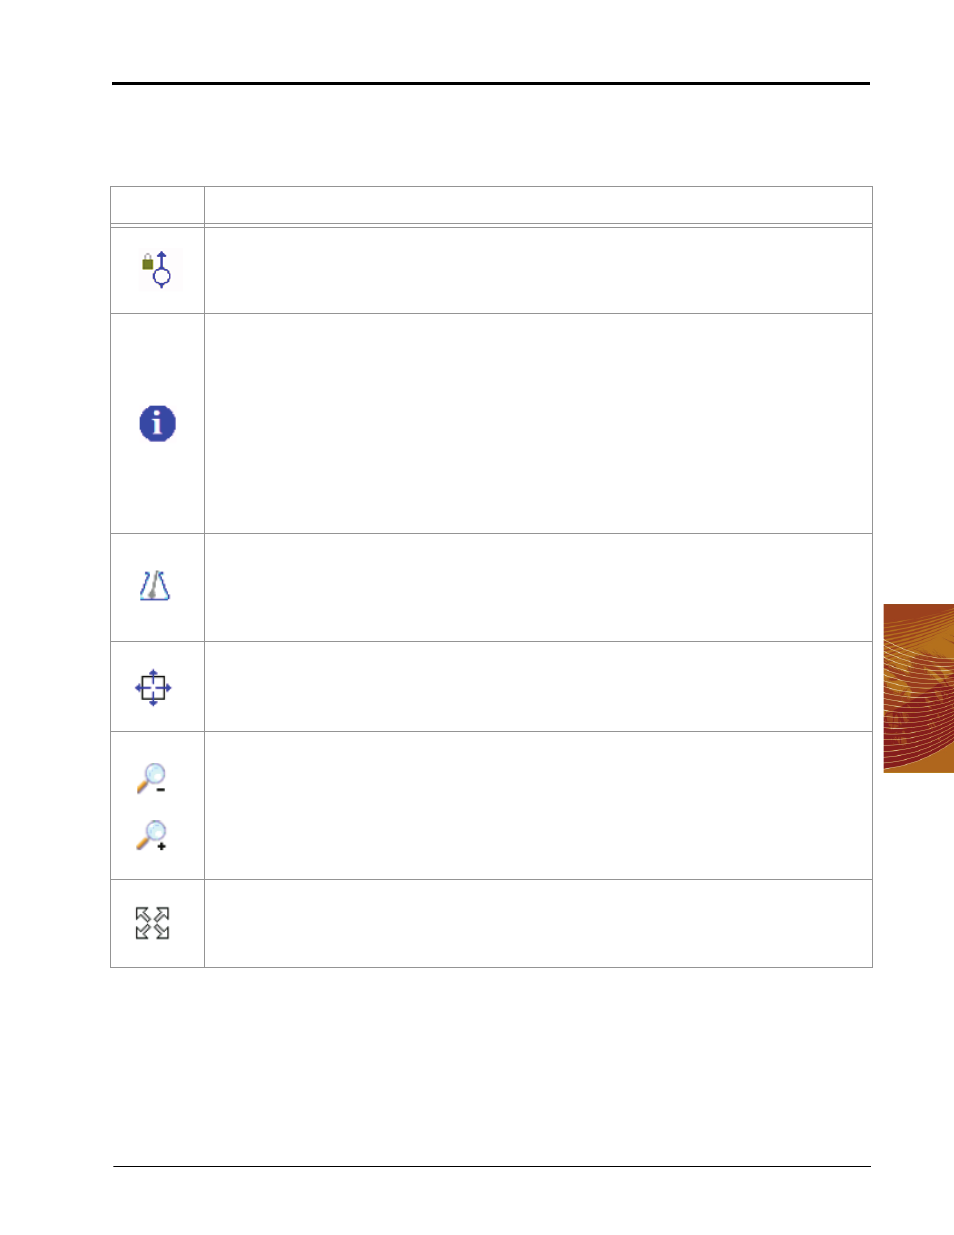
Icon
Description
When the Vehicle Lock tool is active, the field computer will automatically pan the display to show the
current vehicle position as the vehicle indicator moves off of the screen.
To activate the vehicle lock, touch the lock icon until a red box is displayed on the icon.
The Information tool is available on the Main tab or on the Scout tab during an active job.
Use the Information tool to view information on field specific features such as area contained within a
boundary, field name, etc. To use the Information tool:
1.
Touch the Information icon until a red box displays on the icon.
2.
On the Main tab, touch within a field boundary displayed in the map area to view job and field
information. From the information window displayed, the operator may delete, view, or resume the
previous job or begin a new job using the displayed field boundary. Refer to the Using an Existing
Field Boundary section on page 80 for additional information.
3.
On the Scout tab, touch within a field boundary (line displayed in black) to display field area. Note: If
the field boundary has been used to create an apply zone (line displayed in blue), the area information
is no longer associated with the boundary.
The Prescription (Rx) tool is available on the Rx and Cov tabs if a prescription map has been loaded for
the job in progress. The Prescription (Rx) tool may be used to view rate zone or applied coverage
information. To use the Prescription (Rx) tool:
1.
Touch the Prescription (Rx) icon until a red box displays on the icon.
2.
Touch the map area. The field computer displays rate information for the selected area.
The Pan icon may be used to manually pan the map area display. To use the pan tool:
1.
Touch the Pan icon until a red box displays on the icon.
2.
Touch the map area. The selected area will become the center of the map view. Touch near the sides
or corners of the map area repeatedly to pan to areas outside of the immediate field area display.
The Zoom tools allow the operator to adjust the viewable area of the map display. Note: although map
detail may be affected by zooming in or out on the display, the control system is not affected by the level
of detail shown in the map area.
To use the Zoom tools:
1.
Touch the Zoom In or Zoom Out icon until a red box displays on the desired icon.
2.
Touch the map area. The field computer will increase or decrease the viewable area. Repeated
zooming allows the operator to continue to adjust the map display.
The Map Extents tool quickly adjusts the map zoom to display all map features or field information. Use
this tool to avoid using the zoom and pan tools to return to a complete field map or to display all field
boundary areas currently stored on the Viper Pro regardless of current GPS location.
Note: To return to the current GPS position, select the Vehicle Lock icon.