Console comm port setup – Seed Hawk Raven 2012 User Manual
Page 173
8
Manual No. 016-3001-003
161
Advanced Settings and Features
Console Comm Port Setup
The Viper Pro may be configured to log product rate data received from a separate rate control console
connected to the field computer via the 9-pin serial connector labeled ‘Console’ on the main interface or
chassis interface cable. The Console Comm Port Setup screen is used to configure the Viper Pro field
computer to receive rate messages from the connected console.
1.
To configure the Viper Pro to receive rate information from a separate rate control console through from the
Viper Pro main screen, touch Menu, and select Setup, Comm Ports.
2.
Touch Next on the GPS Comm Port Setup screen to display the Console Comm Port Setup screen.
Note:
The Console Comm Port Setup screen will not be displayed unless a serial controller is set as the
product controller. Refer to the Product Controller section on page 30 for information on selecting
a product controller.
If the Viper is connected to a CANbus system, skip to the Auxiliary Comm Port Setup section on
page 162.
1.
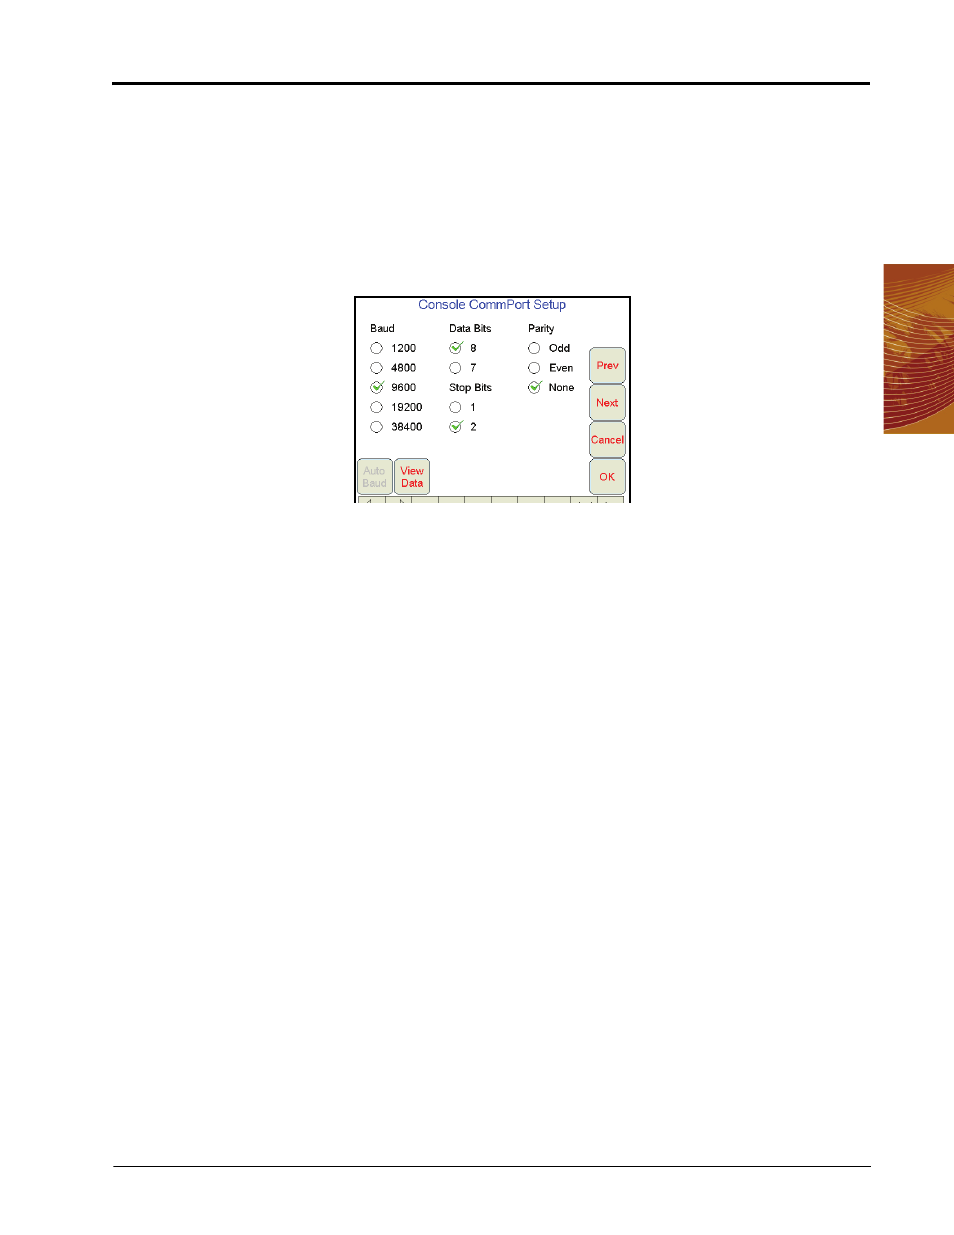
Select the following communication settings to communicate with a separate Raven control console:
•
Baud = 9600
•
Data Bits = 8
•
Parity = None
•
Stop Bits = 2
2.
Touch View Data to view the communication strings received through the Console connection.
Note:
If no data appears on the View Data screen, press Cancel and re-check the serial control console
and connections. Verify that the console is set up properly to communicate with the Viper Pro and
then repeat step 2.
If the Viper Pro still does not display console data messages, refer to Chapter 13, Troubleshooting
the Viper Pro System, or contact a local Raven dealer for assistance.
3.
Touch OK to save the displayed communication settings and return to the Viper Pro main screen.