Console power – Seed Hawk Raven 2012 User Manual
Page 194
Chapter 10
182
Seed Hawk® Viper Pro™ Installation & Operation Manual
Console Connection
Note:
The remote tank console and cable should only be connected when using the console to calibrate
the Seed Hawk system. Remove the remote tank console and console cable and replace the dust
cap when storing or operating the Seed Hawk air cart.
To connect the remote tank console:
1.
Carefully insert the round 4-pin connector on the calibrator cable to the 4-pin port on the back of the tank
console. Be sure to line up the keyway on both the port and connector before securing the connector.
2.
Carefully insert the round 8-pin connector on the calibrator cable to the 8-pin port on the back of the tank
console. Be sure to line up the keyway on both the port and connector before securing the connector.
3.
Locate the 6-pin Deutsch connector labeled ‘Remote Cal’ on the air cart control cable. The ‘Remote Cal’
connector should be located on the left side of the cart near the metering rollers.
4.
Remove the dust cap from the ‘Remote Cal’ connector and insert the 6-pin Deutsch connector on the
calibrator cable.
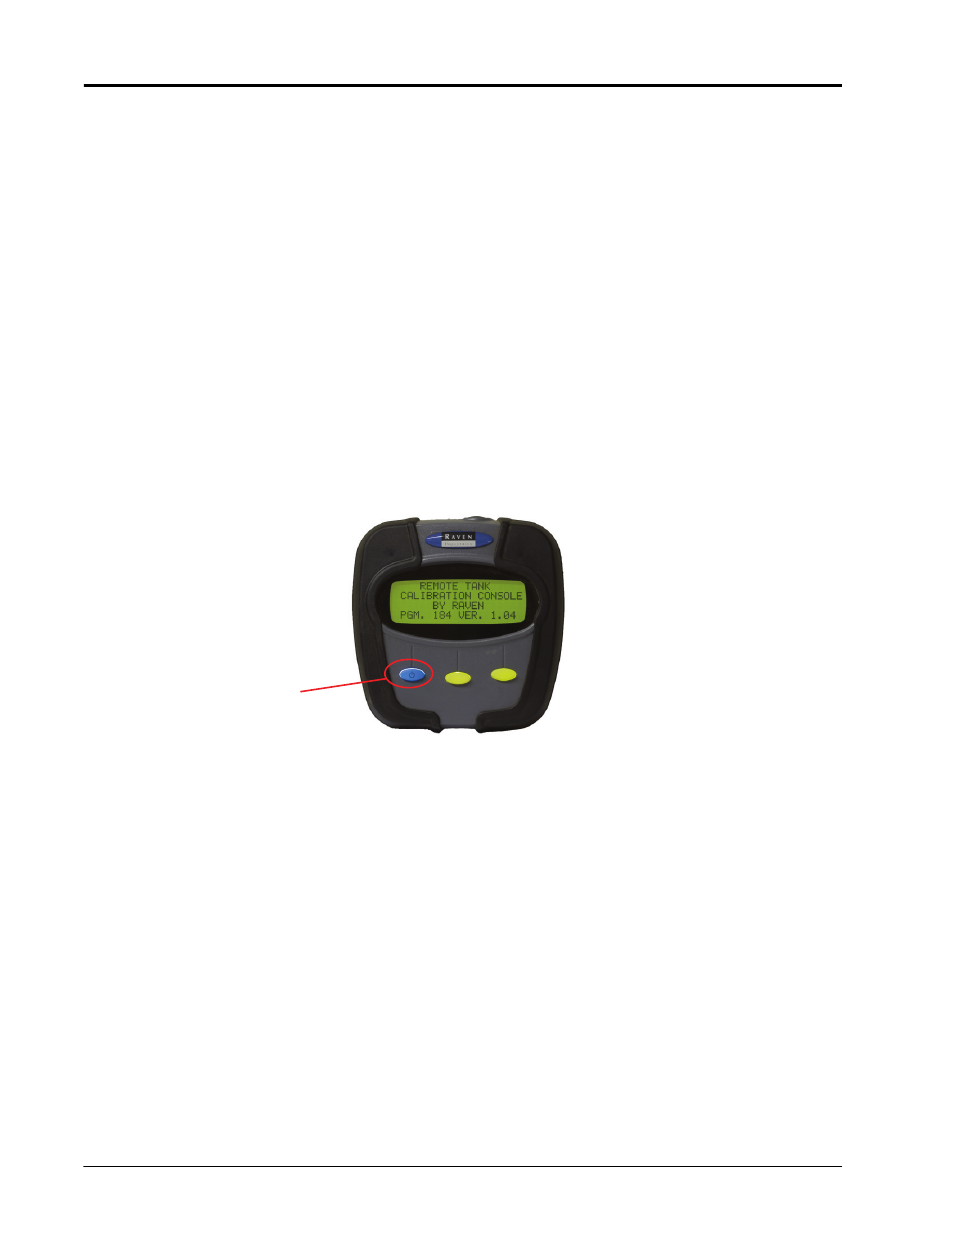
Console Power
Press the blue power button to power up the remote tank console.
If the console does not power up, check that all connections are secure and that the Seed Hawk Viper Pro is
powered on.
Note:
The current program and software version numbers will be displayed while the console initializes
during power up. Have these numbers available when contacting technical support.
To shutdown the remote tank console, press and hold the blue power button for approximately 3
seconds.
Power Button