Coverage maps – Seed Hawk Raven 2012 User Manual
Page 163
8
Manual No. 016-3001-003
151
Advanced Settings and Features
3.
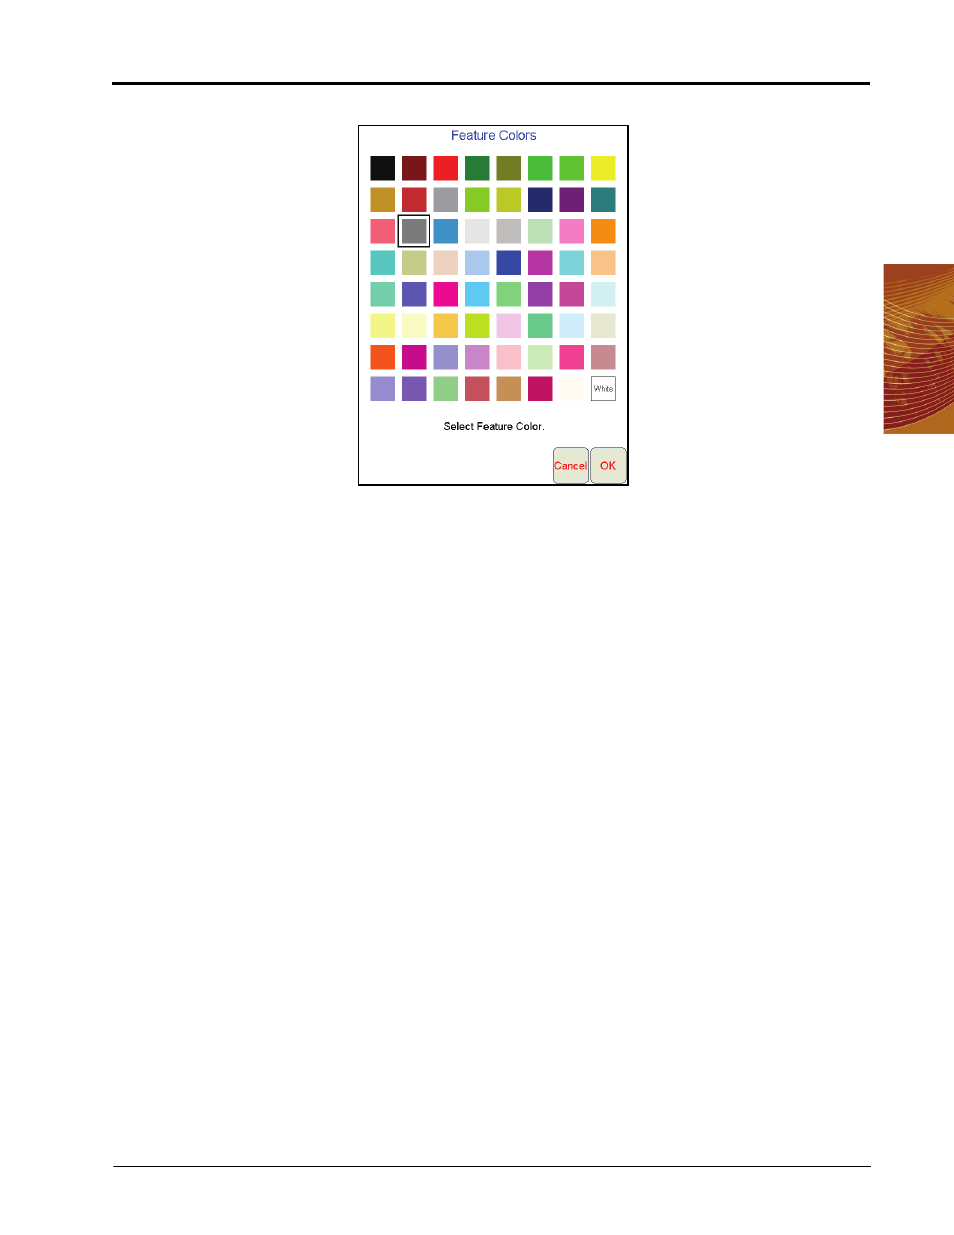
Touch the corresponding Color button. The Feature Colors screen displays.
4.
Select a color for the feature and press OK. Viper assigns the color to the feature and returns to the Enter
Feature Names and Colors screen.
5.
To setup more field features, repeat step 2 through 4.
6.
Press OK to finish configuring features and return to the main screen.
To Record Field Features
For a step-by-step procedure for recording field features, review the How to Mark a Field Boundary section on
page 89.
Coverage Maps
During an active job, the Viper Pro creates an as-applied or coverage map containing real-time product rate
information for each active product. The equipment operator may reference the coverage map to view areas of
a field application in which:
•
product application is on or off,
•
product rates are within an acceptable range of the target application rate, or
•
product rates are above or below the acceptable range of the target application rate.
The equipment operator may access the coverage map for each product individually during an application to
make adjustments to the application system or to help identify and correct issues with the application system.
Note:
The as-applied or coverage map information may be displayed on the ‘Guide,’ ‘Rx+Cov+Scout,’ or
the ‘Cov’ tabs during job applications.
When creating reports for completed jobs, coverage map data is included with the report to provide an overall
field or coverage view.