Initial set up, Language – Seed Hawk Raven 2012 User Manual
Page 41
4
Manual No. 016-3001-003
29
Initial Set Up and Navigation
2.
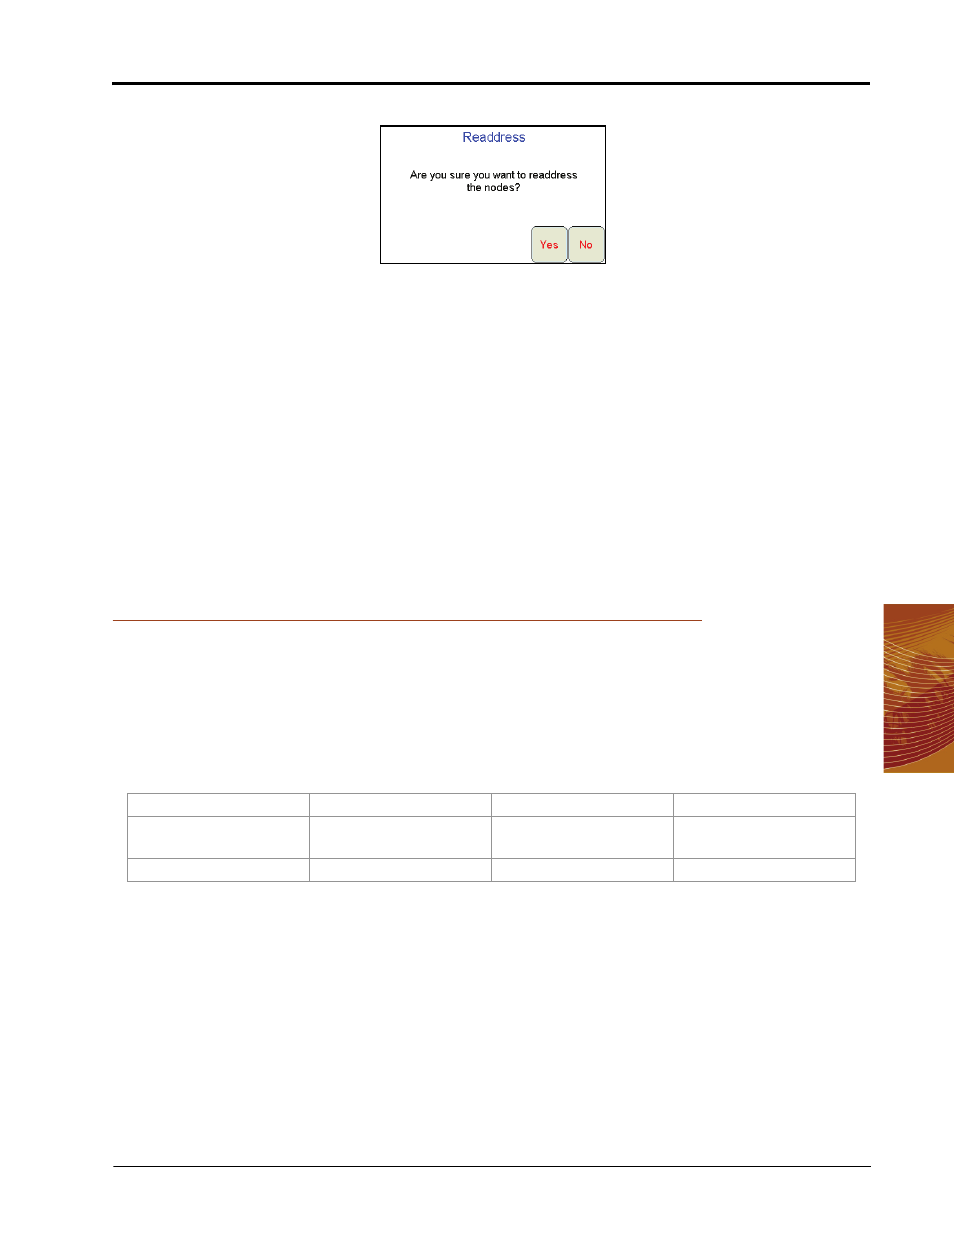
The Readdress screen displays.
3.
Touch Yes. The Re-Address CAN Nodes screen displays.
4.
Cycle power to the air cart node.
Note:
To power cycle a node, temporarily disconnect the logic power connector from the node, wait a
few seconds and reconnect.
5.
Touch the Next button on the Viper Pro to re-address any single product nodes on the CANbus. If no single
product nodes are connected, touch the Finish button. The Viper Pro will prompt the operator to re-address
any SCT nodes on the CANbus.
6.
If SCT nodes are connected to the CANbus, cycle power to the SCT node to be setup as SCT Node 1.
7.
Touch the Next button to re-address SCT Node 2 if necessary.
8.
Touch the Finish button to finish re-addressing nodes on the CANbus. The Viper Pro will re-initialize the
CANbus system using the new node addresses and display the CAN Initialization Results screen.
9.
Touch Start Viper when all the product nodes in the system display as ‘Found’.
Initial Set Up
The first time the Viper Pro is powered up, the field computer will require the operator to input information
about the machine and the type of applications, products and setup any additional features connected to the
system. The following sections are provided to assist the operator in setting the required calibration information
prior to starting an actual application with the Viper Pro system.
During initial set up of the field computer, the following settings will be configured:
The above settings are the standard settings which the Viper Pro requires to monitor and control product
application. Depending upon additional features installed with the field computer or application types which the
Viper Pro may be used to control, additional settings may be required. Refer to Chapter 8, Advanced Settings
and Features for additional information on product control settings and features. Refer to Chapter 9, Sectional
Control Technology™ (SCT), for additional information on the SCT system.
Language
To select the language displayed on the Viper Pro field computer:
1.
Touch Menu, Setup, Local and Lang. The Language Setup screen will be displayed.
2.
Touch the desired language for display on the field computer and select OK to return to the main screen.
•
Language
•
Time Zone
•
Display Units
•
Product Controller
•
Speed Sensor Type
and Cal
•
Application and
Control Valve Type(s)
•
Rate Cal(s)
•
Meter Cal(s)
•
Valve Cal(s)
•
Fan Cal
•
Section Setup
Profiles