Module orientation – Watlow EZ-ZONE RMC User Manual
Page 13
Watlow EZ-ZONE
®
RMC Module
•
10
•
Chapter 1 Overview
RM Control Module Connected to an OIT Run-
ning Modbus RTU
In this configuration the control module connected
to the OIT is equipped with the Modbus RTU proto-
col (RMCxxxxxxxxx1xx). It is important to note that
Modbus communications takes place between the
OIT and the control it is connected to. The RM back-
plane is always using the Standard Bus protocol. If
it is desired that the OIT communicate to both con-
trol modules, both control modules would need Mod-
bus communications and then pins CC, CA, and CB
would need to be daisy chained together.
Slot C
Slot C
RM
Control
RM
Control
OIT
Power
Supply
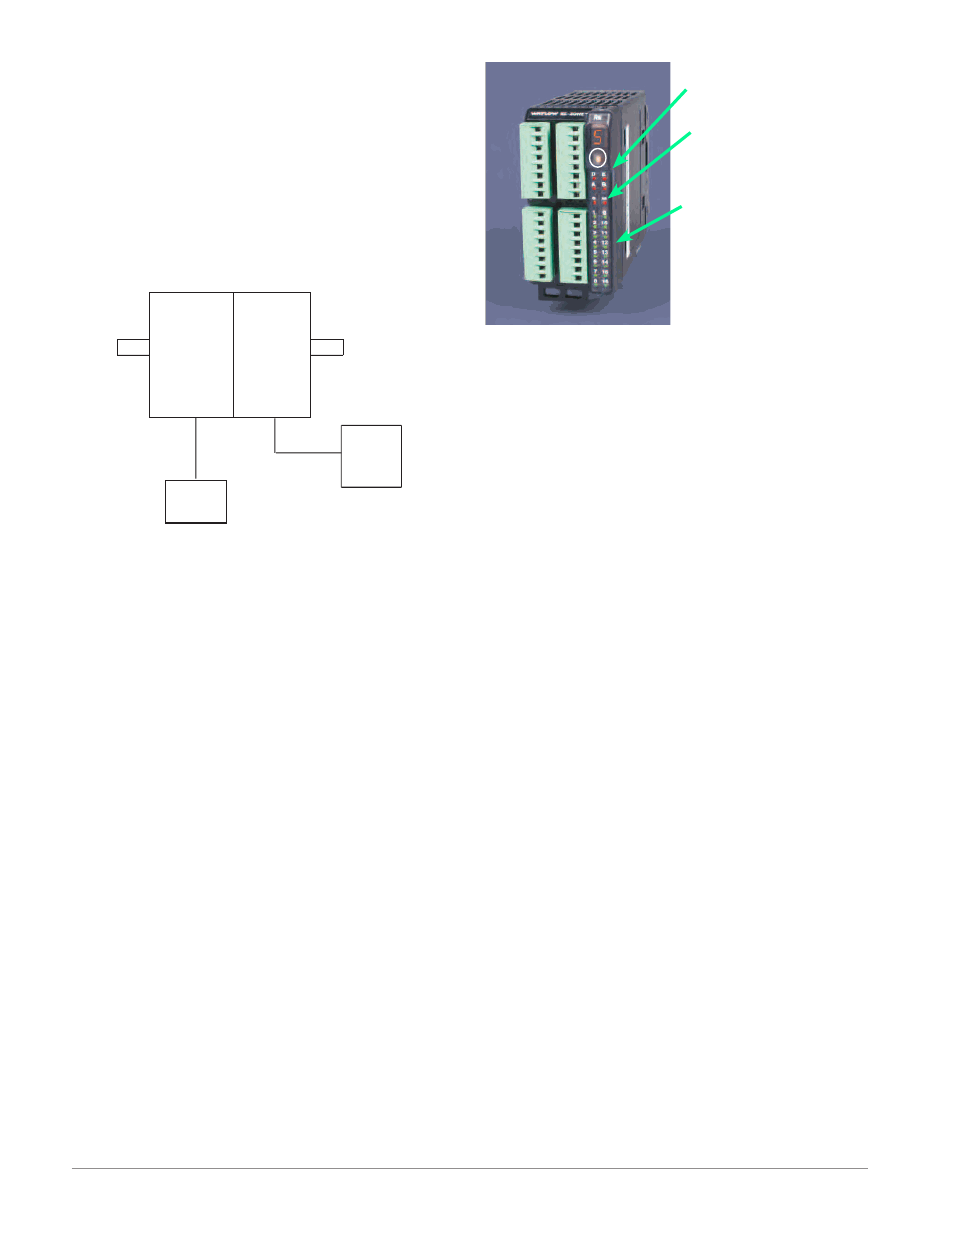
Module Orientation
The picture below represents one of six possible RM
modules. All six will have four slots on the face (slot
A, B, D, and E) and one on the bottom (slot C) not
shown. All of these slots are not always used on all
modules. On the face of the module there is a button
(white circle) under the Zone address (5) that when
pushed and held has the following functions:
1.For any module, push and hold for ~ 2 seconds. The
address will intensify indicating that it can now be
changed. Release and repeatedly press to change
to the desired unique address
2.For the control module, if equipped with the Mod-
bus protocol (RMCxxxxxxxxx1xx) pushing and
holding this button for ~ 6 seconds will cause the
display to reflect P for protocol. Releasing the but-
ton and then pushing it again (within 6 seconds)
the display will toggle between N (Modbus) and S
(Standard Bus). Valid addresses for Modbus and
Standard bus range from 1 -16 (1 - 9, A is 10, B is
11, C is 12, D is 13, E is 14, F is 15, and h is 16).
The Access module is shipped at address J or 17
A
D
E
B
Module Status (Slot A,
B, D, or E)
Protocol (Standard
Bus - red or Modbus -
green)
Module outputs 1
through 16, all may
or may not be used
depending on module
type