Unloading a stacker bin – Xerox 180 User Manual
Page 80
PAPER FACTS
3-20
XEROX DOCUPRINT 180 LPS OPERATOR GUIDE
Unloading a stacker bin
1.
Optional 7 X 10 enablement kit allows 7 by 10 inches/178 by 254 mm paper size.
To unload a stacker bin:
Step 1.
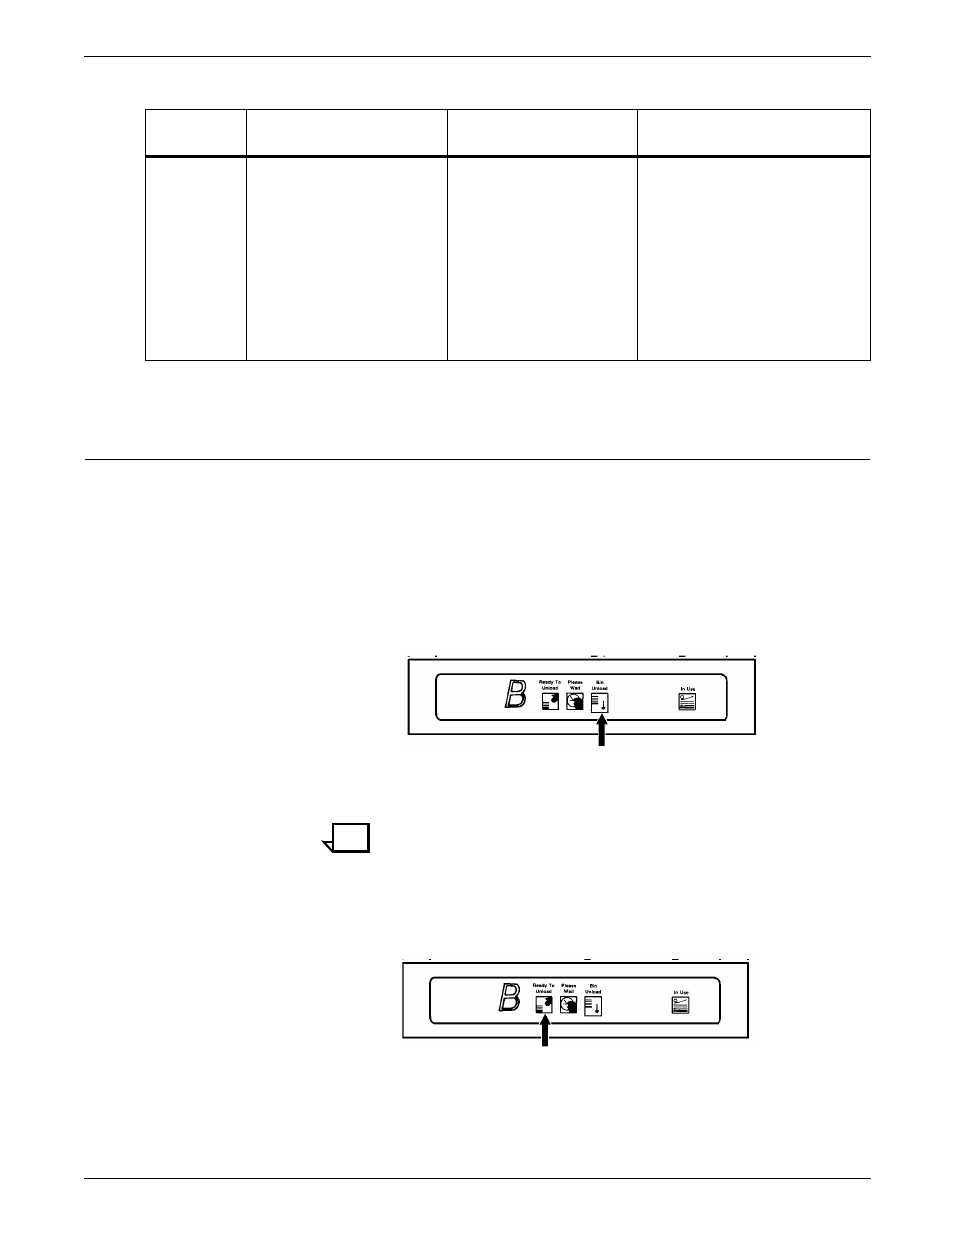
Select a bin for unloading by pressing the Bin Unload button on the
bin control panel. Figure 3-12 shows the Bin Unload button. You can
also select the bin for unloading through the PC UI or the printer
mimic of the printer control console. Refer to the “Lower trays and
bins” section of the “Status and print tasks” chapter for instructions.
Figure 3-12. Bin Unload button
Step 2.
Once a bin is selected, the bin elevator lowers.
Note:
Once the bin elevator lowers, the bin cannot be used
until it is emptied completely.
Step 3.
When the bin elevator stops in the down position, the Ready to
Unload indicator lights (see figure 3-13).
Figure 3-13. Ready to Unload indicator
Type or
condition
•
Xerographic paper in
good condition
•
Predrilled stock
•
No cut-outs,
perforated or
intermixed weights
•
Labels, preprinted
forms, perforated
stocks
•
Intermixed weights
•
High output curl stocks can
cause severe stack quality
problems
•
Tab stock intermixed with
smaller stocks results in
degraded stack quality
•
Reinforced mylar should
be limited to small stacks of
200 sheets or less or sent
to the sample tray
Table 3-6.
Stacker bin performance guide (continued)
Paper
Superior performance
Good performance
Performance limits and
suggested alternatives