Set tray size – Xerox 180 User Manual
Page 222
STATUS AND PRINT TASKS
9-24
XEROX DOCUPRINT 180 LPS OPERATOR GUIDE
Set tray size
Use this task to tell the printer that custom size paper is loaded in a
feeder tray.
You can also perform this task from the printer control console. To
do so, follow this procedure:
Step 1.
Touch the Guarded Tools icon.
Step 2.
Select the Tray Size button.
Step 3.
Follow the screen instructions to select feeder tray sizes.
Caution:
If you use non-standard size paper for a print job without
performing the Set Tray Size task, you may cause damage to the
LPS photoreceptor belt. If you are using a custom transfer assist
blade, follow the instructions for setting tray size in the “Using the
custom transfer assist blade” section of the “Maintenance tasks”
chapter.
Set Tray Size task through windows
Perform the following steps:
Step 1.
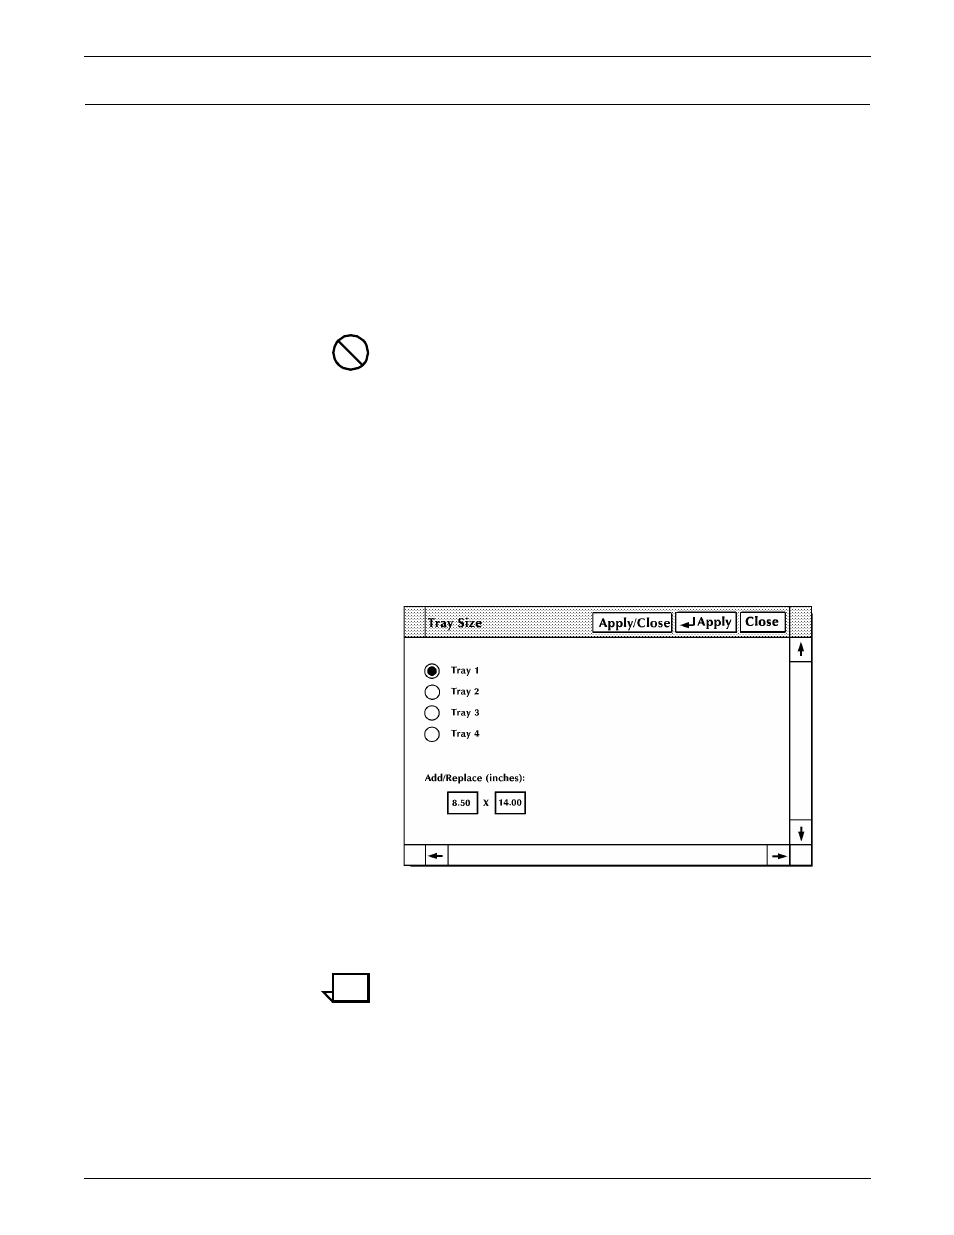
Select the “Tray Size” option from the header auxiliary menu of the
Printer Status window to open the window (see figure 9-12).
Figure 9-12. Tray Size window
Step 2.
Select the tray containing custom size paper.
Step 3.
Enter the paper dimensions in the Add/Replace input fields.
Note:
If the selection of the Units window is inches, enter the
dimensions in inches; if it is millimeters, enter the dimensions in
millimeters. (Refer to the “Select units” section of this chapter for
additional information.)