Maintaining the printer, Replacing the dry ink cartridge – Xerox 180 User Manual
Page 258
MAINTENANCE TASKS
11-2
XEROX DOCUPRINT 180 LPS OPERATOR GUIDE
Maintaining the printer
When supplies for the LPS need to be replaced, for instance, when
the dry ink supply is low, the following indications appear:
•
If enabled, the Attention light goes on.
•
A message and instructions appear on the printer control
console.
•
The Hint icon appears on the PC UI and the printer control
console.
Note:
If the Attention light is turned off, the Hint icon does not
appear.
To ensure that the LPS runs efficiently, replace the appropriate
supplies as soon as possible after seeing the indications. If you do
not do so, the printer eventually stops and does not continue until you
replace the supplies.
Replacing the dry ink cartridge
Caution:
To prevent dry ink spillage, remove the cartridge only
when directed to do so by a message on the printer control console.
Follow this procedure to replace the dry ink cartridge:
Step 1.
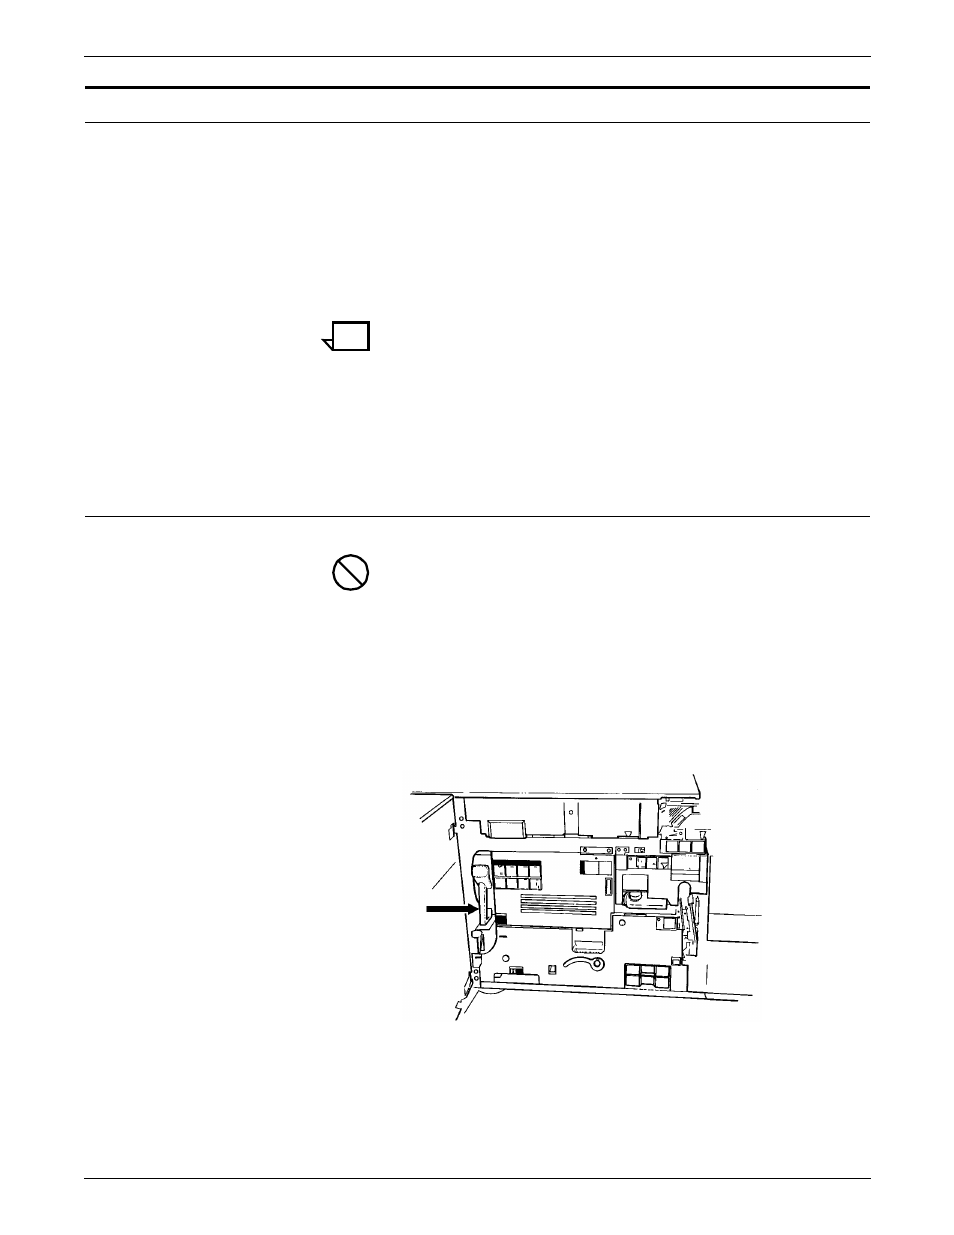
Open the printer’s right and left doors and locate the dry ink area at
the left side of the printer (see figure 11-1). There are step-by-step
instructions on the panel next to the dry ink cartridge.
Figure 11-1. Locating the dry ink cartridge
Step 2.
Place a drop cloth on the floor under the dry ink area.
Step 3.
Pull the empty dry ink cartridge out until it stops.