Print darkness – Xerox 180 User Manual
Page 124
JOB CONTROL TASKS
5-10
XEROX DOCUPRINT 180 LPS OPERATOR GUIDE
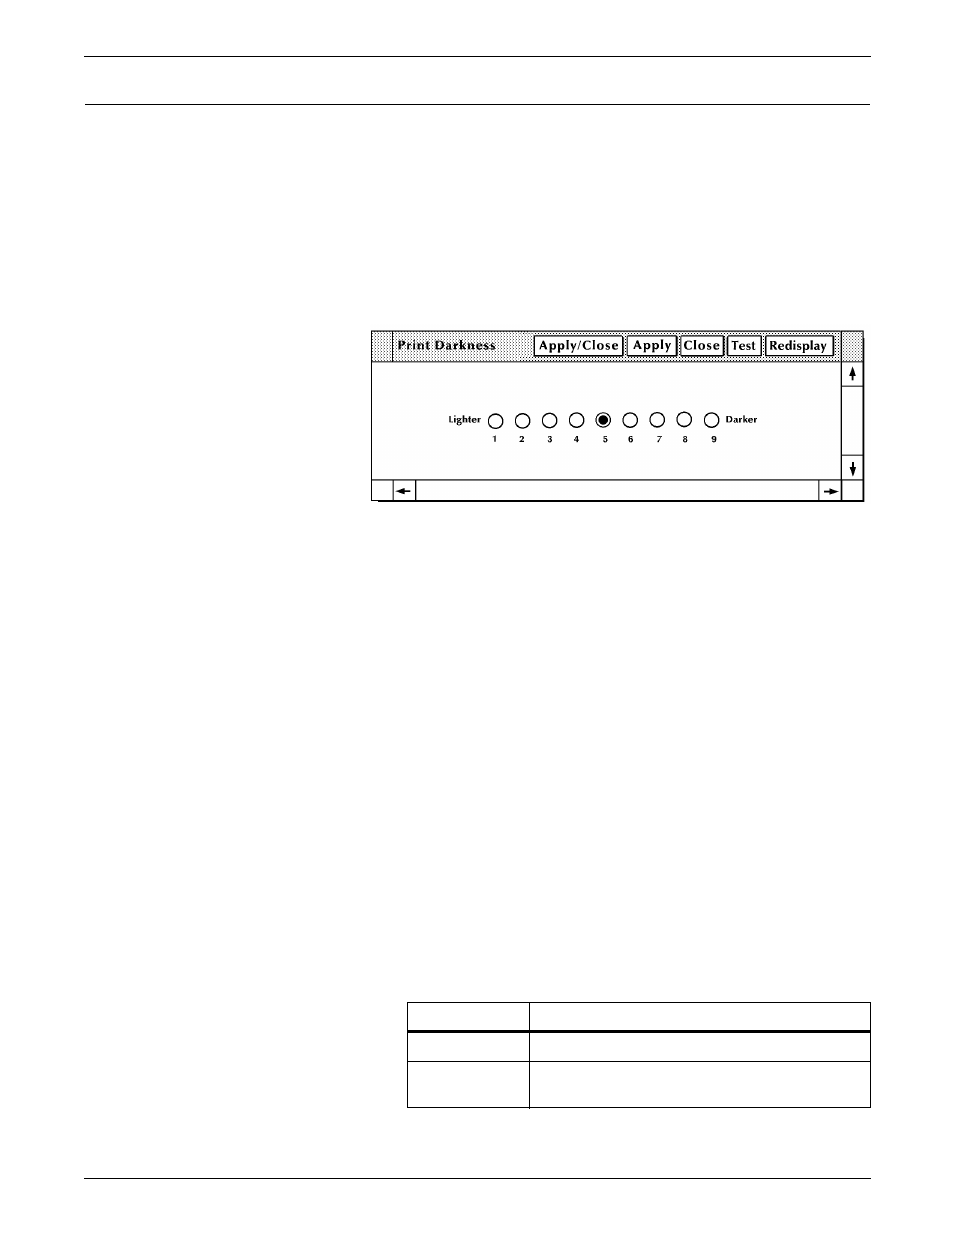
Print Darkness
Use this task to make the printed image lighter or darker. The setting
ranges from 1 (the lightest) to 9 (the darkest). The default value is 5.
Print Darkness task through windows
Perform the following steps:
Step 1.
Select “Print Darkness” from the Job Control menu to open the Print
Darkness window (see figure 5-6).
Figure 5-6.
Print Darkness window
The current value of image darkness is indicated by the highlighted
button.
Step 2.
To change the print darkness value, select the radio button with the
value you want to apply.
Step 3.
Select the appropriate header button:
•
Apply/Close. Apply your selection and close the window.
•
Apply. Apply your selection.
•
Close. Close the window.
•
Test. Print a sample with the new alignment applied. If a job is
currently printing, a page from the job with the new alignment
applied is delivered to the sample tray. If a print job is not
running, the test form is delivered to the sample tray. (Refer to
figure 5-5.).
•
Redisplay. Return the alignment to the values displayed when
you first opened the Align window.
Print Darkness task through
command line
To change the print darkness level, enter the following command:
DARKNESS [
level [,TEST]]]
Table 5-2 lists each parameter and its description.
Table 5-2.
DARKNESS command parameters and
descriptions
Parameter
Description
level
Print darkness level you want to apply.
TEST
To receive a sample with the new darkness value
applied.