Set date/time – Xerox 180 User Manual
Page 100
SYSTEM CONTROL TASKS
4-16
XEROX DOCUPRINT 180 LPS OPERATOR GUIDE
Set date/time
Use this task to set the system date and time. The system must be
idle when you perform this task. (Idle means not printing, offline, and
not performing any non-printing tasks.)
Note:
You must be at logon level 2 to use this task.
Note:
The hours field is specified in military time, that is, 0—23,
with 0 signifying midnight.
Set Date/Time task through windows
Perform the following steps:
Step 1.
Select “Set Date/Time” from the System Control menu to open the
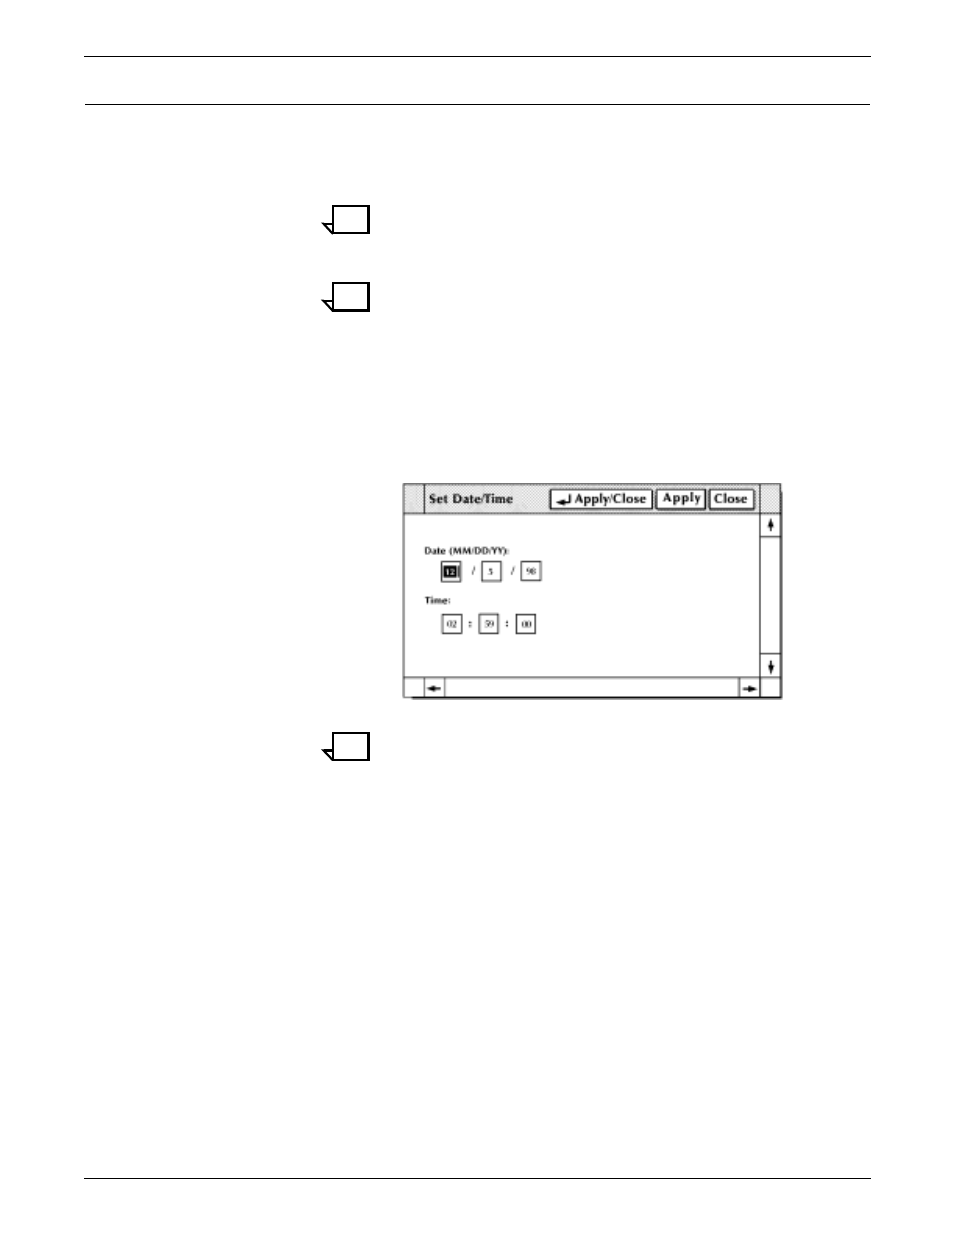
Set Date/Time window.
Figure 4-13. Set Date/Time window
Note:
When you set the time backwards, the chronological
sequence of records in the console log is no longer valid. Save
and empty the console log. (Refer to the “Console log” section,
which follows.)
Step 2.
The current value of date and time appear in the fields. If incorrect,
enter the correct value in the input fields as follows:
•
Date is entered in Month/Day/Year order.
•
Time is entered in Hours:Minutes:Seconds order.
Step 3.
Select the appropriate header button:
•
Apply/Close. Apply your selection and close the window.
•
Apply. Apply your selection.
•
Close. Close the window.