Cursor – Xerox 180 User Manual
Page 42
USING THE PC UI
2-6
XEROX DOCUPRINT 180 LPS OPERATOR GUIDE
Cursor
The cursor is the entry point for information or activity on the PC UI
screen.
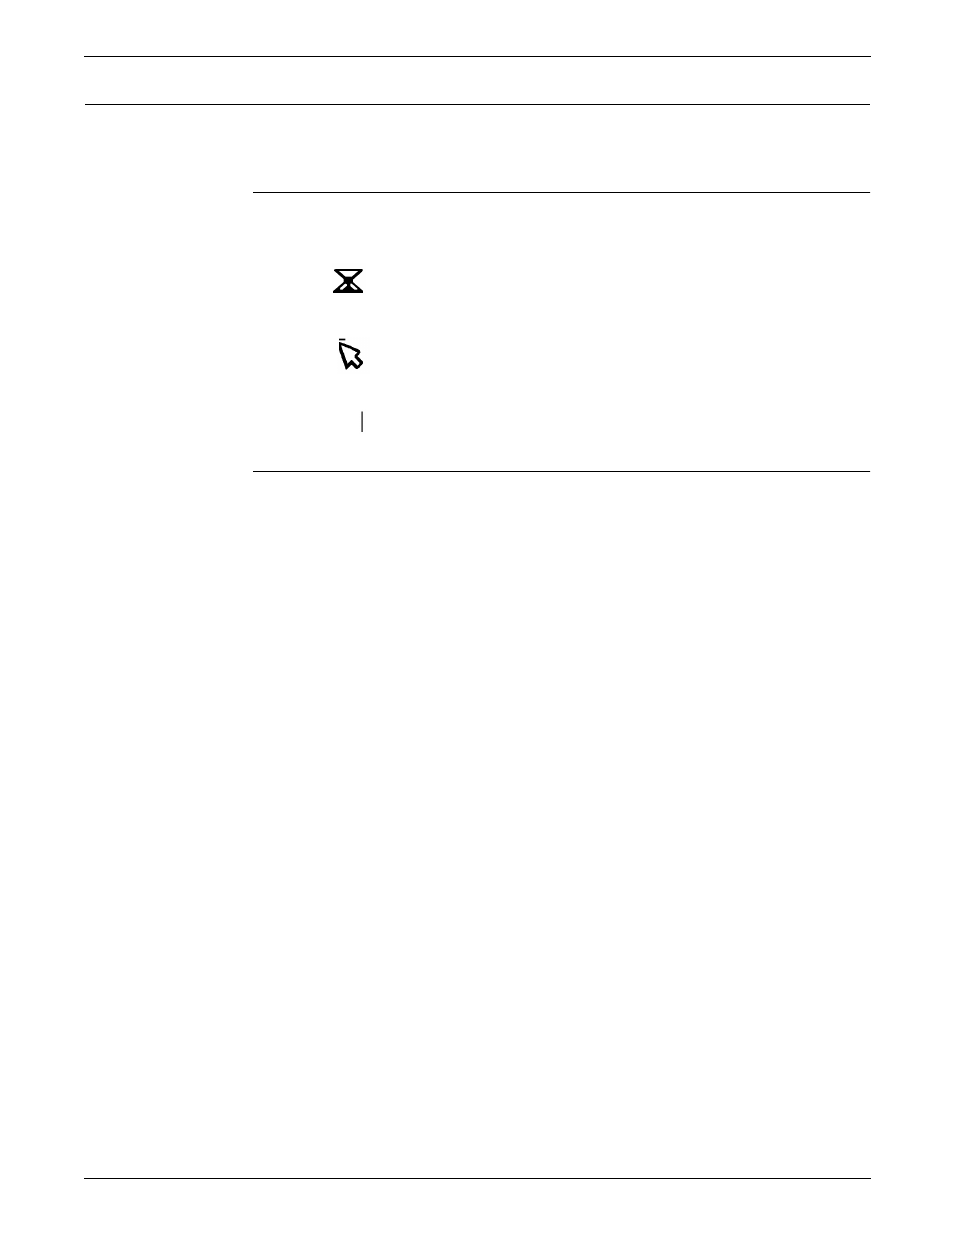
Types of cursors
Wait cursor. Appears when a system activity is being processed
(for example, when a window is being opened) and during system
initialization.
Main cursor. Appears when the cursor can be moved on the
desktop.
Data Entry cursor. Appears when you can enter information in an
input field.
Moving the cursor
You can move the cursor in either of two ways:
•
Mouse
•
Arrow keys.
Using the mouse
To move the cursor using the mouse, lightly move the mouse over
the mouse pad. You may lift the mouse and put it down again gently
in a different position on the mouse pad if you ”run out of room” on
the pad while you are moving it. (Lifting the mouse and setting it down
does not cause the cursor to move.) Ensure that the mouse is
touching the mouse pad.
Using the arrow keys
To move the cursor using the arrow keys, make sure that the
direction you want the cursor to move. You may hold the arrow key
down; however, the cursor moves very quickly when you do this.
To select an input field with the arrow keys:
Step 1.
Press
Step 2.
Use the arrow keys to move the main cursor to the desired input field.
Step 3.
Press
appears in the input field.
Step 4.
Use the arrow keys to move the data entry cursor within the input
field.