Emboss – UVP Life Science User Manual
Page 62
LS Software User Guide
48
Emboss
This filter gives an image a "chiseled in stone" look. Edges take on a three-dimensional (3D) appearance,
making them stand out vividly.
Emboss can be performed from any of eight cardinal directions. Conventionally, these are referred to as
North (up), Northeast, East (right), Southeast, South (down), Southwest, West (left) and Northwest.
The easiest way to think of the "direction" of the embossment is as the location of a strong light source
around the image. For example, if North is selected, the image will appear as if it is illuminated with a
strong light from the top. Therefore, horizontal edges will be strongly lighted on the top edge and
shadowed on the bottom, and vertical edges will tend to disappear. Diagonal edges will be shadowed in
direct proportion to how closely they are horizontal. Alternatively, if East is selected, vertical lines will be
shadowed on the left side and lighted on the right side. Horizontal lines would become harder to
distinguish.
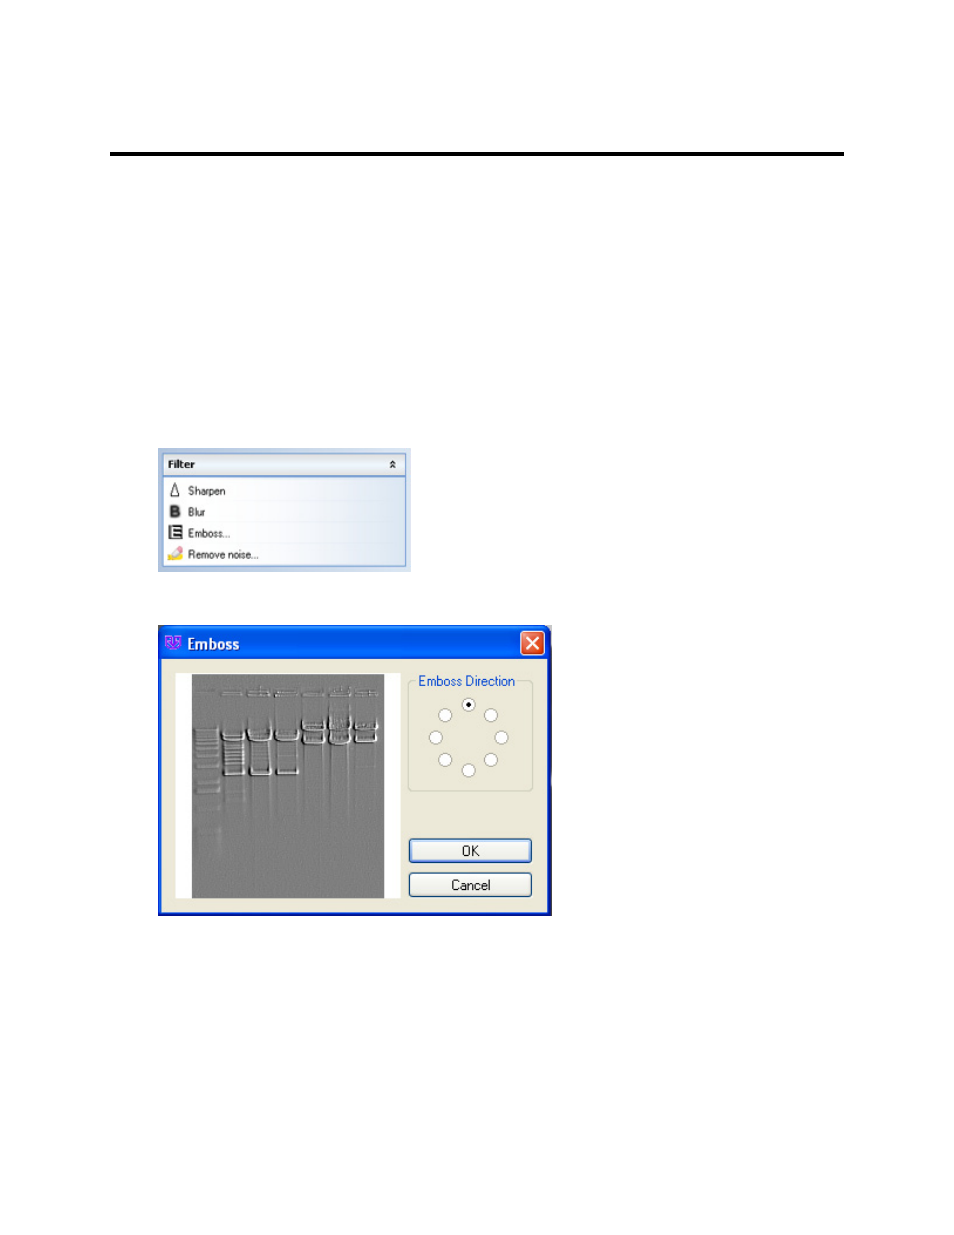
•
Click onto
Emboss from the Edit menu button. The Emboss window will appear.
•
Select the desired
Emboss Direction. The preview window will show a thumbnail sample of what
the image would look like embossed from the selected direction.
Tip: Use the arrow keys to cycle through all eight directions while watching the preview
screen.
•
Click
OK to set the desired emboss direction.