Measurement tools, Line measure, A rea measure – UVP Life Science User Manual
Page 240
LS Software User Guide
226
Measurement Tools
The measure tools allows users to measure a portion of the image with regard to length, area or angle.
•
Line Measure
•
Area Measure
•
Angle Measure
NOTE: Length Measure and Area Measure annotations use the image's pixel scale in calculations. If
these annotations display information in pixels ("px"), no custom scale has been set. See the Spatial
Calibration tool "Changing Sample Width" for instructions on changing the image's scale.
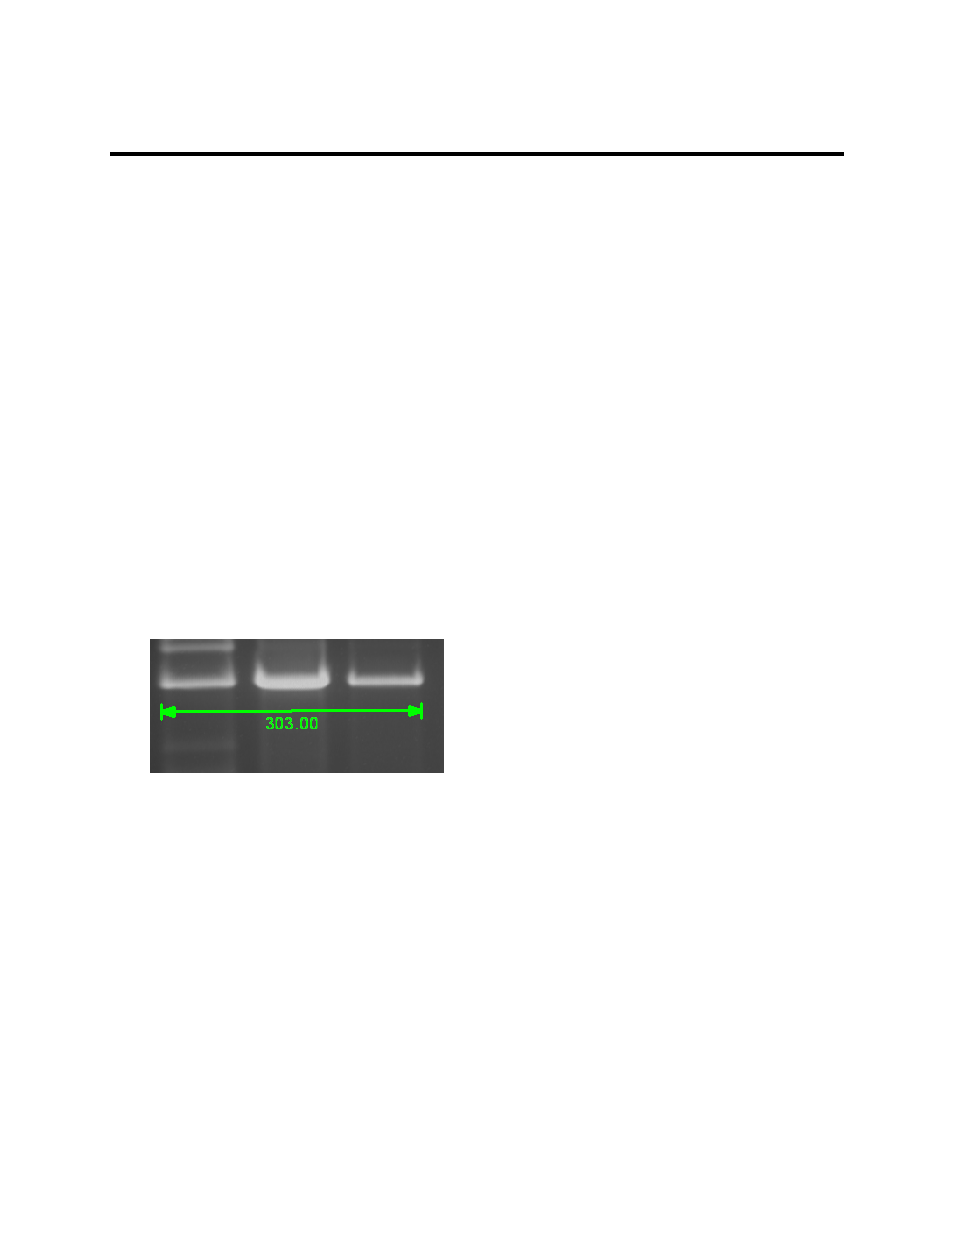
Line Measure
•
Choose
Image Action Tab > Annotation > Line Measure or choose the Area Density Action
Tab
> Calibration > Line Measure.
•
Click a position on the image to begin the line measure. A line will follow the mouse as it is
dragged. To cancel adding a line, simply press the
ESC key.
•
As the mouse is moved, the scale tool will show how many pixels (unless the calibration process
has been performed) are contained in the line drawn.
•
Click a position on the image to end the line. The annotation will now display the total length
measurement value.
Area Measure
•
To use the Area Measure tool, click
Image Action Tab > Annotation > Area Measure or Area
Density Action Tab > Calibration > Area Measure.
•
Click a position on the image to place a corner of the area measure annotation. Release the
mouse button.
•
A view of the area measure annotation will follow the mouse as it is dragged. To stop the process
of adding an annotation, simply press the
ESC key.
•
Click a different position on the image to place the opposite corner of the area measure
annotation. The annotation will be drawn.
•
The new area measurement annotation now appears in pixels (unless the calibration process has
been performed).