Select multiple bands and regions in the image, Modify regions in the image – UVP Life Science User Manual
Page 165
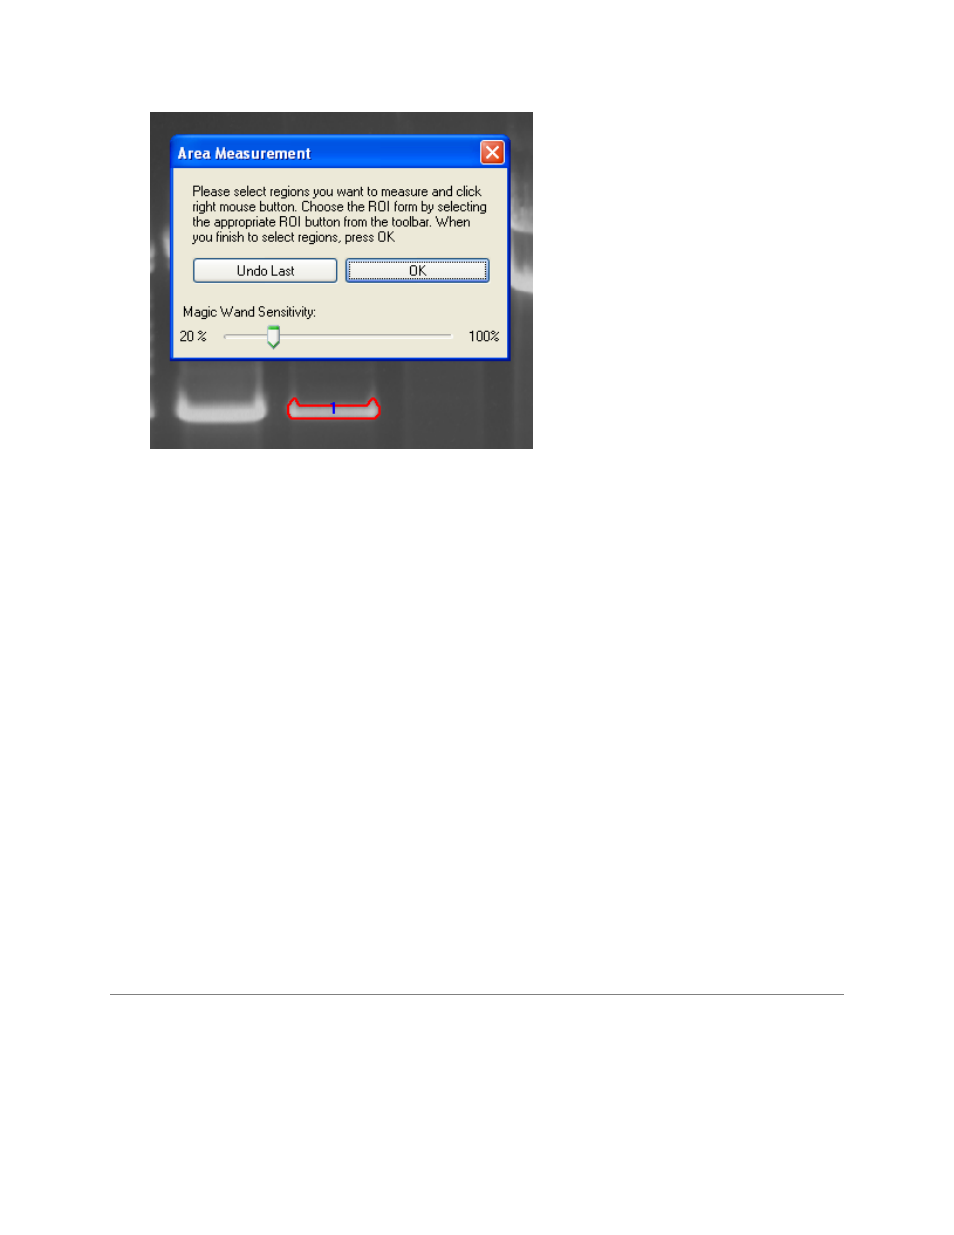
Perform Area Density Analysis
151
Select Multiple Bands and Regions in the Image
Users may want to determine the area density of more than one band or ROI in a single image.
•
To identify more than one similarly shaped band in an image, click on a previously defined ROI
and drag that shape to a second or third band.
•
When finished, right click onto the area selected to set.
•
Once set, a number will display in the ROI and the bounding box will turn red.
Modify Regions in the Image
To modify regions in the image, select
Area Density > Define Region > Modify Regions.
To delete one or more regions, click
Delete regions. A list of all regions will be shown in a pop up
window. Select a single region in the left column and click OK to delete the region. To delete all regions,
click the
Select All button. Then click OK to delete all regions.
To edit regions, click
Edit an existing region and a Edit Objects window will open. Left click on the
region to edit. Left click and drag the white bounding boxes to resize the region.
To move the region, left click and drag inside the region. Once editing is complete, right click on the
edited region. Click
OK in the Edit Objects window.
Related Topics:
•
Estimate Region Volume
•
Define Area Density Background
•
Calibration Curves
•
Reporting and Printing Area Density Results