Angle measure – UVP Life Science User Manual
Page 241
Modify Images
227
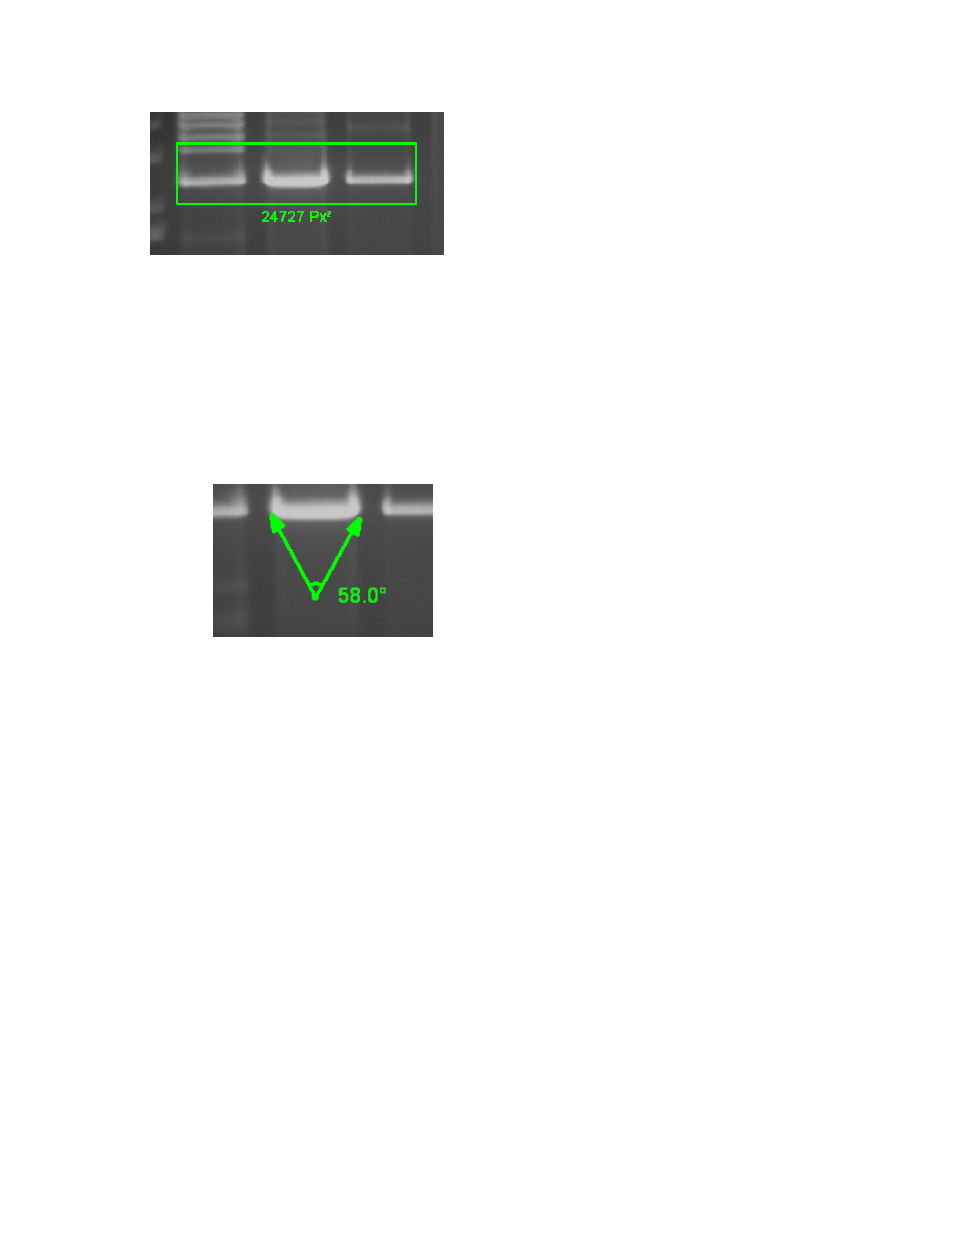
Angle Measure
The measure angle tool requires three points to be placed on the image to define an angle.
•
Choose
Image Action Tab > Annotation > Angle Measure or choose the Area Density Action
Tab > Calibration > Angle Measure.
•
To create an angle measurement annotation to define a specific degree, three points will be
marked as shown.
•
Click a position on the image to place the first point of the angle measure annotation. Release
the mouse button.
•
Drag the mouse to second position to create the angle point and click and release the mouse to
set the angle position.
•
Drag the mouse to a third position. A view of the angle measure annotation will follow the mouse
as it is dragged.
•
Click and release the mouse to set the third position.
•
The angle measure tool shows the degree measurement for the angle drawn .
Note: To edit a measurement annotation, ensure that the Toggle edit annotation tool is turned on.
Refer to the
Modify Annotations section for more information.
Note: If an image is modified in software and then opened in a different software program, the changes
will not be displayed. To make changes viewable in other programs, use the Flatten Layers tool. This tool
creates a new image with the modifications permanently integrated.