IntelliTrack Check In/Out User Manual
Page 202
I
NTELLI
T
RACK
C
HECK
I
N
-O
UT
V
7.0
User Manual
174
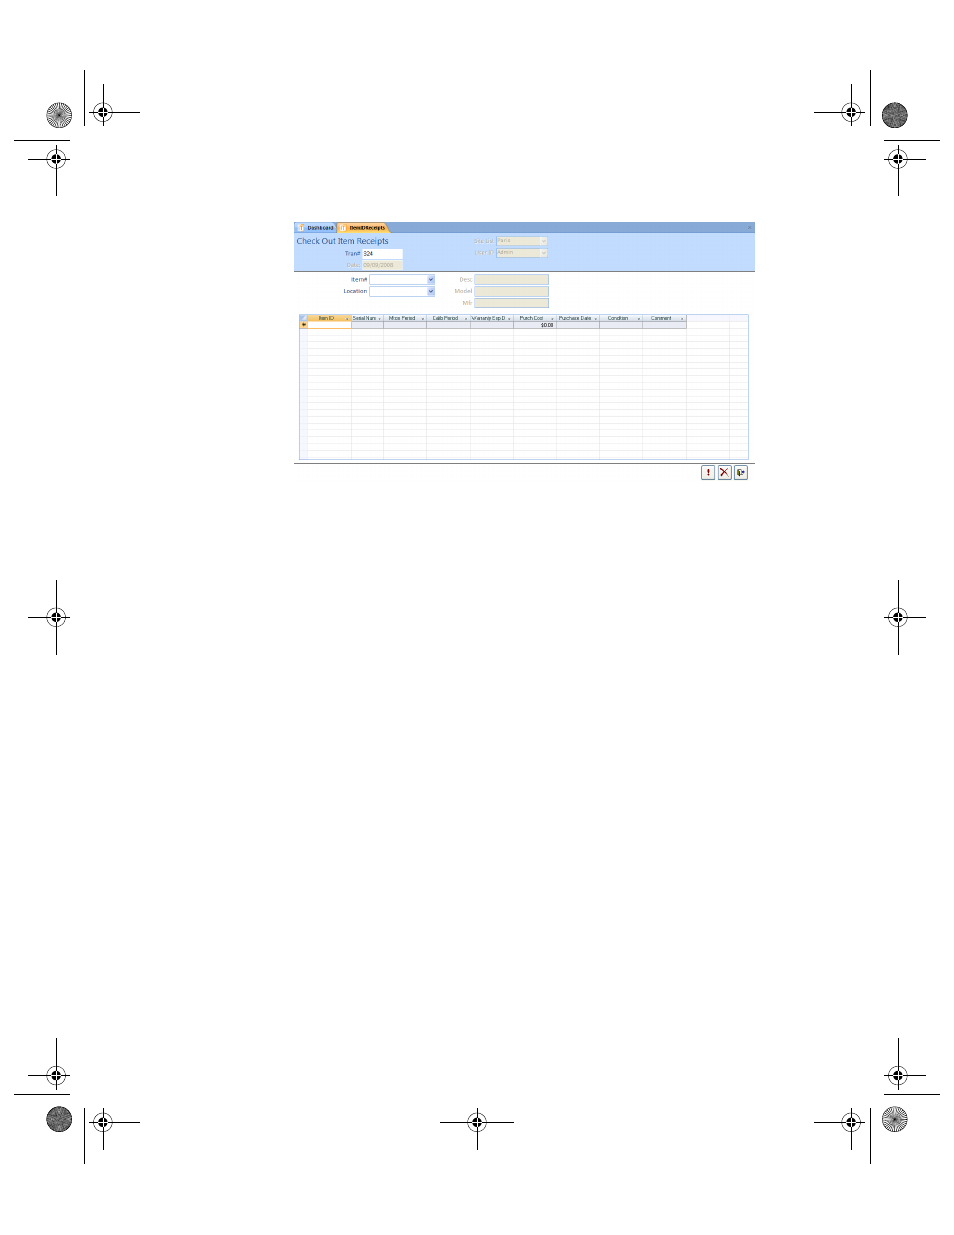
3.
The default site is automatically placed in the Site List field; if you are
able to view and modify sites, and the site is another one, click the
drop-down arrow in the Site List field and select the site to which the
Item IDs will be received from the list that appears.
4.
The logged in user is automatically placed in the User ID field. The
Tran# and Date are automatically filled in by the system.
5.
Click the drop-down arrow in the Item# field and select the item num-
ber from the list that appears. The item description, model, and manu-
facturer fields are automatically filled in by the system.
6.
Click the drop-down arrow in the Location field and select the normal
location for the item IDs that you plan to add.
7.
In the detail portion of the form, enter the Item ID in the Item ID field.
8.
If applicable, enter the serial number in the Serial Number field; enter
the maintenance period in days for the check out item in the Mtce
Period field; enter the calibration period in days for the check out item
in the Calib Period field; enter the item’s warranty expiration date in
the Warranty Exp D field; enter the purchase cost in the Purchase
Cost field; the purchase date in the Purchase Date field, the condition
in the Condition field, and any applicable comments in the Comment
field.
9.
Repeat steps 7 and 8 for each item ID that you are adding.
10.
When you are finished adding all of the item IDs, click the Do It button
to process the check out item receipt transaction.
2283.book Page 174 Thursday, July 9, 2009 11:26 AM