IntelliTrack Check In/Out User Manual
Page 191
Chapter 8
Checking Items In and Out
163
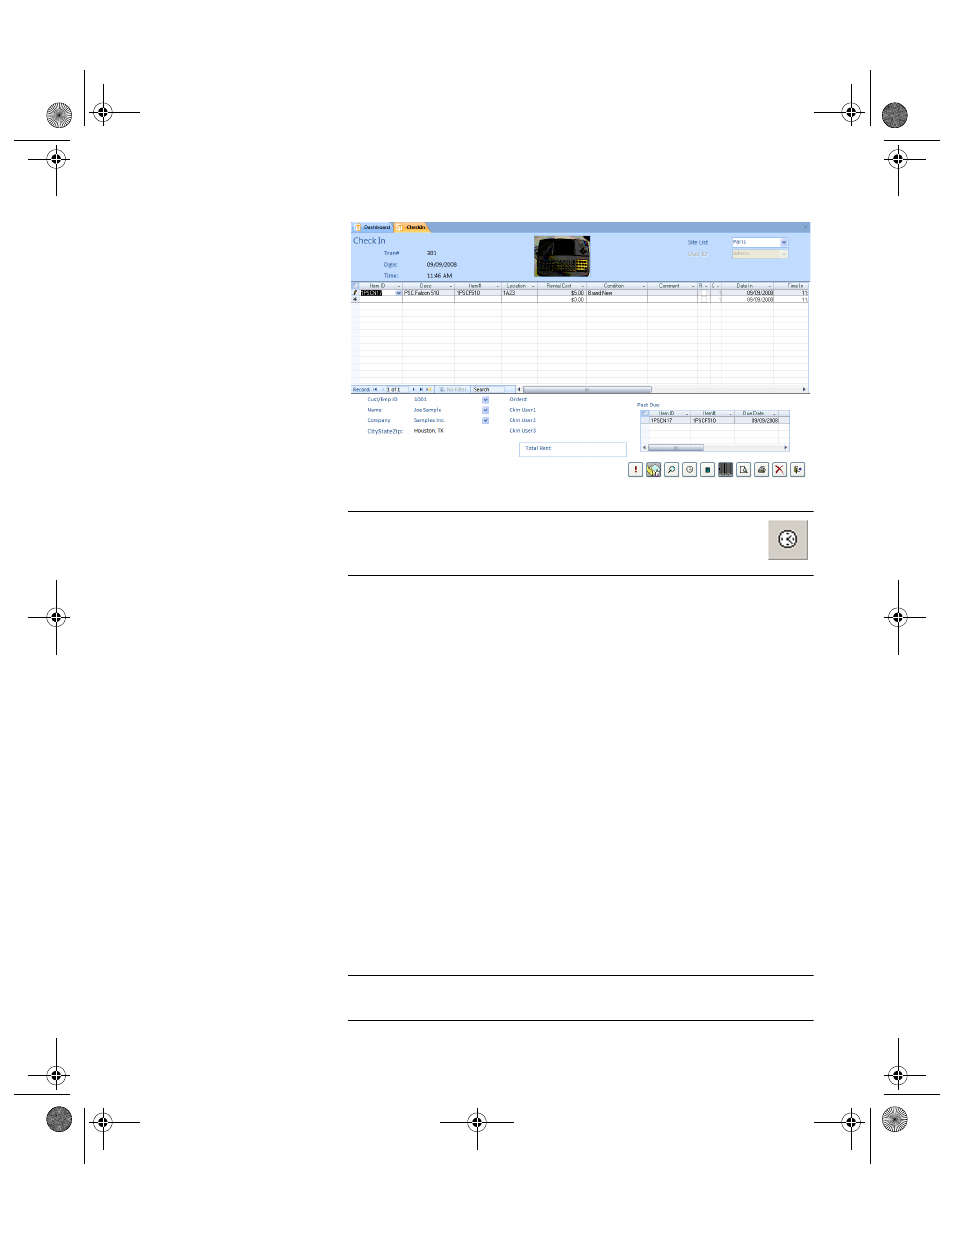
Note: If there are past due items associated with the item being
checked in, the Past Due button toggles the Past Due display in
the Check Out form.
To enter an ItemID that does not currently exist in the Check In-Out
database, press TAB to open a form to specify the Item# and Normal
Location.
Enter an Item# for the ItemID in the Item# field and press TAB. If you
enter an Item# that does not exist, you must add the Item#, then press
Yes.
Specify the Normal Location for this ItemID by selecting it from the
Normal Location pull-down list. To add a new location, enter it in the
field and press TAB. Press Yes when prompted to add this location.
(You can select or define new locations for the currently selected site
only.)
5.
To receive a consumable item while in the Check In form, click in the
Item# field’s pull-down list.
Select a consumable item to check in. This opens a prompt indicating
that This is not a Check Out Item. Do you want to receive it? Click
Yes.
To receive a quantity greater than 1, press TAB until you reach the Qty
field and enter the quantity received.
Note: Select one of the Invoice options at the bottom of the Check In form
to print or view the invoice.
2283.book Page 163 Thursday, July 9, 2009 11:26 AM