IntelliTrack Check In/Out User Manual
Page 199
Chapter 8
Checking Items In and Out
171
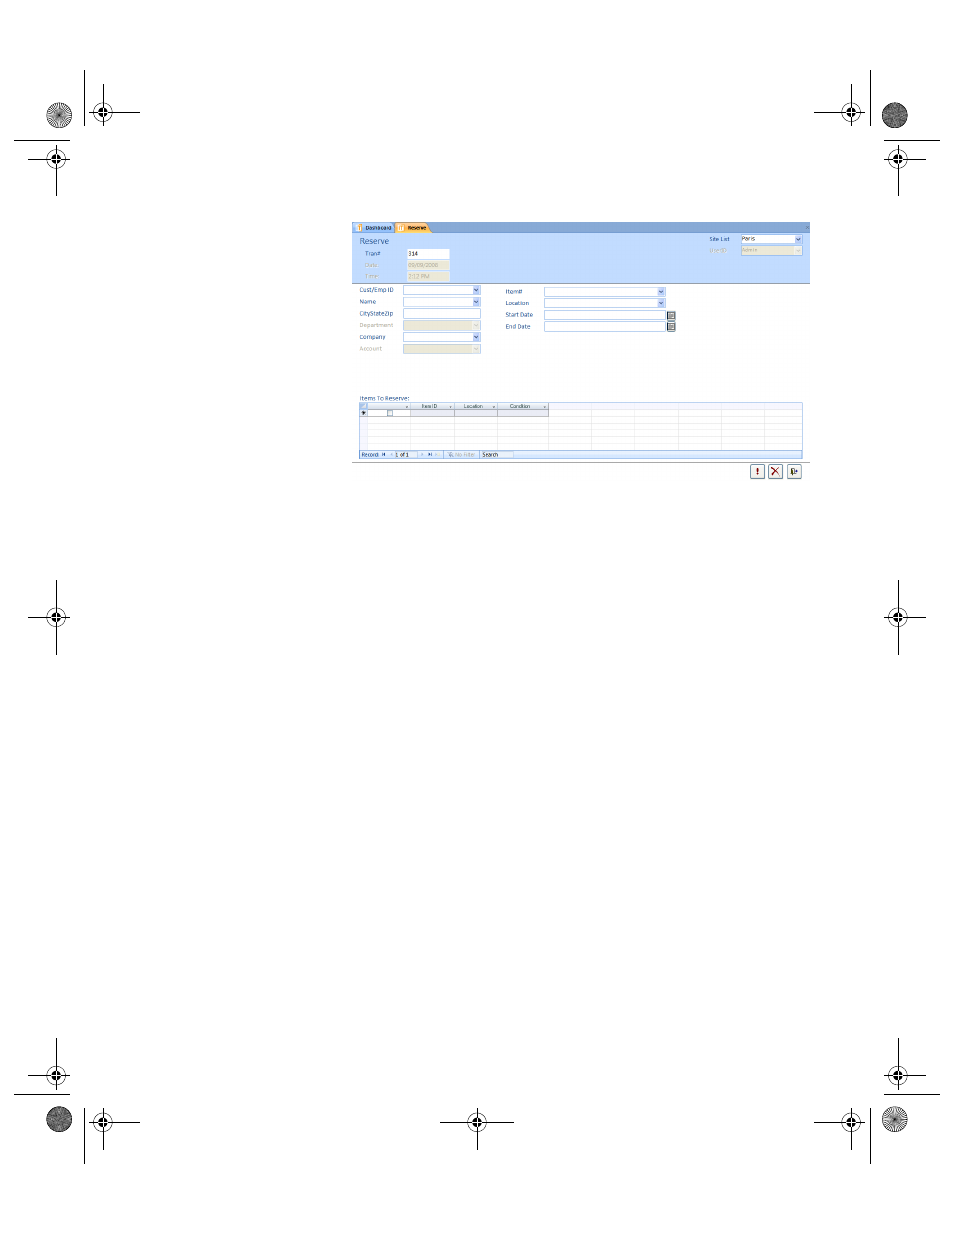
3.
The transaction number is automatically placed in the Tran# field.
Today’s date is automatically placed in the Date field. The current time
is automatically placed in the Time field.
4.
The default site is automatically listed in the Site List field. If you have
the rights to view and modify all sites, and the reservation is for another
site, click the drop-down arrow in the Site List field and select the site
for the reservation.
5.
The logged in user is automatically placed in the User ID field.
6.
Click the drop-down arrow in the Cust/Emp ID field and select the
customer or employee to which the Item ID is being reserved. The cus-
tomer’s name, address, department, and company are automatically
placed in the Name, CityStateZip, Department, Company, and
Account fields, respectively.
7.
Click the drop-down arrow in the Item# and select the reserved item
ID’s respective item number.
8.
Click the drop-down arrow in the Location field and select the
reserved item’s location.
9.
Click the calendar button at the end of the Start Date field and select
the start date for the item reservation.
10.
Click the calendar button at the end of the End Date field and select
the end date for the item reservation.
11.
In the Items To Reserve portion of the form, mark the check box next
to each Item ID for reservation. (An item ID that is checked out cannot
be reserved.)
2283.book Page 171 Thursday, July 9, 2009 11:26 AM