Check in inventory items, Check in inventory items 165 – IntelliTrack Check In/Out User Manual
Page 193
Chapter 8
Checking Items In and Out
165
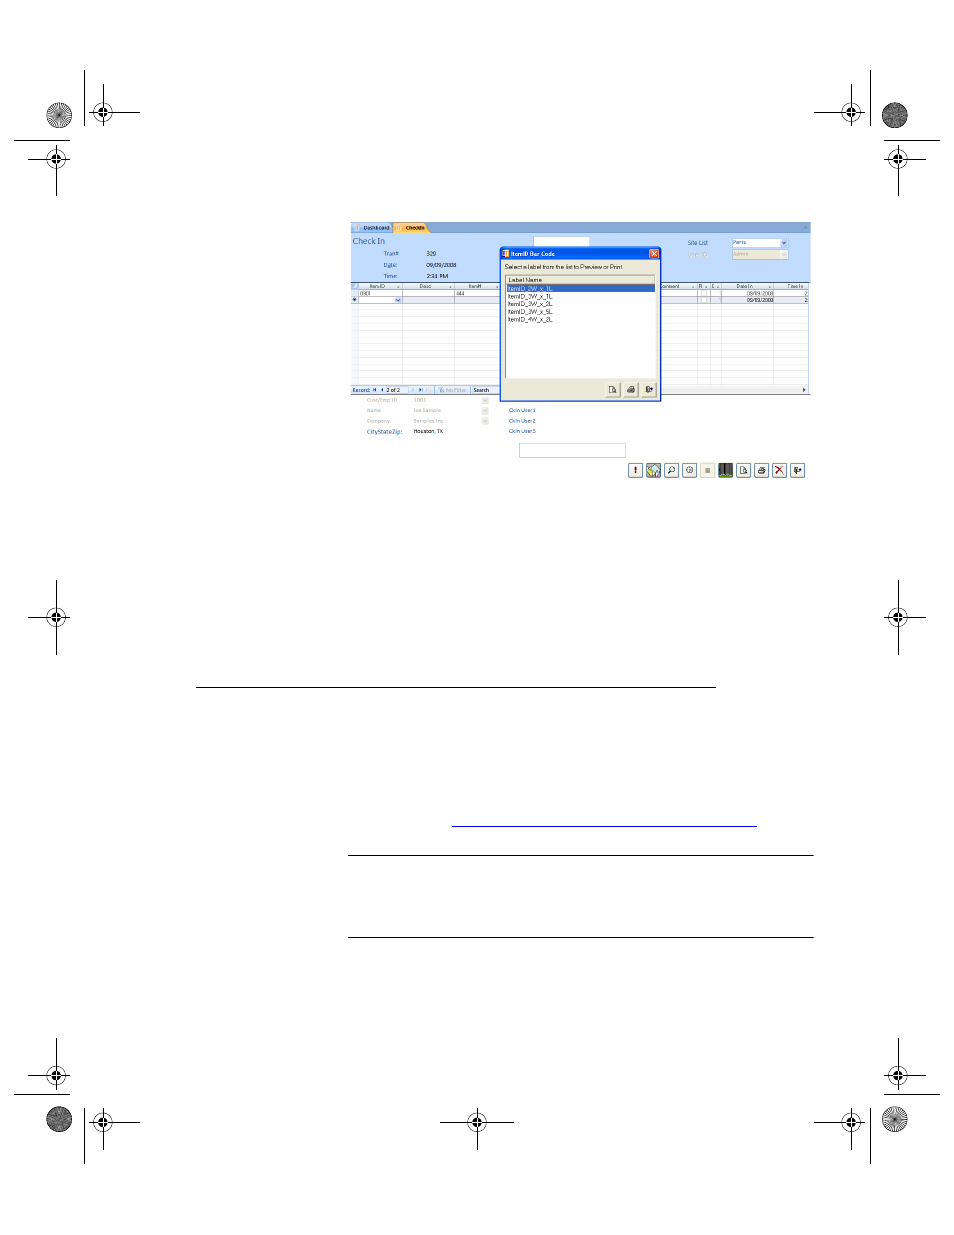
3.
Select the label format and click the Preview button to preview the
selected bar code; click the Print button to print the bar code label.
4.
When you are finished the Item ID Bar Code form, click the Close but-
ton to close this form and return to the Check In form.
5.
When you are finished at the Check In form, click the Close button to
close the form.
Check In Inventory Items
To start using Check In-Out if part numbers (consumables only) are
already bar coded or to relocate inventory, enter item data using the Check
In process. The Check In process loads the ItemID, Item#, Site, and
“Normal” Location into the database. Enter detailed data following the
steps detailed in
“Edit Existing/Incomplete Item Data” on page 129
Note: When you check an item into Check In-Out without changing the
default location, the item is automatically returned to the normal location.
To specify a different location, select a new put-away location from the
pull-down list in the Location field.
1.
Select Manage Command Tab > Check In Command Set > Check In
to reach the Check In form.
2283.book Page 165 Thursday, July 9, 2009 11:26 AM