Adding an item to a location, Adding an item to a location 151 – IntelliTrack Check In/Out User Manual
Page 179
Chapter 7
Managing Inventory
151
Adding an
Item to a
Location
To add an existing item to a location from the Item#/Location form, com-
plete the following steps:
1.
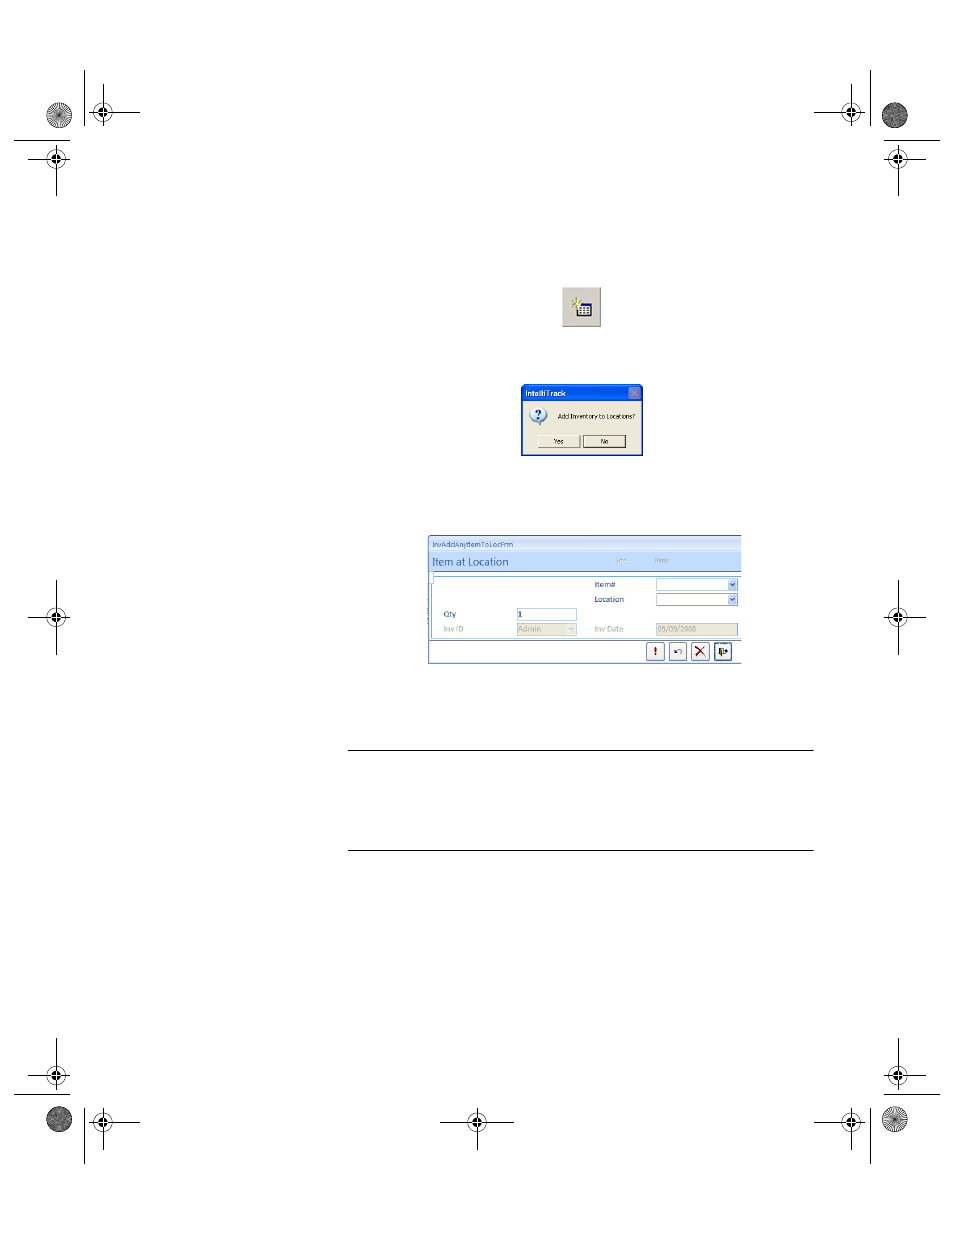
Click the Add button in the Item#/Location form.
A dialog box appears, asking you if you want to add inventory to loca-
tions:
2.
Click Yes to close the dialog box and continue adding inventory.
(Clicking No cancels adding the inventory.)
3.
The Item at Location form appears.
4.
Click the drop-down arrow in the Item# field and select the item to add
to the location from the list that appears. Press the TAB key to advance
to the Location field.
Important:You can only add items to locations that are located at the cur-
rently selected site (displayed in the Site field). To add an item to a loca-
tion at another site, click Cancel, select another site in the Site pull-down
list on the Item#/Location form and select the Add button again to con-
tinue adding items to a location.
5.
Click the drop-down arrow in the Location field and select the loca-
tion from the list that appears; press the TAB key to advance to the next
field.
6.
Enter lot data in the (optional) Lot field. Press the TAB key to advance
to the next field.
7.
Enter the quantity to store in the Quantity field.
8.
Today’s date is automatically entered as the inventory date in the Inv-
Date field.
2283.book Page 151 Thursday, July 9, 2009 11:26 AM