Installation procedure, Tools required, Installing the fav – Grass Valley Trinix NXT v.3.3.1 User Manual
Page 431
Trinix NXT — Installation and Service Manual
431
Installation Procedure
Installation Procedure
Follow the installation steps to ensure correct installation of the FAV.
Tools Required
•
The proper sized Phillips screwdriver,
•
A light source (as needed).
Installing the FAV
Note
The 1RU Front Air Vent requires a minimum space of 2RUs during installa-
tion.
Follow these steps to install the FAV:
1.
Position the FAV under the Trinix frame and align the Rack-Mounting
holes on the FAV with the holes that are on the frame.
2.
Slide the sides of the FAV over the Trinix frame and align the screws on
the Trinix with the cut outs on the FAV (
Note
A second person to help hold the FAV in place while it is secured to the frame
is recommended.
3.
Install the screws into the Rack-Mounting holes on the side of the FAV
(see
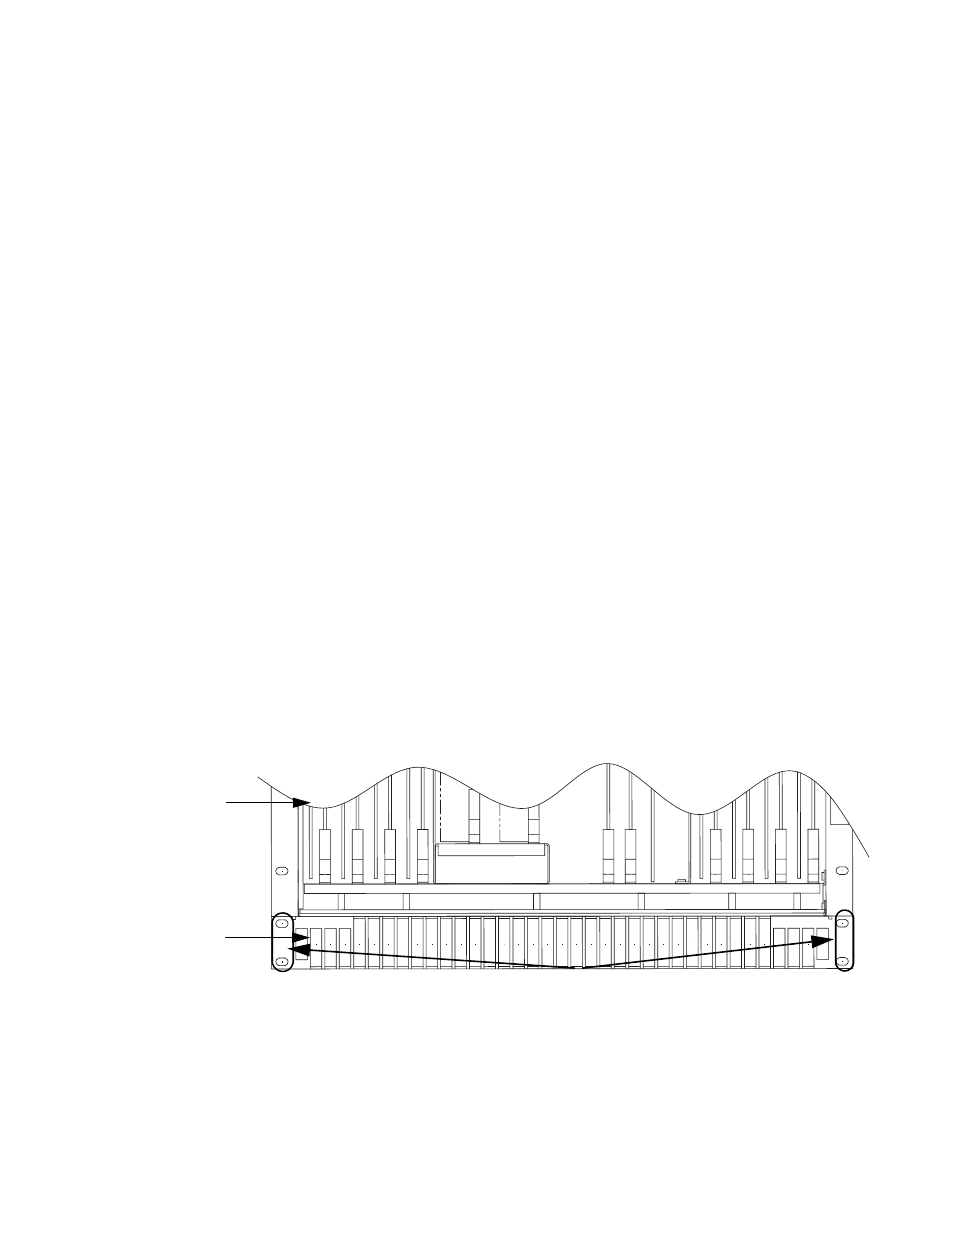
Figure 289. Front View of the FAV
4.
Install the screws in the rear Rack-Mounting holes on the side of the
FAV.
Rack-Mounting holes
Trinix router
FAV