Dip switch settings, Installing the trinix fiber option – Grass Valley Trinix NXT v.3.3.1 User Manual
Page 425
Trinix NXT — Installation and Service Manual
425
Trinix Fiber Boards Installation
DIP Switch Settings
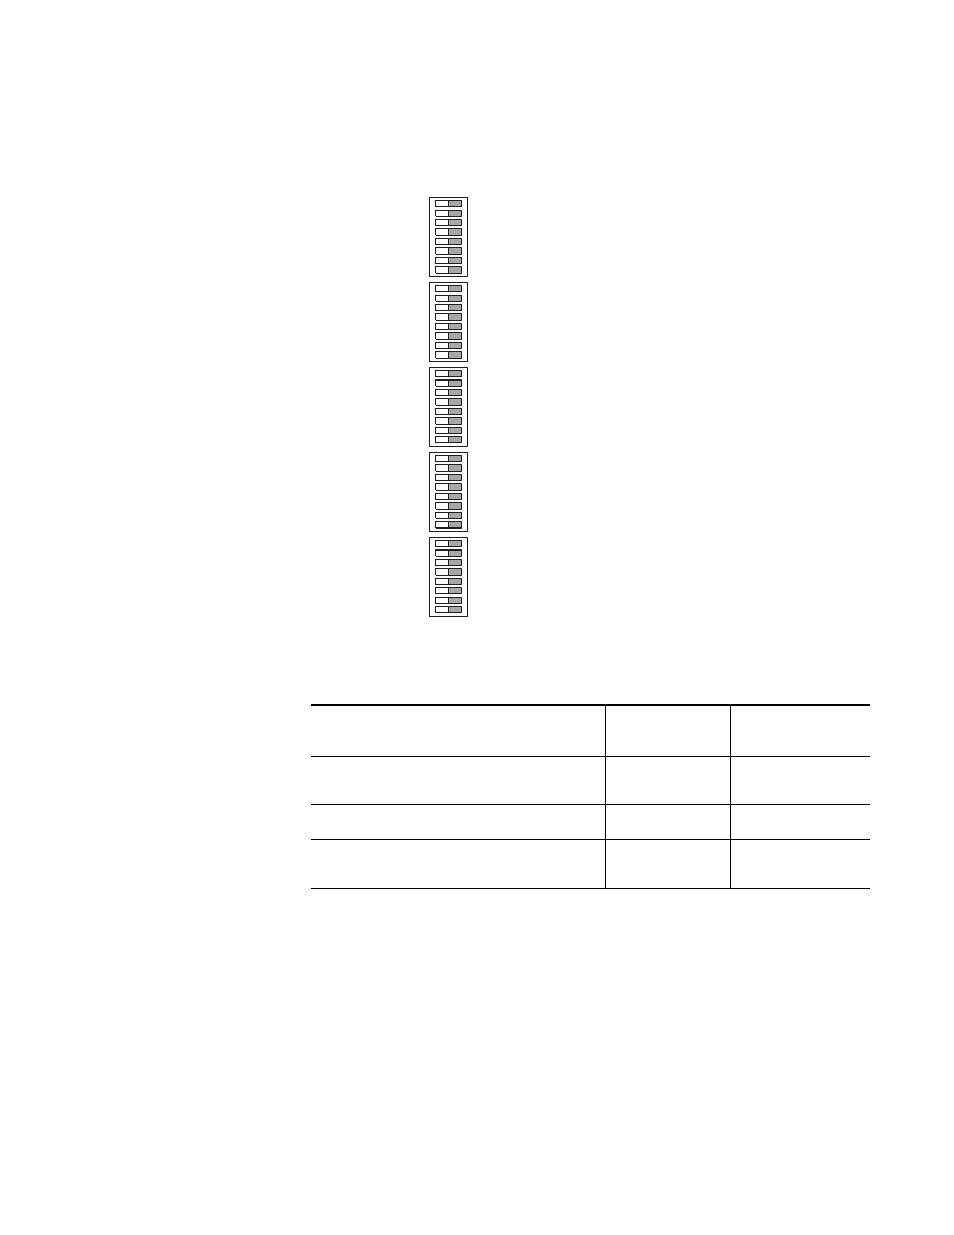
Figure 285.
Switch settings are shown in
Table 124. Reclock settings for HD output boards.
Installing the Trinix Fiber Option
You will need to remove the standard BNC rear panel and coax Input or
Output boards, if they are present. Before installing the boards, check the
pins on the edge connector of each board for alignment problems or
bending.
Note
Each time Trinix boards are handled, extreme care should be taken to not
damage any of the pins.
S705-8
“AUTO RCLK”
Switch on S701
through S704
Reclock all outputs if possible. Bypass unlocked outputs.
(Default setting)
Closed
All closed
Bypass all outputs
Open
All open
Reclock selected outputs if possible, otherwise turn OFF.
Bypass all other outputs
Open
Closed for selected out-
puts. All others open
SYNC SEL A
SYNC SEL B
AUTO RCLK
Open
Closed
BYPASS 0
BYPASS 1
BYPASS 2
BYPASS 3
BYPASS 4
BYPASS 5
BYPASS 6
BYPASS 7
BYPASS 8
BYPASS 9
BYPASS 10
BYPASS 11
BYPASS 12
BYPASS 13
BYPASS 14
BYPASS 15
BYPASS 16
BYPASS 17
BYPASS 18
BYPASS 19
BYPASS 20
BYPASS 21
BYPASS 22
BYPASS 23
BYPASS 24
BYPASS 25
BYPASS 26
BYPASS 27
BYPASS 28
BYPASS 29
BYPASS 30
BYPASS 31
S705
S701
S702
S703
S704