Updating and inventorying cartridges, Confirm update dialog box – Grass Valley PROFILE FAMILY v.2.5 User Manual
Page 144
Chapter 3
Using Media Manager
144
Profile Family
Updating and Inventorying Cartridges
Using the Media Manager to archive, delete, or rename bins or clips simply
updates the library database—not the cartridge directory. This is why delete and
rename operations are so fast: the cartridge is not loaded into a transport.
Archive operations do copy data to a cartridge, but the cartridge directory is not
updated. Once a bin or clip is archived, deleted, or renamed, the library
database and the cartridge’s physical directory are out of synch.
The update and inventory operations allow you to resynchronize the cartridge
directory and library database. The update operation rewrites the cartridge
directory with the library database’s record of what should be on that cartridge.
Conversely, the inventory operation reads the cartridge directory and rewrites
the library database’s entry for that cartridge.
>>> CAUTION: It is very important that you update a cartridge before you
inventory the cartridge. Updating prior to inventorying ensures that the
cartridge directory reflects all archivals, renamings and deletions since the
last update. If you inventory the tape before you update it, any changes to the
tape since the last update are effectively lost.
To update one or more cartridges:
1. In the media tree or contents pane, select one or more cartridge icons.
2. On the
File
menu, or from the shortcut menu with a right-click, click
Update
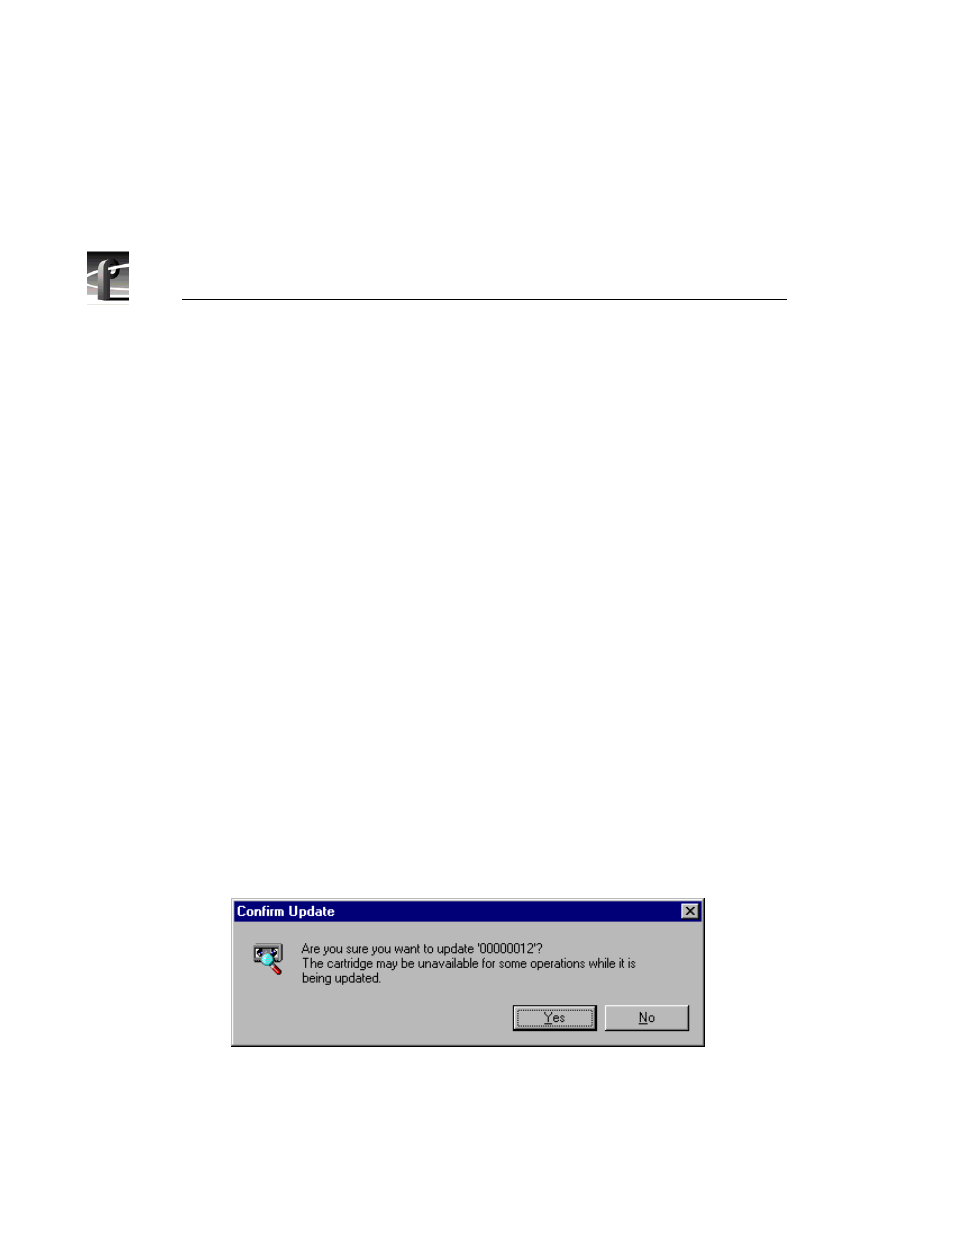
. Since the update takes several minutes to complete, you are asked
to confirm the operation, as shown in Figure 65.
Figure 65. Confirm Update dialog box
3. Click
Yes
to update the cartridge or cartridges.