Channel configuration, View file data – Measurement Computing TempScan/1100 User Manual
Page 150

CV-18 ChartView
988992
Software
Reference
Remember, you can enable additional channels from the Channel and Alarm Setup window. Enabling
additional channels allows you to acquire more data; however, it will not change your display on
ChartView’s Main Window. In other words, you can acquire data from channels you do not monitor.
Channel Configuration
The “Channel Configuration” button brings up the Setup Window with one of three “tabbed” dialog
boxes displayed: Acquisition Setup (page CV-37), Channel & Alarm Setup (page CV-37), or Data
Destination (page CV-43). The information entered in the Acquisition Setup dialog box is used by the
Arm Acquisition command to set up the acquisition of data to disk. When the trigger is satisfied, the
scans are collected at the selected scan frequency and stored to disk in the designated file. The
Channels & Alarms dialog box is used to configure channels and alarms; the Data Destination dialog
box is used to assign a filename and folder location for data, select an Excel or binary format (
.TXT
or
.IOT
respectively), and to select optional Time/Date and/or Alarm Stamps (to be included in the data)
if desired. You can tab back and forth from each one of these dialog boxes to the other.
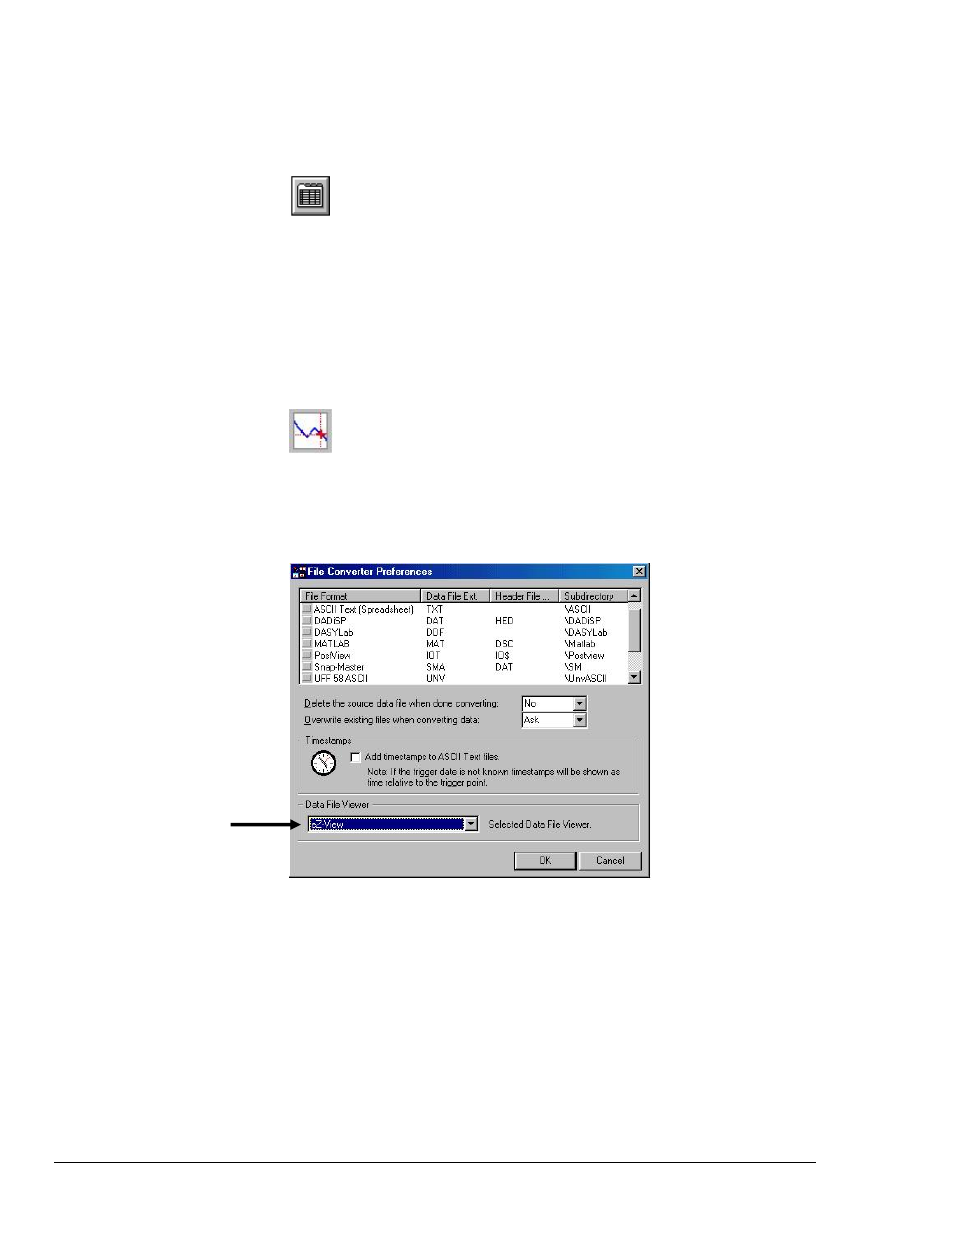
View File Data
If a data file exists, clicking the “View File Data” button will bring up an independent view program,
if such an application has been installed. eZ-PostView is an example of a view application. If you
have more than one view application installed, you can select the one you want to access via the File
Converter Preferences dialog box (following figure). The Converter Preferences dialog is opened
from the Data Destination dialog box, as discussed on page CV-43.
Identifying the Selected Data File Viewer
This field indicates the
Data File Viewer that will
be accessed via the
