Controller settings (seedcommand), Product tab, Information, see – Ag Leader EDGE Ver.4.5 Users Manual User Manual
Page 87: Roduct
75
P
LANTING
• Add
Press to add a new controller. A wizard will walk you through
setting up the controller.
• Keyboard Button
Press to edit the name of a selected controller from the list.
• Wrench Button
Press to edit Controller Settings, including tabs for Channel 1, 2 &
3 settings, and also Auxiliary settings. For more information, see
“Controller Settings (SeedCommand)” on page
• Remove
Press to remove a controller.
Note: When deleting a controller all data in the regions and configurations using it will be deleted.
C
ONTROLLER
S
ETTINGS
(S
EED
C
OMMAND
)
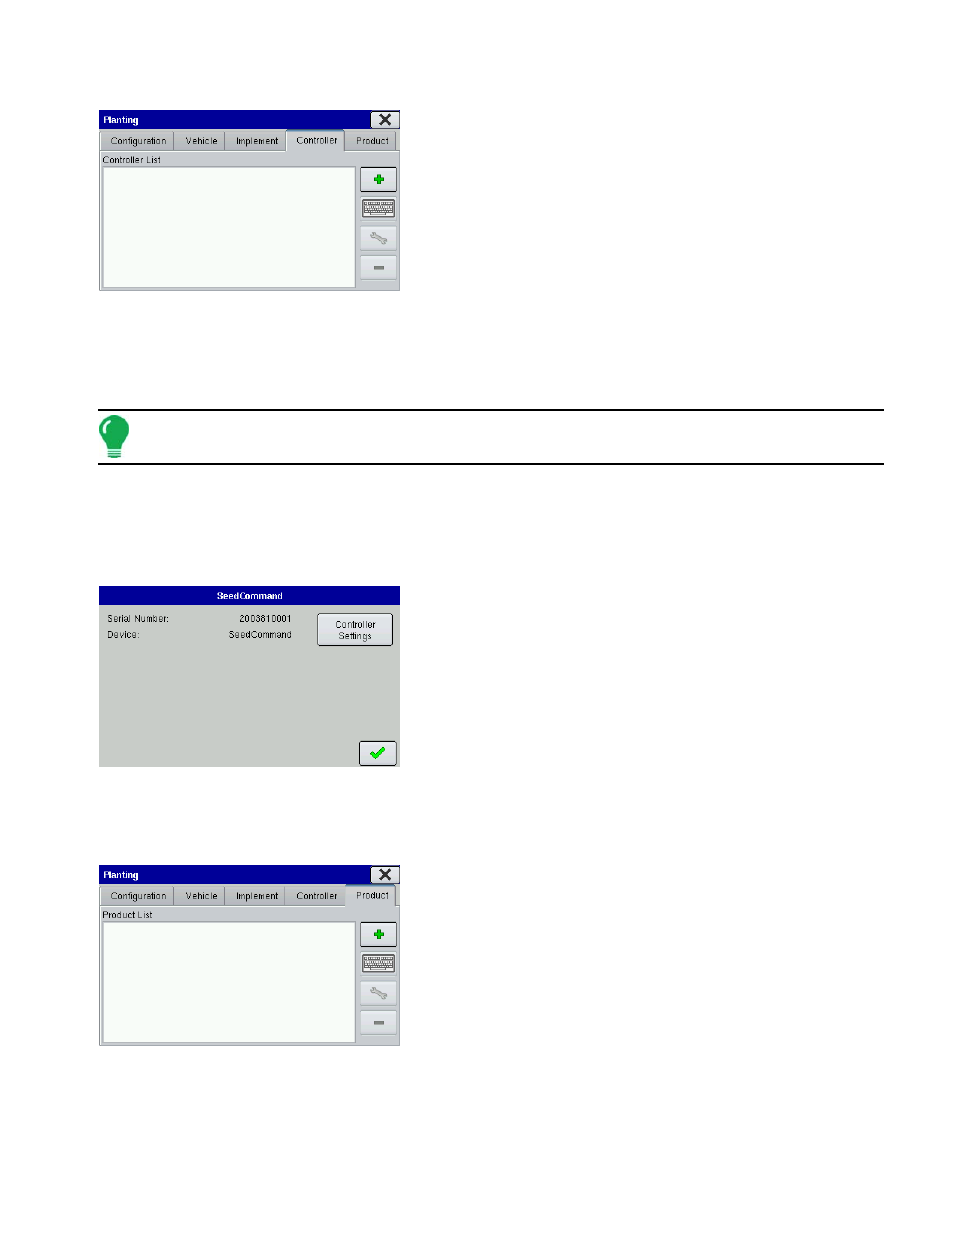
To view Controller Settings, go to the Planting Controller Tab, highlight the controller, press the Wrench
Button, and the Controller Settings screen shows as appears below. The current Device and Serial
Number of that Device is displayed.
Press the Controller Settings button and another Controller
Settings screen opens, where you can view controller settings.
The appearance of this Controller Setting screen varies,
depending upon your SeedCommand configuration.
P
RODUCT
T
AB
The Product Tab allows you to add new products or edit existing products for planting and seeding.
• Add
The Add button summons the Product Options screen, where you
can add or import a product. For more information, see
• Keyboard Button
Press to edit the name of a selected product from the list.
• Wrench Button
Press to view product manufacturer, edit product type, edit product
color or edit map legend. For more information, see
• Remove
The Remove button allows you to remove a product.