Edit vehicle settings – Ag Leader EDGE Ver.4.5 Users Manual User Manual
Page 62
50
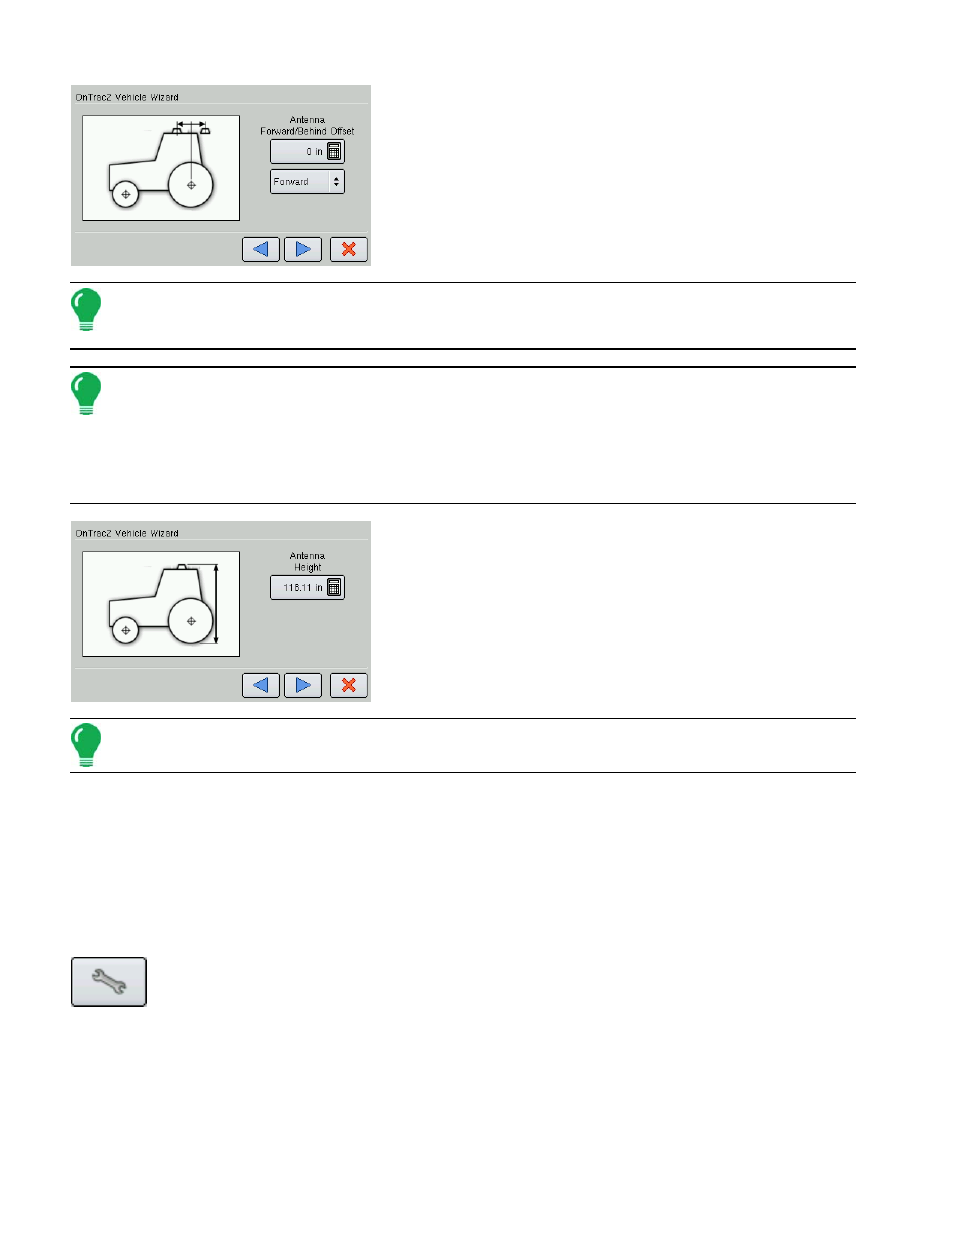
4. Enter Antenna Forward/Behind Offset
Use the numeric keypad to enter the antenna Forward/Behind
position. Press the blue right-arrow button to continue.
Note: Forward indicates the antenna is located in front of the vehicle’s control point. Behind indicates the
antenna is located behind the vehicle’s control point. Be sure to select the appropriate offset for your
configuration.
Note: The Control Point of a vehicle varies, depending upon the type of vehicle. These variations are as
follows:
• Standard Wheeled Vehicle, Sprayer, and Floater - Rear Axle
• Track Vehicle - Center of tracks
• Articulated Tractor - Pivot point of vehicle
• Combine/Swather - Front Axle
5. Enter Antenna Height
Use the numeric keypad to enter the Antenna Height position.
Press the blue right-arrow button to continue.
Note: Antenna height is measured from the base of the antenna to the ground.
6. Enter Vehicle Name
Use the on-screen keyboard to enter in a vehicle name. Press the blue right-arrow button to continue.
7. Acknowledge the Confirmation
The Confirmation screen shows your vehicle name and settings. Press the green check mark box to finish
the configuration. The newly-configured vehicle will now appear in the list underneath the Vehicle Tab.
E
DIT
V
EHICLE
S
ETTINGS
1. Open Vehicle Settings Screen
At the OnTrac2 Vehicle Tab, press the Setup (wrench) tool. At the Vehicle Tab, highlight the vehicle
and press the Setup (wrench) tool at this screen. The Vehicle Settings screen appears, as shown.