Spinner spreader granular control, Spinner spreader control configuration, Beginning on – Ag Leader EDGE Ver.4.5 Users Manual User Manual
Page 159: Pinner, Preader, Ranular, Ontrol
147
A
PPLICATION
S
PINNER
S
PREADER
G
RANULAR
C
ONTROL
The following procedure describes the complete process of configuring a granular spinner bed control
system. To begin, go to the Configuration Tab, press the Add button, and the Operating Configuration
Wizard appears.
S
PINNER
S
PREADER
C
ONTROL
C
ONFIGURATION
1. Select Equipment Configuration Type
Select either Single Product Application or Dual Product Application. Press the blue right-arrow button to
continue.
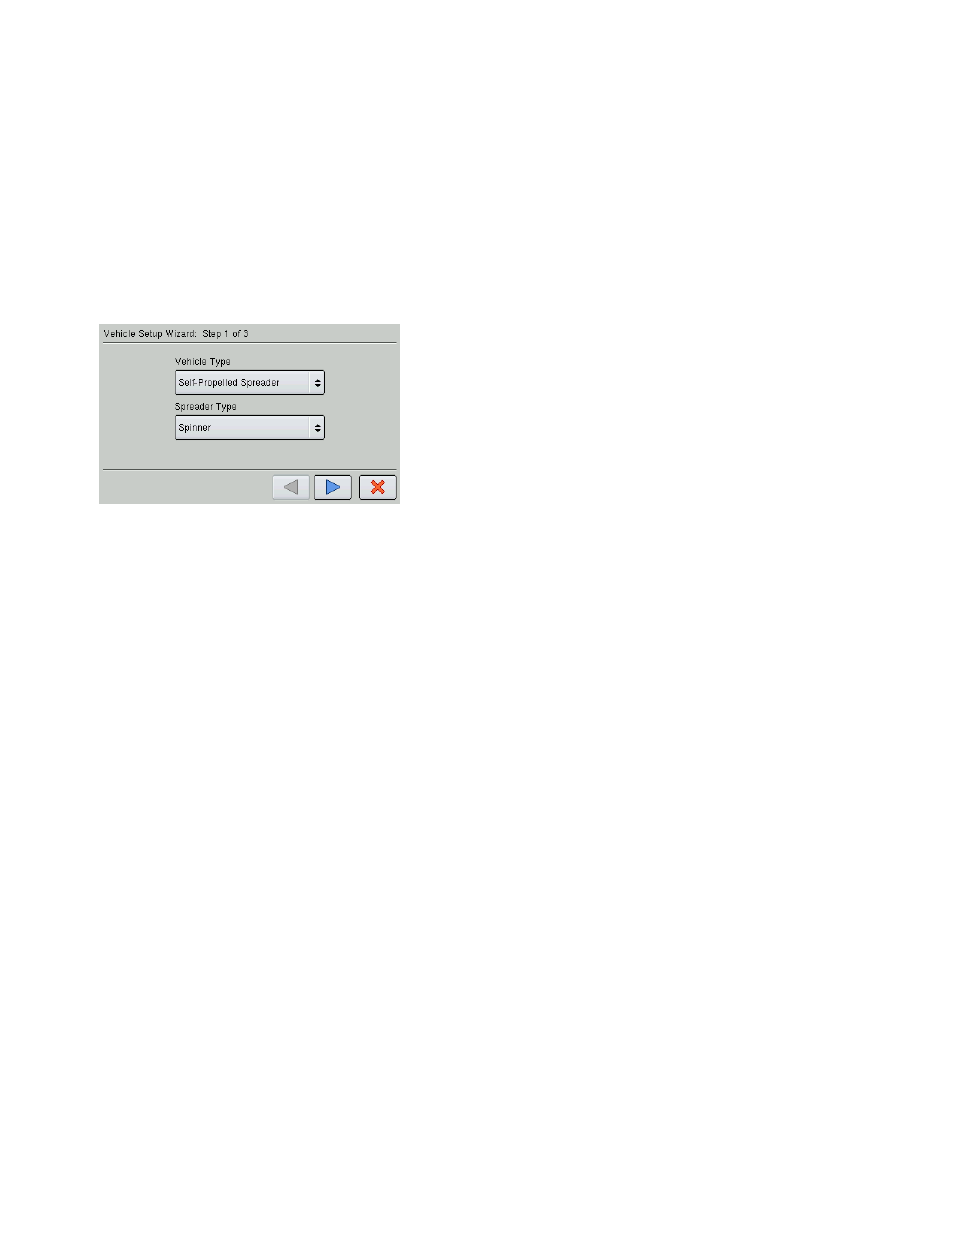
2. Select or create a Vehicle
Use the drop-down list to select an existing vehicle from the Vehicle
list, or press New to launch the Vehicle Wizard to create a new
vehicle.
- Self-Propelled Spreader operators should select Self-Propelled
Spreader from the Vehicle Type list box. Select Spinner from the
Spreader Type list box; then press the blue right-arrow button to
continue.
- Other operators should select another vehicle type under the
Vehicle Type list.
- If you do not need to create a new vehicle, skip ahead to Select Operating Mode in Step 4 on
.
3. Create New Vehicle
- If you selected Self-Propelled Spreader, then skip ahead to Select Operating Mode in Step 4.
- If you selected another type of vehicle, then Select New Implement and an Implement Attachment
Method. Use the drop-down list to select an implement attachment method. Check the Spinner
Spreader Implement Type check box; then press the blue right-arrow button to continue.
4. Select New Implement
Select an implement from the drop-down list menu, or press the New button to create a new implement.
-a. Select Implement Attachment Method. Use the drop-down list to select an implement attachment
method. Check the. Spinner Spreader Implement Type check box; then press Next to
continue.
-b. Enter Distance From Hitch to Application Point. Enter the distance from the hitch to the application
point using the number pad button. Press the blue right-arrow button to continue.
-c. Enter Implement Name. Use the keyboard button to enter a name for the implement. Press Finish to
complete the implement setup process and return to the Operating Setup Wizard.
5. Select Operating Mode
Select Rate Logging/Control from the drop-down list box as the operating mode. Press the blue right-arrow
button to continue.
6. Select Controller
If you choose to enter a new controller, the Controller Setup Wizard appears. Select DirectCommand from
the Select Device drop-down list box.