Cycle run, N (see "measure kinematics (cycle 451, din/iso – HEIDENHAIN iTNC 530 (34049x-08) Cycle programming User Manual
Page 480

480
Touch probe cycles: automatic kinematics measurement
18
.4
MEA
S
URE
KINEMA
TICS
(Cy
cle
451,
DIN/ISO:
G451;
Option)
18.4 MEASURE KINEMATICS
(Cycle 451, DIN/ISO: G451;
Option)
Cycle run
The touch probe cycle 451 enables you to check and, if required,
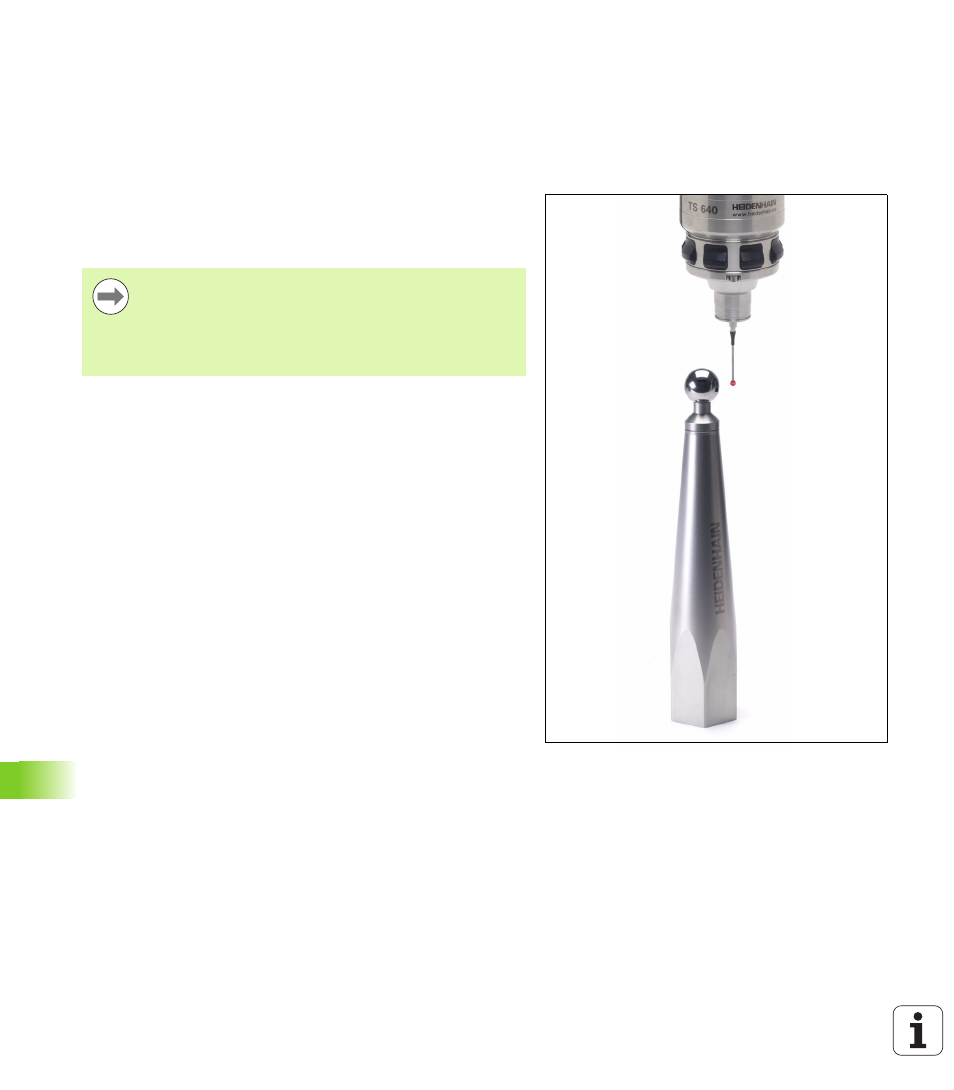
optimize the kinematics of your machine. Use the 3-D TS touch probe
to measure a HEIDENHAIN calibration sphere that you have attached
to the machine table.
The TNC evaluates the static tilting accuracy. The software minimizes
the spatial error arising from the tilting movements and, at the end of
the measurement process, automatically saves the machine
geometry in the respective machine constants of the kinematics
description.
1
Clamp the calibration sphere and check for potential collisions.
2
In the Manual Operation mode, set the datum in the center of the
sphere, or if Q431=1 or Q431=3 is defined: In the touch probe axis,
manually position the touch probe over the calibration sphere , and
in the working plane, over the sphere center.
3
Select the Program Run mode and start the calibration program.
HEIDENHAIN recommends using the calibration spheres
KKH 250
(ID number 655 475-01) or KKH 100 (ID number
655 475-02), which have particularly high rigidity and are
designed especially for machine calibration. Please
contact HEIDENHAIN if you have any questions in this
regard.
