11 measure coordinate (cycle 427, din/iso: g427), Cycle run, Please note while programming – HEIDENHAIN iTNC 530 (34049x-08) Cycle programming User Manual
Page 444: Cycle run please note while programming

444
Touch probe cycles: automatic workpiece inspection
16.1
1
MEA
S
URE
COORDINA
TE
(Cy
cle
427
, DIN/ISO:
G427)
16.11 MEASURE COORDINATE
(Cycle 427, DIN/ISO: G427)
Cycle run
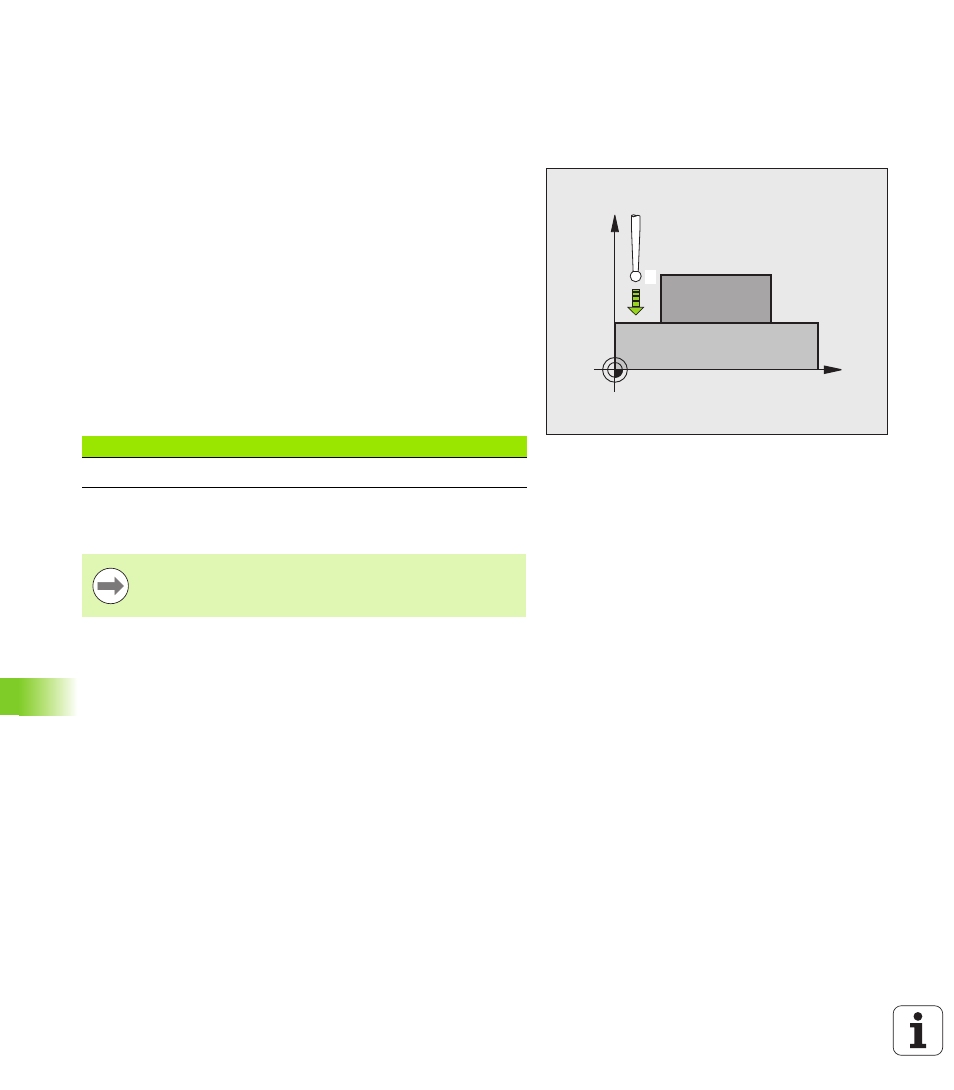
Touch Probe Cycle 427 finds a coordinate in a selectable axis and
saves the value in a system parameter. If you define the
corresponding tolerance values in the cycle, the TNC makes a
nominal-to-actual value comparison and saves the deviation value in
system parameters.
1
Following the positioning logic (see "Executing touch probe cycles"
on page 332), the TNC positions the touch probe to the probe
starting point
1
at rapid traverse (value from MP6150). The TNC
offsets the touch probe by the safety clearance in the direction
opposite the defined traverse direction.
2
Then the TNC positions the touch probe to the entered touch point
1
in the working plane and measures the actual value in the
selected axis.
3
Finally the TNC returns the touch probe to the clearance height and
saves the measured coordinate in the following Q parameter:
Please note while programming:
X
Z
1
Parameter number
Meaning
Q160
Measured coordinate
Before a cycle definition you must have programmed a
tool call to define the touch probe axis.
