Header setup screen, Labels, Prompts – HEIDENHAIN ND 2100G User Manual
Page 96: 3 s o ft wa re s e tu p
96
2 Installation and Specifications
2
.3
S
o
ft
wa
re
s
e
tu
p
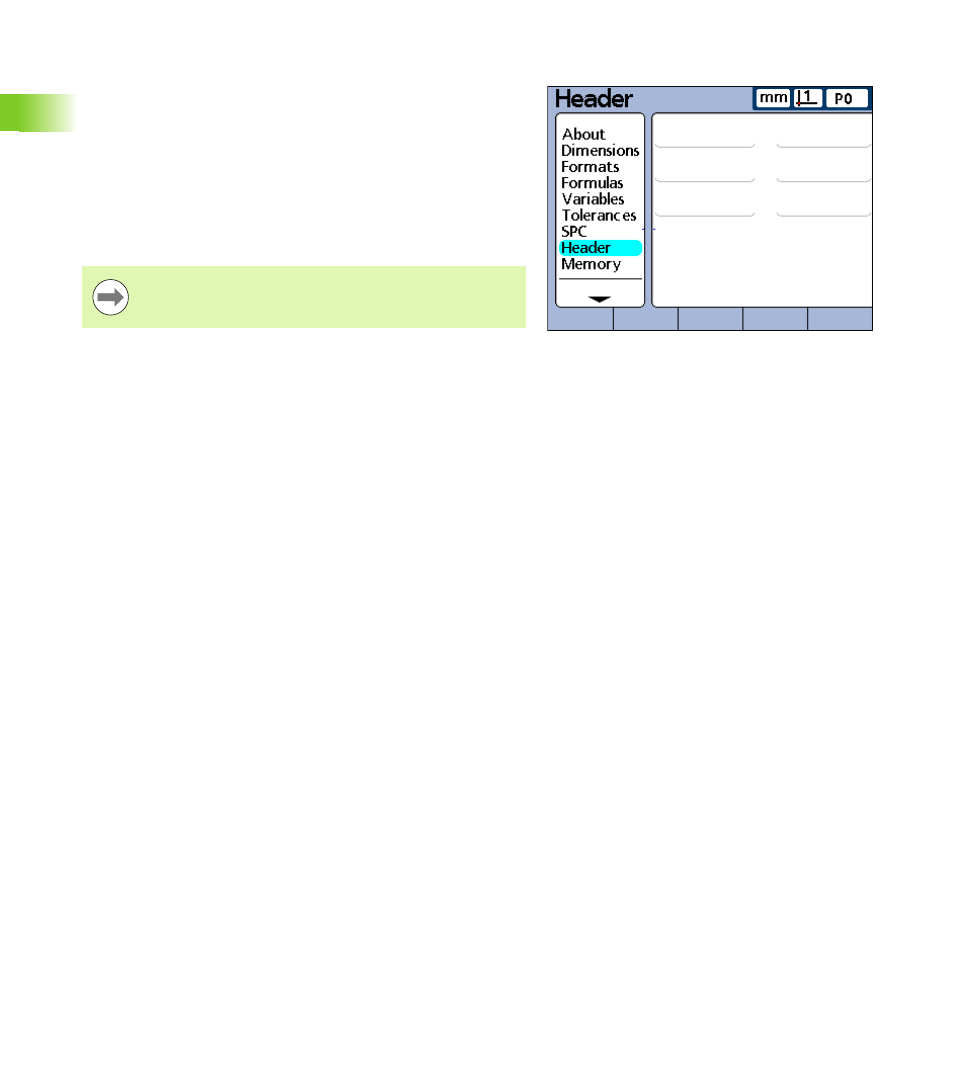
Header setup screen
The Header setup screen contains fields for creating header labels and
user prompts for text that will be included on printed reports. Header
information will be printed in text fields at the top of all reports
oriented as shown on the Header setup screen.
Each header text field can be defined as a Label or a Prompt. Labels
are created in the Header setup screen and printed on reports.
Prompts are also created in the Header setup screen and printed on
reports, but prompts elicit additional information from the user when
the PRINT key is pressed. The user text response to the prompt will
be printed next to the prompt on the report.
Labels
To create a label:
U
Highlight the desired header field
U
Press the LABEL soft key to define the field as a label
U
Press the CHANGE soft key to display the Alpha Entry screen
U
Use the arrow cursor keys to select the desired character
U
Press the ENTER key to append the selected character to the
message line. Use the SP character to include spaces.
U
Use the numeric keypad to enter numbers
U
Press the FINISH key to return to the Header setup screen
Prompts
To create a prompt:
U
Highlight the desired header field
U
Press the PROMPT soft key to define the field as a prompt
U
Press the CHANGE soft key to display the Alpha Entry screen
U
Use the arrow cursor keys to select the desired character
U
Press the ENTER key to append the selected character to the
message line. Use the SP character to include one space after the
prompt, so that the prompt message is separated from the user’s
text response.
U
Use the numeric keypad to enter numbers
U
Press the FINISH key to return to the Header setup screen
Header setup screen.
Alpha characters can be entered in upper or lower case.
Press the ABC soft key for upper case, or the abc soft key
for lower case.