Assembling the mounting stand, Benchtop location and mounting – HEIDENHAIN ND 2100G User Manual
Page 62
62
2 Installation and Specifications
2.2 Har
d
w
a
re
Installation
2.2 Hardware Installation
The ND 2100G is easy to install in a variety of measurement
applications. This section describes how to install the ND 2100G
hardware.
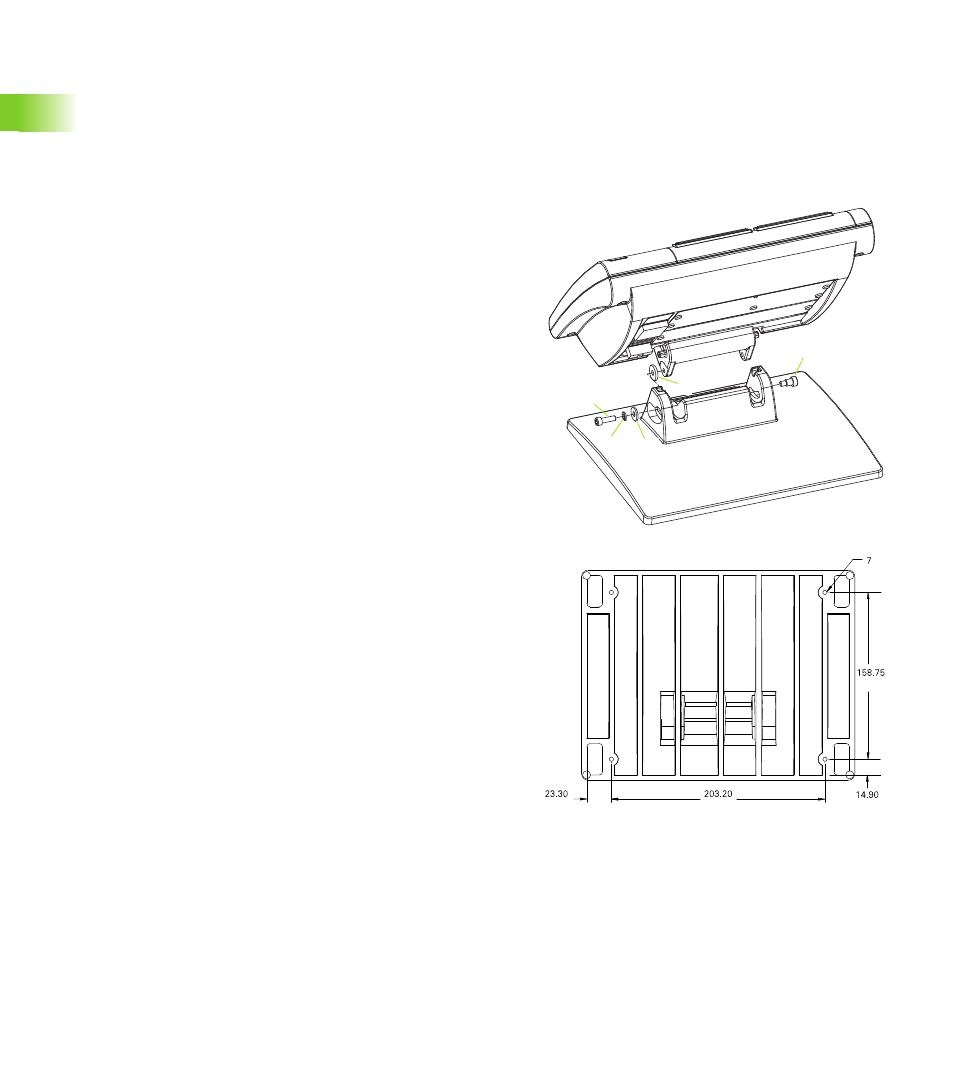
Assembling the mounting stand
The ND 2100G is secured to the swivel slots of the mounting stand by
a shoulder screw, a cap screw and associated washers.
To assemble the ND 2100G to the mounting stand as shown, and then
tighten the cap screw (
5
) and washers (
3
&
4
) so that the ND 2100G
will be secure when adjusted to the desired tilt position.
U
Tighten the shoulder screw (
1
)
U
Tighten the cap screw (
5
) and washers (
3
&
4
) so that the ND 2100G
will be secure when adjusted to the desired tilt position
U
Adjust the ND 2100G to the desired tilt position
Benchtop location and mounting
Rest the ND 2100G on a flat, stable surface, or bolt it to a stable
surface from the bottom using four 10/32 screws fastened in the
pattern shown at the right.
The dimensions are shown in millimeters.
Mounting stand assembly.
Mounting hole pattern.
5
4
3
2
1