3 measur ing w o rkpieces with a 3-d touc h p robe – HEIDENHAIN TNC 426B (280 472) ISO programming User Manual
Page 324

HEIDENHAIN TNC 410, TNC 426, TNC 430
309
To find the angle between the angle reference axis and
a side of the workpiece:
ú
Select the touch probe function: Press the PROBING
ROT soft key
ú
Rotation angle: If you will need the current basic
rotation later, write down the value that appears under
Rotation angle.
ú
Make a basic rotation with the side of the workpiece
(see “Compensating workpiece misalignment”).
ú
Press the PROBING ROT soft key to display the angle
between the angle reference axis and the side of the
workpiece as the rotation angle.
ú
Cancel the basic rotation, or restore the previous basic
rotation:
ú
This is done by setting the Rotation angle to the value
that you wrote down previously.
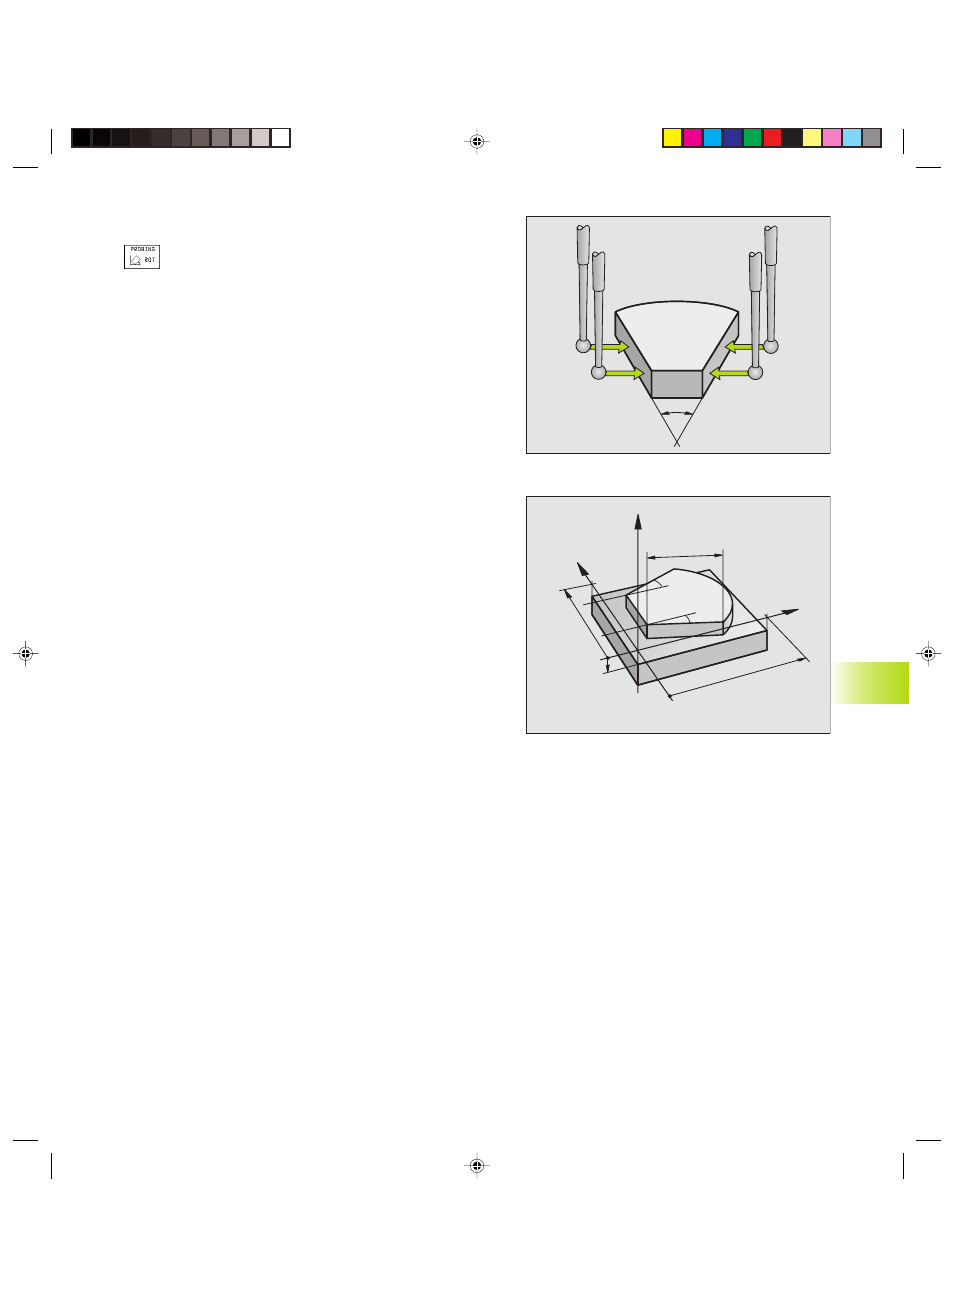
To measure the angle between two workpiece sides:
ú
Select the probing function by pressing the PROBING ROT soft
key.
ú
Rotation angle: If you will need the current basic rotation later,
write down the value that appears under Rotation
angle.
ú
Make a basic rotation for the first side (see “Compensating
workpiece misalignment”).
ú
Probe the second side as for a basic rotation, but do
not
set the
Rotation angle to zero!
ú
Press the PROBING ROT soft key to display the angle PA between
the two sides as the Rotation angle.
ú
Cancel the basic rotation, or restore the previous basic rotation by
setting the Rotation angle to the value that you wrote down
previously.
PA
–10
100
α
?
α
?
L?
X
Z
Y
100
12.3 Measur
ing W
o
rkpieces with a 3-D
Touc
h
P
robe
Okap12.pm6
29.06.2006, 08:06
309
