3 measur ing w o rkpieces with a 3-d touc h p robe – HEIDENHAIN TNC 426B (280 472) ISO programming User Manual
Page 323

12 3-D Touch Probes
308
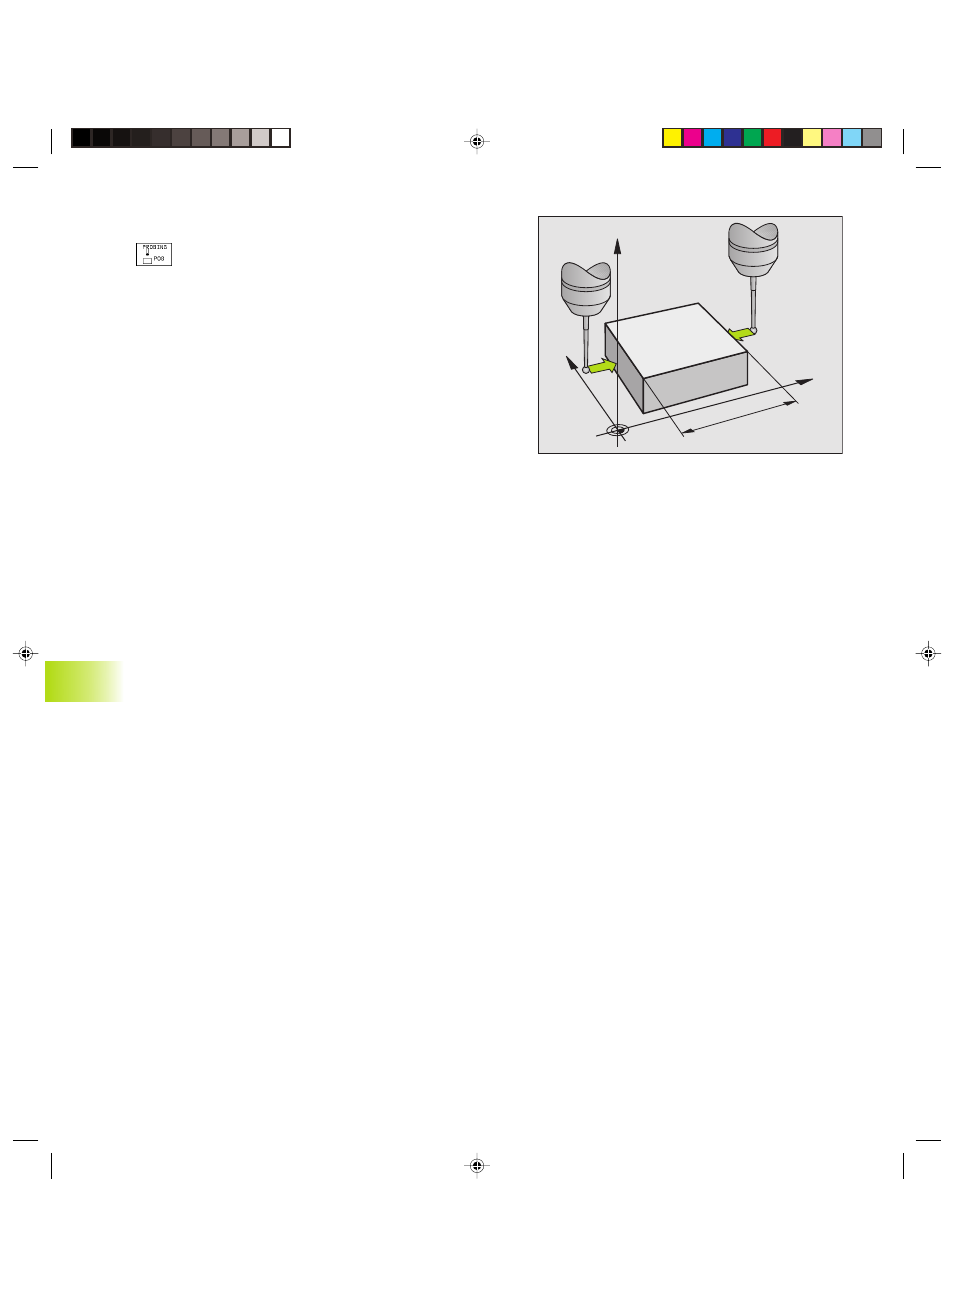
Measuring workpiece dimensions
To select the touch probe function: Press the PROBING
POS soft key
ú
Position the touch probe at a starting position near the
first touch point A.
ú
Select the probing direction with a soft key.
ú
To probe the workpiece, press the machine START
button.
ú
If you will need the current datum later, write down
the value that appears in the Datum display.
ú
Datum: Enter “0”.
ú
To terminate the dialog, press the END key.
ú
Select the touch probe function again: Press the
PROBING POS soft key
ú
Position the touch probe at a starting position near the
second touch point B.
ú
Select the probe direction with the soft keys: Same
axis but opposite direction from A.
ú
To probe the workpiece, press the machine START
button.
The value displayed as Datum is the distance between the two
points on the coordinate axis.
To return to the datum that was active before the
length measurement:
ú
To select the touch probe function: Press the PROBING POS soft
key.
ú
Probe the first touch point again.
ú
Set the Datum to the value that you wrote down previously.
ú
To terminate the dialog, press the END key.
Measuring angles
You can use the 3-D touch probe to measure angles in the working
plane. You can measure
■
the angle between the angle reference axis and a workpiece
side, or
■
the angle between two sides.
The measured angle is displayed as a value of maximum 90°.
12.3 Measur
ing W
o
rkpieces with a 3-D
Touc
h
P
robe
Y
X
Z
A
B
l
Okap12.pm6
29.06.2006, 08:06
308
