Ii. installing dc psu – H3C Technologies H3C S9500 Series Switches User Manual
Page 115
Installation Manual
H3C S9500 Series Routing Switches
Chapter 6 Switch Monitoring and Maintenance
6-6
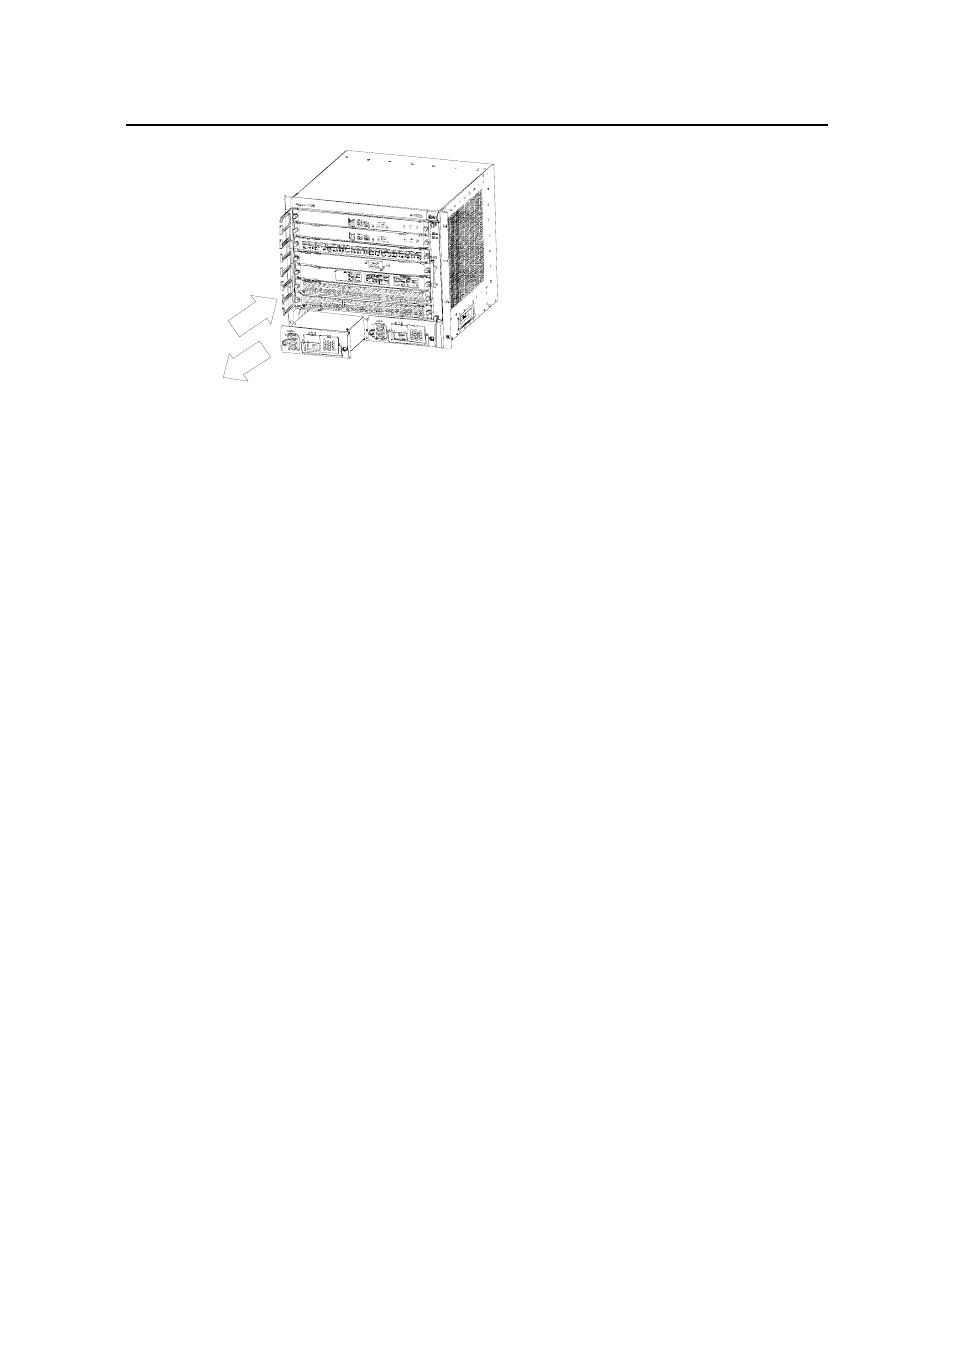
Figure 6-2 Remove and install the DC PSU
2)
Removing DC PSU for S9508/S9512
Step 1: Turn the power switch on the DC PSU to the “OFF” position, and remove all the
input power cords after disconnecting the input power.
Step 2: Hold the air filter cover with your thumb and forefinger.
Step 3: Remove the air filter cover gently.
Step 4: Hold the handle of the PSU and pull the PSU gently out of the chassis along the
guides.
II. Installing DC PSU
1)
Installing DC PSU for S9502/S9505
Step 1: Hold the handle of the PSU, and gently slide the PSU into the chassis along the
guides without incline and until it mates the backplane well.
Step 2: Fasten the captive screws at both sides of the PSU panel with a Phillips
screwdriver and cover the PSU with the air filter.
Step 3: Check that the power switch on the panel is in the “OFF” position and connect
the cables as required.
2)
Installing DC PSU for S9508/S9512
Step 1: Remove the air filter from the PSU. Hold the handle of the PSU, and gently slide
the PSU into the chassis along the guides horizontally until it mates the backplane well.
Step 2: Check if the black mesh has been fitted into the air filter cover. If not, fit it
properly.
Step 3: Hold the air filter cover with your thumb and forefinger and fit it into the power
module.
Step 4: Check that the power switch on the panel is in the “OFF” position and connect
the cables as required.
- H3C S7500E Series Switches H3C S7500 Series Switches H3C S5800 Series Switches H3C S5820X Series Switches H3C S5500 Series Switches H3C S5120 Series Switches H3C S3610[S5510] Series Switches H3C S3600 Series Switches H3C S3100 Series Switches OAA For Routers H3C WX6000 Series Access Controllers H3C WX5000 Series Access Controllers H3C WX3000 Series Unified Switches H3C LSQM1WCMB0 Access Controller Module H3C LSBM1WCM2A0 Access Controller Module H3C WA2600 Series WLAN Access Points H3C WA2200 Series WLAN Access Points H3C SecPath F1000-E H3C SecPath F1000-A H3C SecPath F1000-S H3C SecPath F100-A H3C SecPath F100-C-EI H3C SecPath V100-E H3C SecCenter iTAS H3C Device Manager