Creating a sample application file chapter 5 – Rockwell Automation 2711 PANELBUILDER SOFTWARE USER MANUAL User Manual
Page 152
Creating a Sample Application File
Chapter 5
5-38
These eight steps allow you to add a second Momentary (Normally
Closed) Push Button. To add the remaining three, recall and assign the
memorized button three times.
The table below shows the values you must enter for each push button:
Table 5.C
Values Assigned to the Push Buttons for Screen 2
Position
Row, Column
Function Key
Addresses
Name
БББББББББ
БББББББББ
21, 21
БББББББББ
БББББББББ
11
ББББББББББ
ББББББББББ
D I 1 0/3 & D O 1 0/3
БББББББББ
БББББББББ
FRT CENTER OFF
БББББББББ
БББББББББ
21, 31
БББББББББ
БББББББББ
12
ББББББББББ
ББББББББББ
D I 1 0/5 & D O 1 0/5
БББББББББ
БББББББББ
CENTER OFF
БББББББББ
БББББББББ
21, 41
БББББББББ
БББББББББ
13
ББББББББББ
ББББББББББ
D I 1 0/7 & D O 1 0/7
БББББББББ
БББББББББ
BCK CENTER OFF
БББББББББ
БББББББББ
21, 51
БББББББББ
БББББББББ
14
ББББББББББ
ББББББББББ
D I 1 0/11 & D O 10/11
БББББББББ
БББББББББ
BACK OFF
You have defined all ten push buttons. To complete the screen, add one
“Return To Previous Screen” button.
Add the “Return To Previous Screen” Button
1.
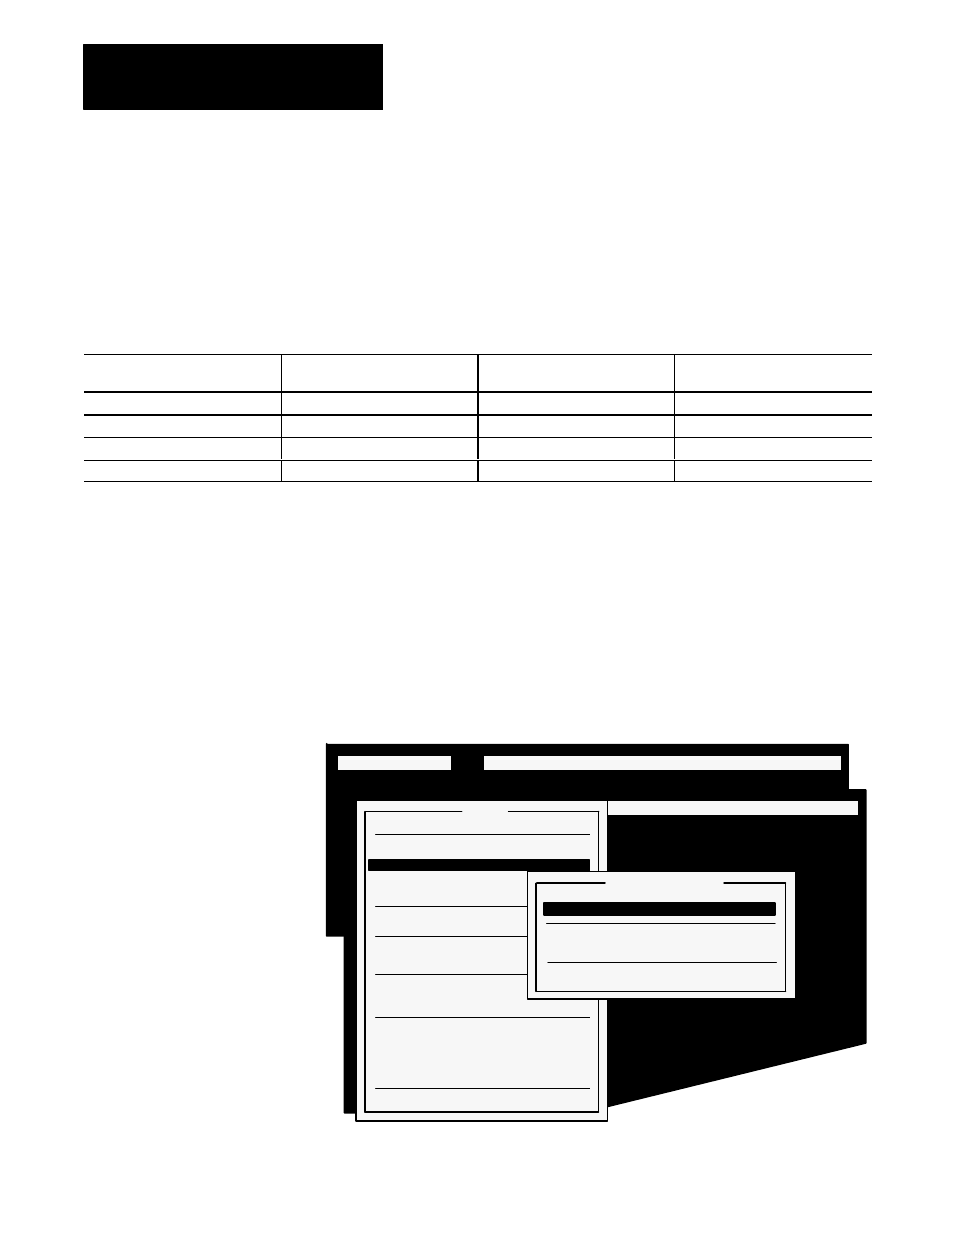
Choose Screen Selectors from the Add menu and choose “Return To
Previous Screen” Button from the Screen Selectors menu.
Figure 5.53
The Screen Selectors Menu
21085
SCREEN MENU:
Add
Edit Move Delete Memorize Recall Options Exit
SCREEN MENU:
Add
Edit Move Delete Memorize Recall Options Exit
Add
Push Buttons
Control Selectors
Screen Selectors
Indicators
Numerics
Text/Draw
Symbol
Bar Graphs
Time & Date
Screen Print Button
Local Message Display
ASCII Display
ASCII Input
Small
Scrolling List
Cursor List
Quit
Screen Selectors
Go To Screen" Button
Return to Previous Screen" Button
Screen List Selector
Screen Keypad-Enable Button
Quit