Step 3: create the screens – Rockwell Automation 2711 PANELBUILDER SOFTWARE USER MANUAL User Manual
Page 122
Creating a Sample Application File
Chapter 5
5-8
With the communications set up, you can create the screens that were
planned in the worksheets in Chapter 4, Planning Your Application.
Screen 1: MAIN SCREEN
1.
The first screen automatically becomes Screen 1. To create it, choose
Screens from the File menu.
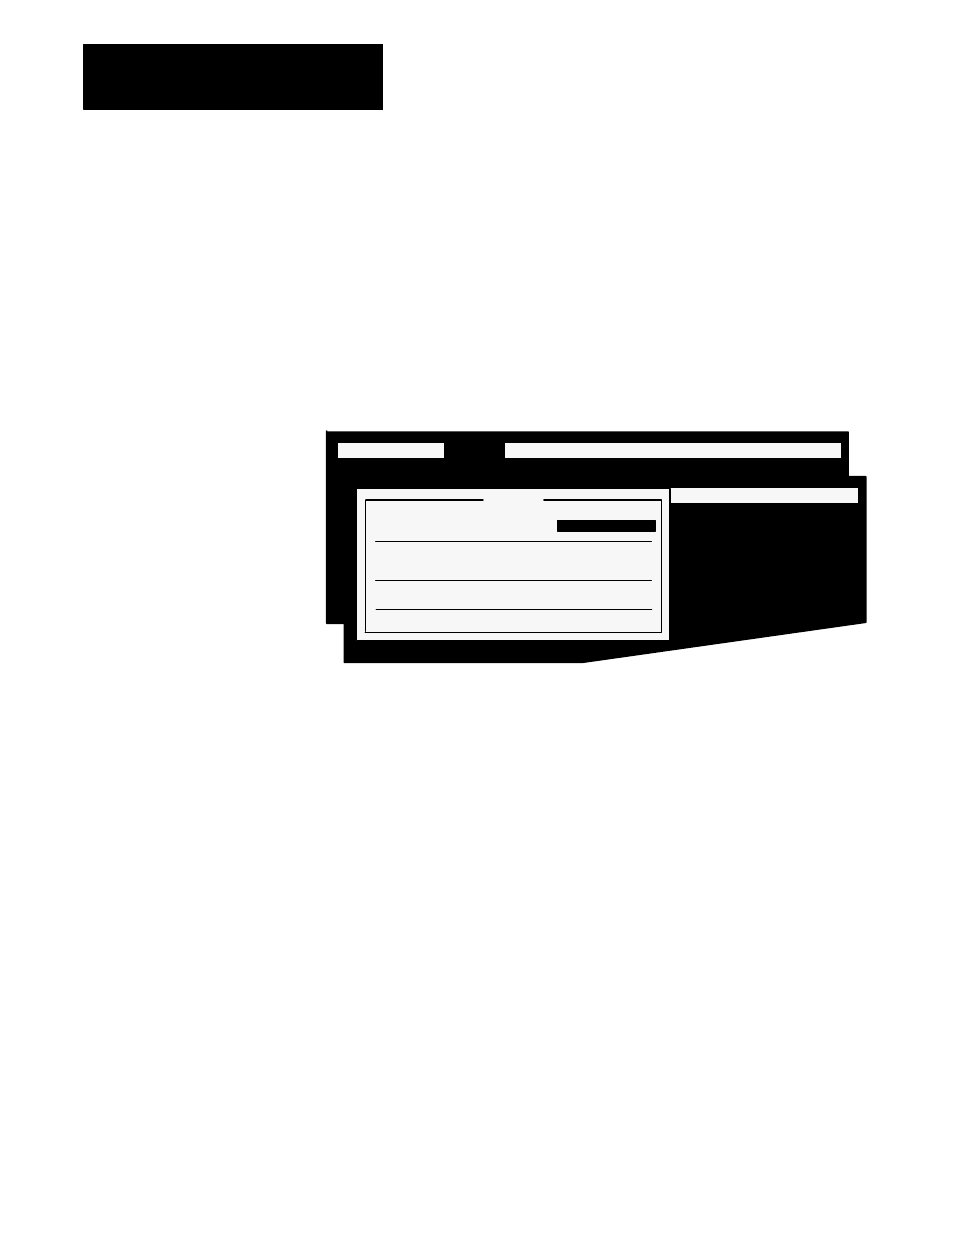
Figure 5.10
The Screens Menu
20041
FILE MENU:
Screens
Windows Options Communications Exit
FILE MENU
Screens
Windows Options Communications Exit
Screens
Select Screen
Create New Screen
1
MAIN SCREEN
Utilities
Powerup Screen 255
Alarm History
Application File Comment
Quit
2.
Choose Create New Screen and press Enter to open the screen
number field.
3.
Press Enter to open the screen name field.
4.
Type in the name MAIN SCREEN and press Enter again.
IMPORTANT: Each screen is automatically numbered, but any unused
screen number can be entered.
Once the screen is named, the Screen menu appears. The screen is empty
because no objects have been defined yet. The name of the screen is
displayed at the bottom.
IMPORTANT: As you add or edit screens and objects, PanelBuilder
updates the “Size” display, which shows the amount of memory the
application will require in a PanelView terminal. As you add screens and
objects, this number increases. The version compatibility is also shown: a
lower version application file runs only on the same or higher version
terminal. For example, a version 3 application will run on version 3, 4 or 5
terminals, but not on version 1 or 2 terminals. (See
Table 2.C
.)
Step 3: Create the Screens