3 retention time history, Retention time history -55 – Yokogawa GC8000 Process Gas Chromatograph User Manual
Page 102
<4. Display and Operations while Connected to GC8000>
4-55
IM 11B06C01-01E
8) The concentration analysis results are displayed for up to 5,000 past analyses tracing back
from the specified file. The analysis results are then not automatically updated.
4.5.3
Retention Time History
The window displays the analysis results for all systems included in the selected GCM or for each
system belonging to that GCM.
l
Displaying from the latest retention time
1) Select Retention Time History in the Window menu, or the Retention Time History tab to
display the Retention Time History window.
2) Select SYS Number Select in the Display Item menu, or the system number or GCM of the
retention time result you want to display from the system number select combo box on the
toolbar.
3) Select Open History in the File menu, or the Open History command button on the toolbar to
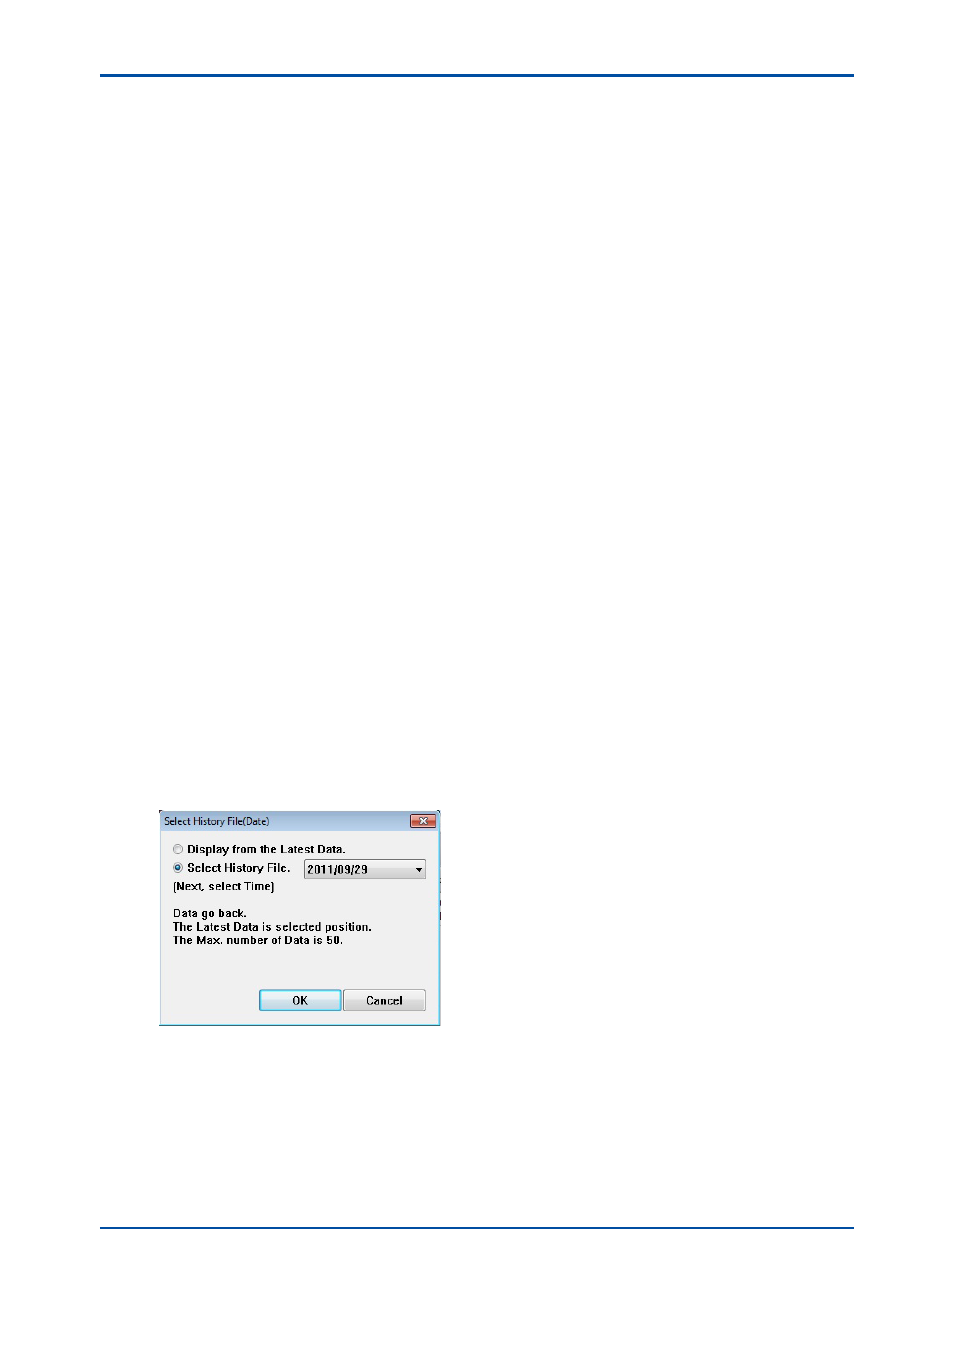
open the history setting dialog box.
4) From the radio button selecting Display from Latest or Display from History, select Display
from Latest, then apply it by pressing the OK button.
5) The retention time results are displayed for the latest and past up to 5,000 analyses
tracing back from the latest. Each time the latest analysis result is obtained, the results are
automatically updated in the window. Then, the “being updated automatically” message
appears on the title bar.
l
Displaying retention time (history) results from the past
1) Select Retention Time History Window in the Window menu, or the Retention Time History
Window tab to display the Retention Time History window.
2) Select SYS Number Select in the Display Item menu, or the system number or GCM of the
retention time result you want to display from the system number select combo box on the
toolbar.
3) Select Open History in the File menu, or the Open History command button on the toolbar to
open the history setting dialog box.
4) From the radio button selecting Display from Latest or Display from History, select Display
from History, then apply it by pressing the OK button.
5) From the Display from History combo box, select the desired year and month, and apply it
using the OK button.
Figure 4.68
Year and month setting dialog box
5th Edition : Nov. 16, 2011-00