Editing a clip: moving mark-in/mark-out – Grass Valley M-Series iVDR User Manual v.2.0.10 User Manual
Page 174

174
M-Series User Manual
20 April 2005
Chapter 7 Playing and Editing
Editing a clip: Moving mark-in/mark-out
Every clip has a mark-in point and a mark-out point which refer to the first and last
frames displayed when the clip is played. When first recorded, clip marks are set to
the beginning and end of available media. You can edit the clip marks in order to
reference only the desired media. When clip marks are moved, unused media is not
deleted, and the marks can be moved again, or reset again to display all available
media. (See also
“Editing a clip: Clearing mark-in/mark-out” on page 175
The following restrictions apply when editing clip marks:
• Mark-in must precede the mark-out
• Marks cannot be set outside the recorded media
• Marks cannot be changed on a clip that is still being recorded.
NOTE: If more media exists after the current mark, a <<< or >>> symbol is
displayed beneath the mark In/Out timecode. To permanently remove media outside
the marks, refer to
“Erasing a clip’s unused media” on page 239
.
To move clip marks, load the clip in the Player pane, then use one of the following
methods.
•
“Using the In/Out buttons” on page 174
•
“Using the timecode entry controls” on page 174
•
“Using the clip length control” on page 175
Using the In/Out buttons
To move clip marks:
1. Use the transport controls to locate the desired frame.
2. In Play view, select
In
to set mark-in point, or
Out
to set mark-out point.
Using the timecode entry controls
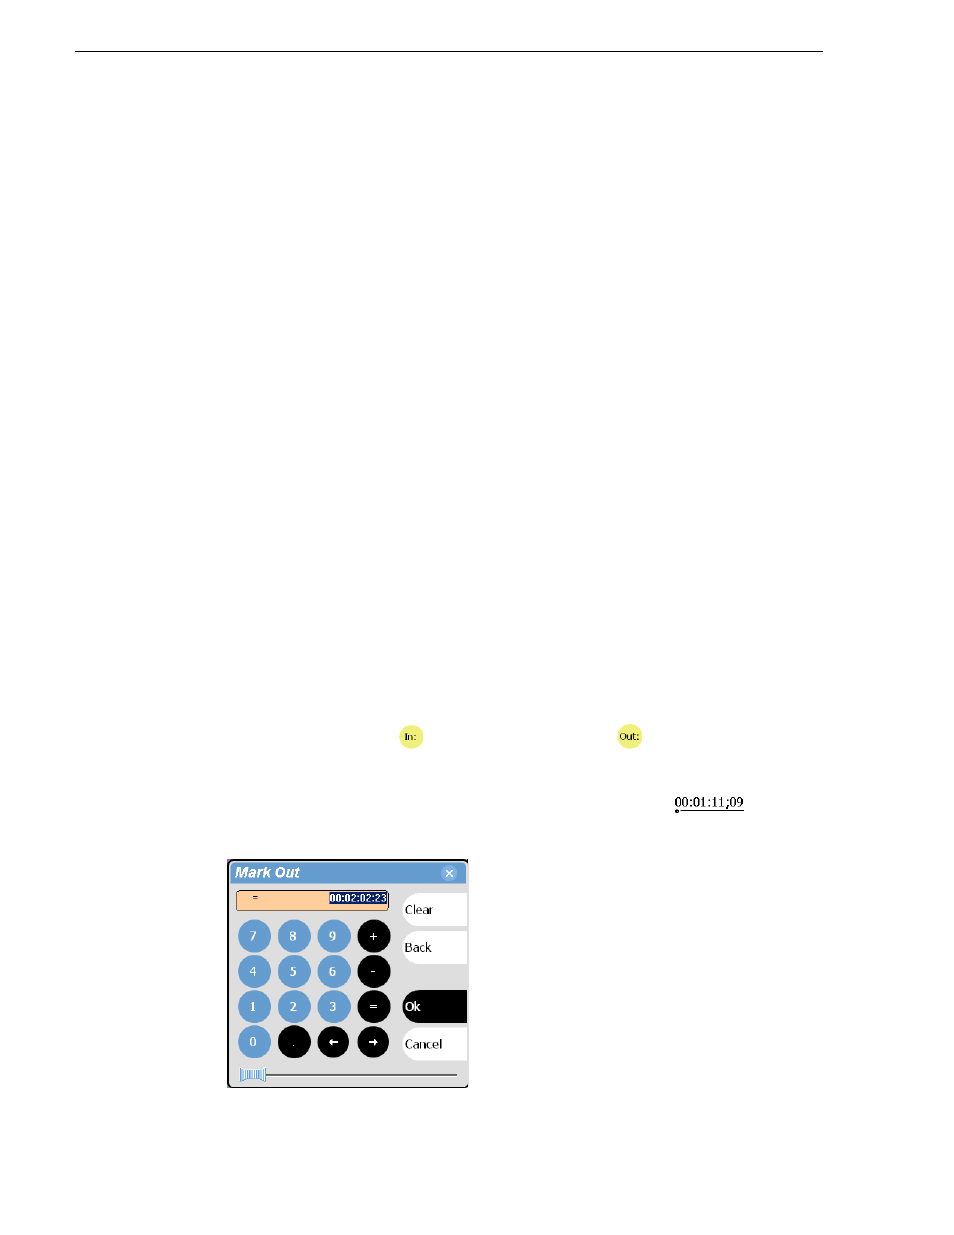
1. In Play view, select the mark-in or mark-out
to
open
the timecode entry dialog box.
