Pinhole protocol options, Pinhole protocol options -51, Igure – Verilink XEL XSP-100 SHARK IAP (9SA-USRS-9.0R1.02) Product Manual User Manual
Page 105: Ip b, Ridge, Nabling, Able, Ip r, Outer, Erver

Chapter 5: Graphical User Interface (GUI/WEB) Configuration Pages
SHARK™ IAD User's Guide
XEL P/N & Release: 9SA-USRS-9.0R1.02
Chapter 5-51
Save
IP Bridge Configuration
Fether
on
off
Figure 48:
IP Bridge Enabling
Pinhole
Configuration Page
The next page to configure is the pinhole configuration page. From the
IP/Routing configuration
menu, click on the Pinhole button to display the
Pinhole Configuration page as shown in Figure 49. The first two fields are for
the network server port configuration. Enter in the ports the server is using.
These ports are described in Table 18.
Network Address Translation (NAT) pinholes let you pass specific types of
network traffic through the router's NAT interfaces. NAT pinholes allow you to
route selected types of network traffic, such as FTP requests or HTTP (Web)
connections, to a specific host on the SHARK™ IAD’s LAN network
transparently. To set up NAT pinholes, you identify the type(s) of traffic you
want to redirect by port number, and you specify the internal host to which each
specified type of traffic should be directed. The Pinhole Configuration page
allows the user to define router pinholing. Table 19 defines the pinhole options.
Pinhole Configuration
Web-HTTP Port:
80
Telnet Port:
23
Save
Home
When finished adding or deleting Pinhole Entries, click the Home button and restart the router.
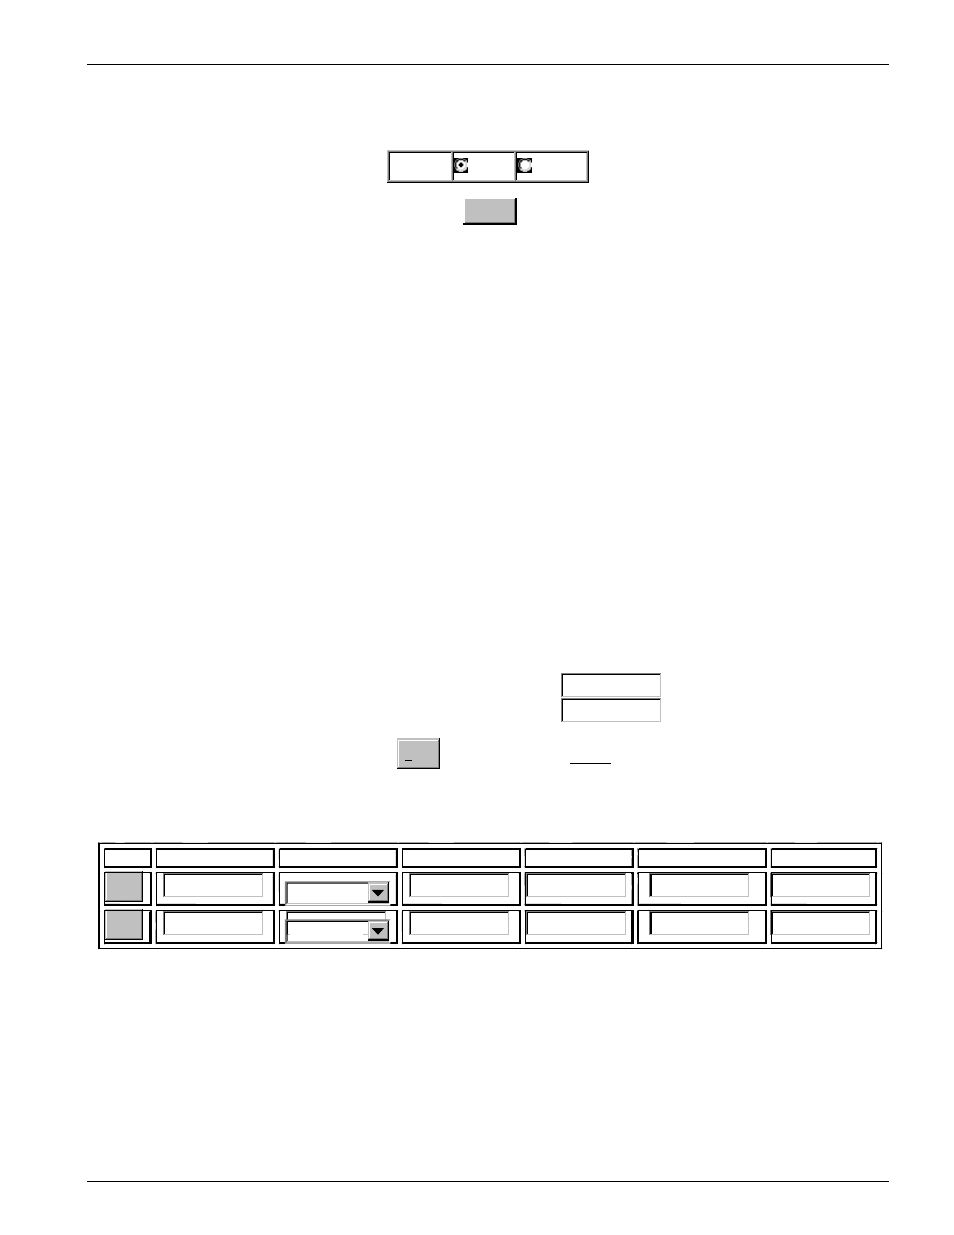
NOTE: Add entries below either by selecting a protocol or by entering a protocol by number. Fill out only the form for the method chosen
Pinhole Entries
Name
Protocol
Ext Port Start
Ext Port End
Int IP Addr
Int Port
Add
Add
TCP
TCP
Figure 49:
The Pinhole definition page
P
INHOLE
P
ROTOCOL
O
PTIONS
The Pinhole Configuration page Protocol menu allows the user to select one of
the four types of IP protocols that is being redirected "through the pinhole".
Click on the Protocol button of the Pinhole page to select the protocol being
redirected. The available options are shown in Table 19. Use the ADD button to
save each pinhole that you have defined. Click on the save button to store your
