Igure, Dns c, Onfiguration – Verilink XEL XSP-100 SHARK IAP (9SA-USRS-9.0R1.02) Product Manual User Manual
Page 104: Dns configuration
Chapter 5: Graphical User Interface (GUI/WEB) Configuration Pages
Chapter 5-50
XEL P/N & Release: 9SA-USRS-9.0R1.02
SHARK™ IAD User's Guide
D
OMAIN
N
AME
S
YSTEM
(DNS)
C
ONFIGURATION
P
AGE
Domain Name System (DNS) is an information service for TCP/IP networks that
uses a hierarchical naming system to identify network domains and the hosts
associated with them. You can identify a primary DNS server and one secondary
server. Clicking on DNS from the IP/Router configuration menu will display the
DNS control page as shown in Figure 47.
– Domain Name: Specifies the default domain name for your network.
When an application needs to resolve a host name, it appends the default
domain name to the host name and asks the DNS server if it has an address
for the "fully qualified host name."
– Primary Name Server Address: Specifies the IP address of the primary
DNS name server.
– Secondary Nameserver Address: Specifies the IP address of the secondary
DNS name server. This field is optional and does not need to be entered if
your network does not have a secondary DNS name server. The system will
default to 0.0.0.0.
•
Make your selection by filling in all the fields.
•
Click on the save button
Once the save button is pressed the SHARK™ IAD returns to the IP/Routing
configuration
menu.
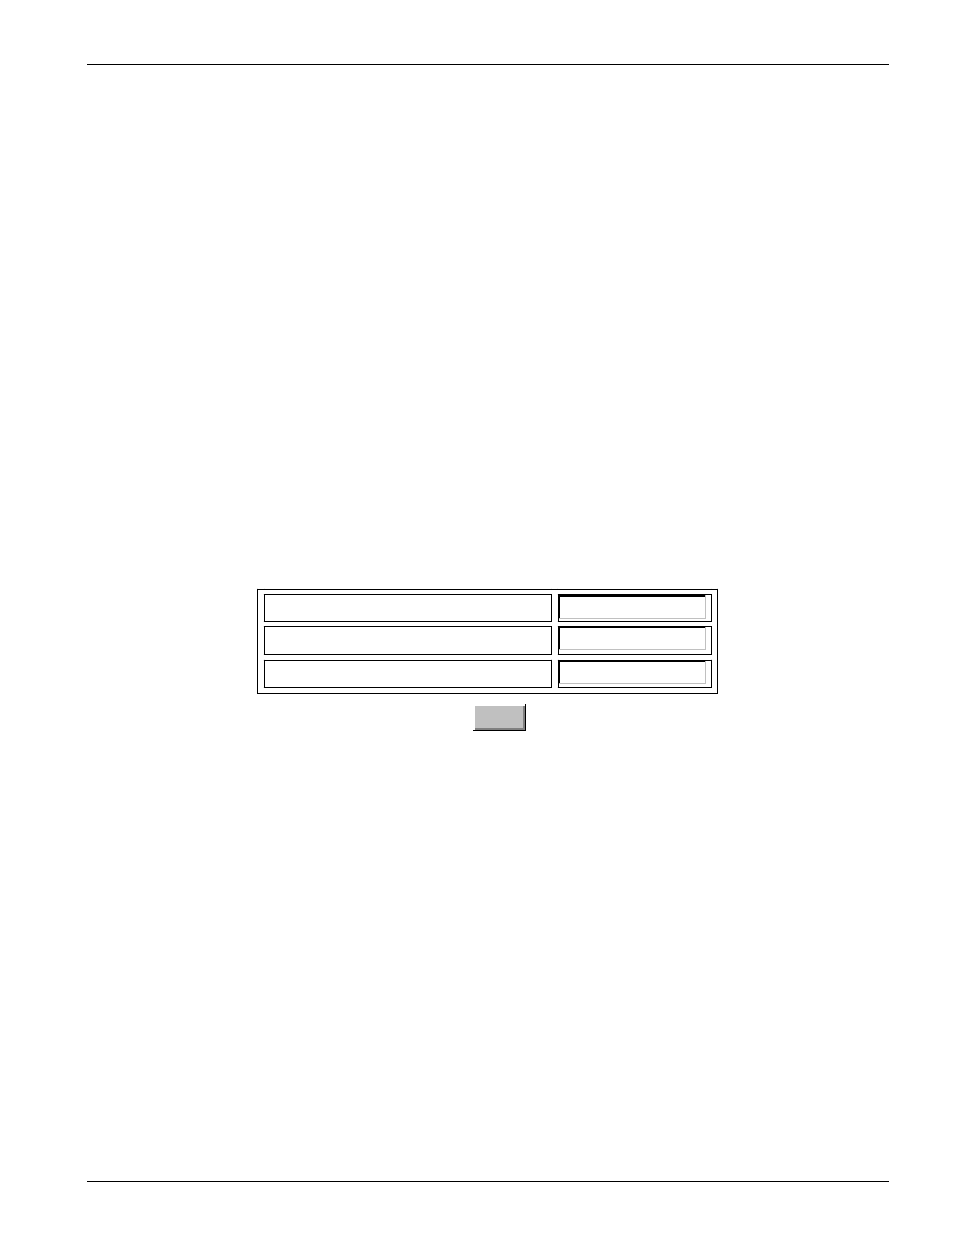
DNS Configuration
DNS Settings
Domain Name:
xel.com
Primary Nameserver Address:
0.0.0.0
(Optional) Secondary Nameserver Address:
0.0.0.0
Save
Figure 47:
DNS Configuration Page
B
RIDGE
C
ONFIGURATION
P
AGE
Bridging lets the SHARK™ IAD use MAC (Ethernet hardware) addresses to
forward non-TCP/IP traffic from the SHARK™ IAD's Fether port to another
network. When bridging is enabled, the SHARK™ IAD maintains a table of up
to 64 MAC addresses. Entries that are not used within 10 minutes are dropped.
If the bridging table fills up, the oldest table entries are dropped to make room
for new entries. Clicking on the Bridge button of the IP/Router configuration
menu will display the Bridge control page as shown in Figure 48.
•
Click on the on or off button to enable or disable bridging.
•
Click on the save button
NOTE: Bridging is only available in Frame Relay Mode.
Once the save button is pressed the SHARK™ IAD returns to the IP/Routing
configuration
menu.