Static routes, Igure, Tatic – Verilink XEL XSP-100 SHARK IAP (9SA-USRS-9.0R1.02) Product Manual User Manual
Page 102: Able, Oute parameter definitions
Chapter 5: Graphical User Interface (GUI/WEB) Configuration Pages
Chapter 5-48
XEL P/N & Release: 9SA-USRS-9.0R1.02
SHARK™ IAD User's Guide
S
TATIC
R
OUTES
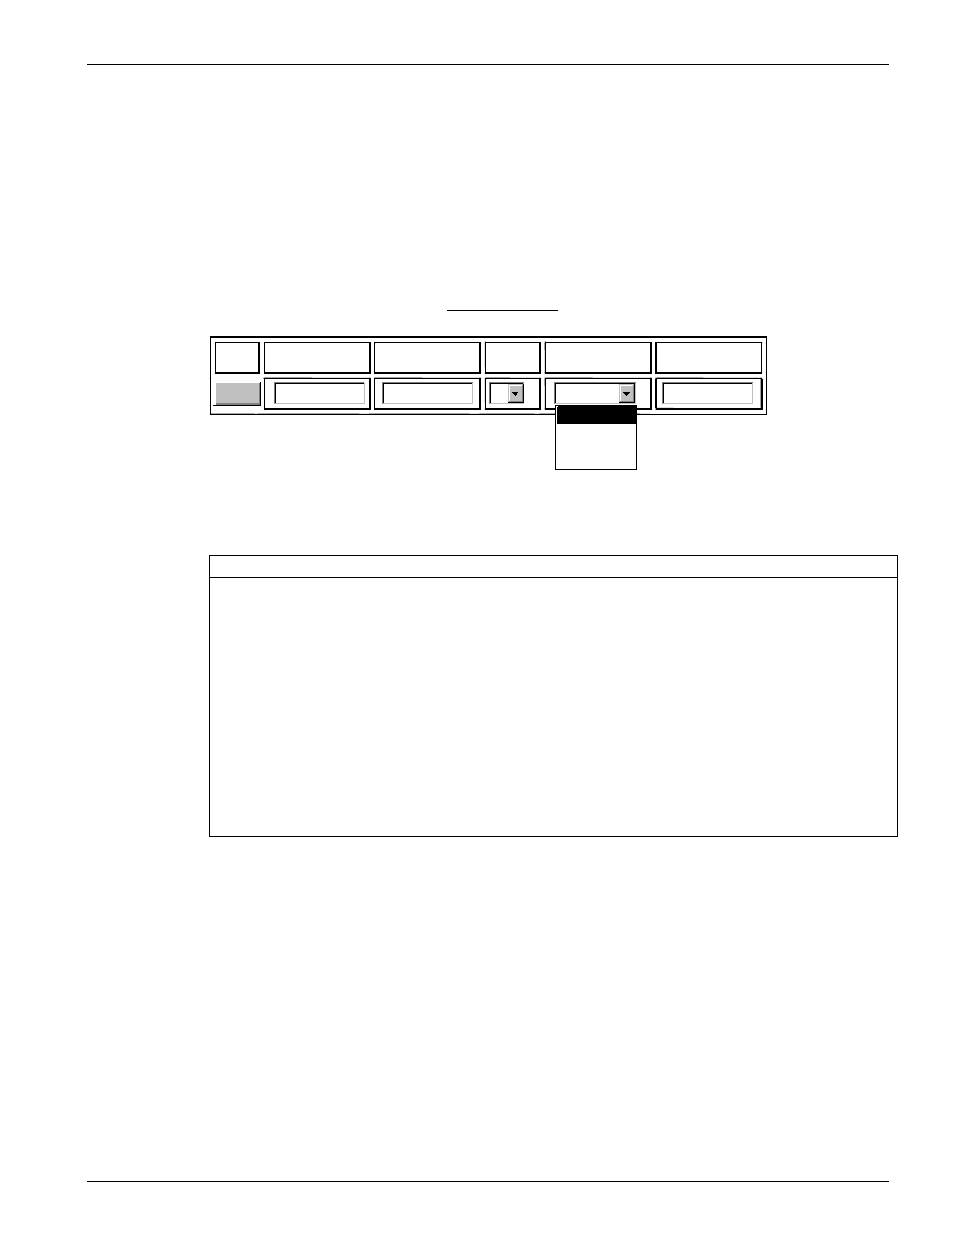
Figure 45 shows the Static Routes configuration page. A static route identifies a
manually configured pathway to a remote network. Unlike dynamic routes,
which are acquired and confirmed periodically from other routers, static routes
do not time out. Consequently, static routes are useful when working with PPP,
since an intermittent PPP link may make maintenance of dynamic routes
problematic. Table 16 defines the parameters for the static route.
Destination
Network
Destination
Netmask
Metric
Gateway
Interface
Gateway
Address
3
IP address
STATIC ROUTES
Return to the IP Configuration
page
tdm1
FDL
IP address
Add
Figure 45:
Static Routes configuration page
Table 16:
Static Route parameter definitions
Parameter
Description
Destination network
Specifies the network IP address for the static route.
Destination Netmask
Specifies the subnet mask for the IP network at the other end
of the static route.
metric
Specifies the metric (hop count) for the static route. The
default metric is 1.
Gateway Interface
Specifies the interface through which the static route is
accessible.
Gateway Address
If you specified the gateway is accessible through an IP
address, specifies the IP address of the gateway for the static
route. The default gateway must be located on a network
connected to the SHARK™ IAD configured interface.
Once all the fields are filled in, click on the add button to store your changes.
The SHARK™ IAD returns to this page to allow for adding more static routes.
When you are done adding static routes click on return to the IP configuration
page.
D
YNAMIC
H
OST
C
ONFIGURATION
P
ROTOCOL
(DHCP)
C
ONFIGURATION
P
AGE
The next step in configuring your SHARK™ IAD is to set up the DHCP
parameters. Dynamic Host Configuration Protocol will automatically assign an
IP address as each device is attached to the LAN side. From the IP menu, click
on DHCP. Figure 46 displays the page with which to set the DHCP parameters.
Table 17 defines the parameters for the DHCP Configuration.