Importing cartridges into partitions – HP StoreEver ESL G3 Tape Libraries User Manual
Page 172
NOTE:
Unless the situation requires it, use the host application to move, load, unload, import,
or export cartridges instead of doing so through the LMC. Using the host to move media ensures
that the host view of the library remains in sync with the actual library configuration.
Importing cartridges into partitions
When you first start using your library, open the door and manually insert directly into storage
slots as many cartridges as you plan to use. The cartridges will not go back all the way if they are
inserted incorrectly.
After your library begins operation, use the Import Media window to add cartridges without
interrupting library operations. Place cartridges in the I/E station. The scanner automatically reads
the barcodes on the new cartridges.
To import cartridges into partitions:
1.
Ensure that you are viewing the partition into which you want to import a data cartridge. From
the View menu, select the name of the appropriate partition.
2.
Insert a data cartridge into an appropriate I/E station. You can insert multiple cartridges up
to the maximum number of slots in your I/E station.
3.
To see which I/E stations are associated with a particular partition, select Monitor
→I/E Station.
4.
Select Operations
→Import or click the Import button on the toolbar.
If the partition is not offline, a message asks whether you want to take it offline.
5.
Click Yes.
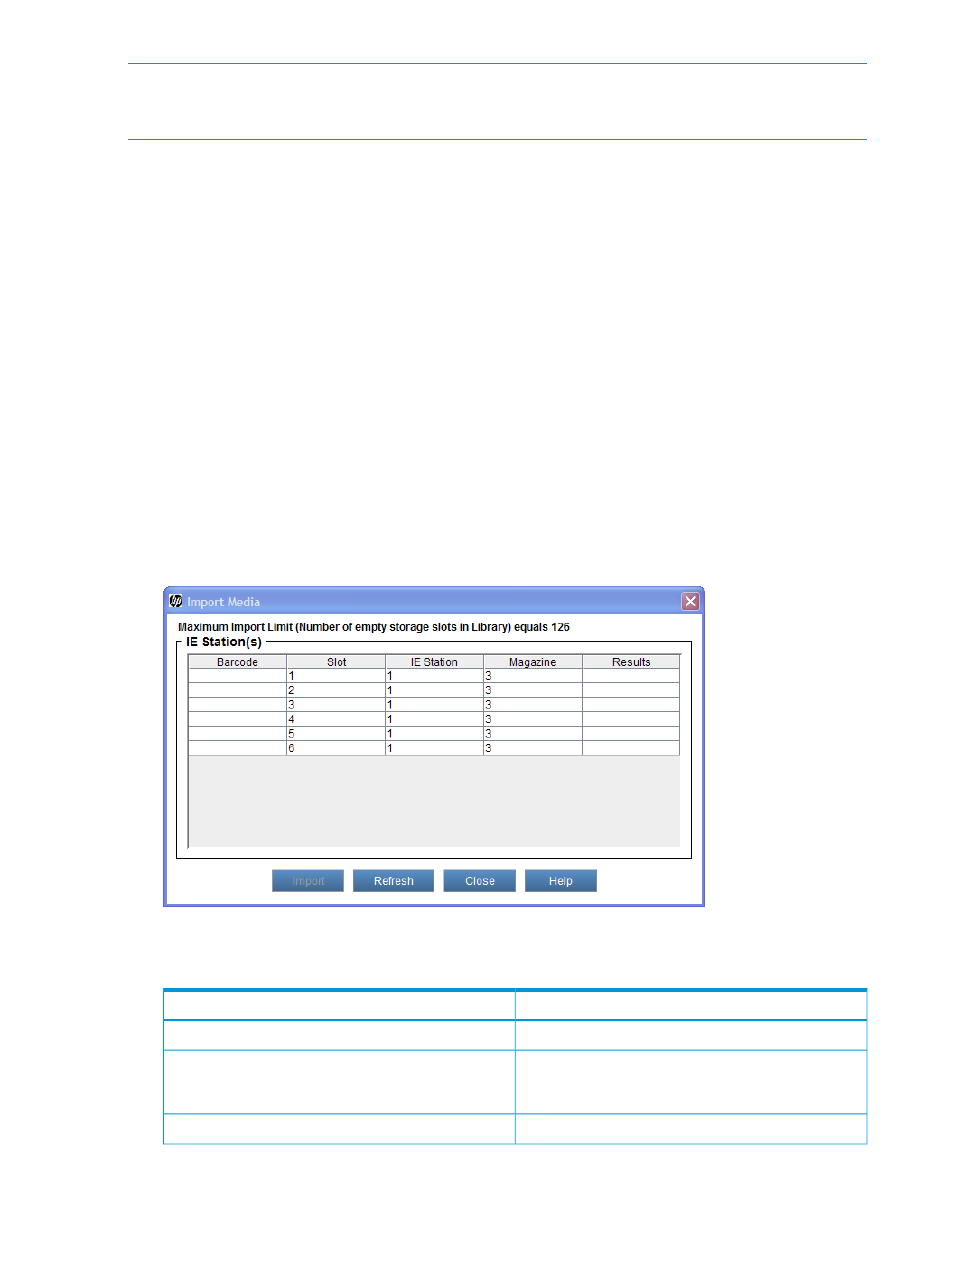
The Import Media window displays a list of cartridges in the I/E station.
describes the elements in the Import Media window.
Table 35 Import Media window
Description
Element
The volume serial number of the cartridge.
Barcode
The slot number in the I/E station magazine. To
understand the location designation, see
location coordinates” (page 88)
.
Slot
The module number.
I/E Station
172
Working with cartridges and barcodes