3 nat setup – ZyXEL Communications Parental Control Gateway HS100/HS100W User Manual
Page 249
HomeSafe User’s Guide
25-2
NAT
Step 3.
Move the cursor to the Edit IP field, press [SPACE BAR] to select Yes and then press
[ENTER] to bring up Menu 11.3 - Remote Node Network Layer Options.
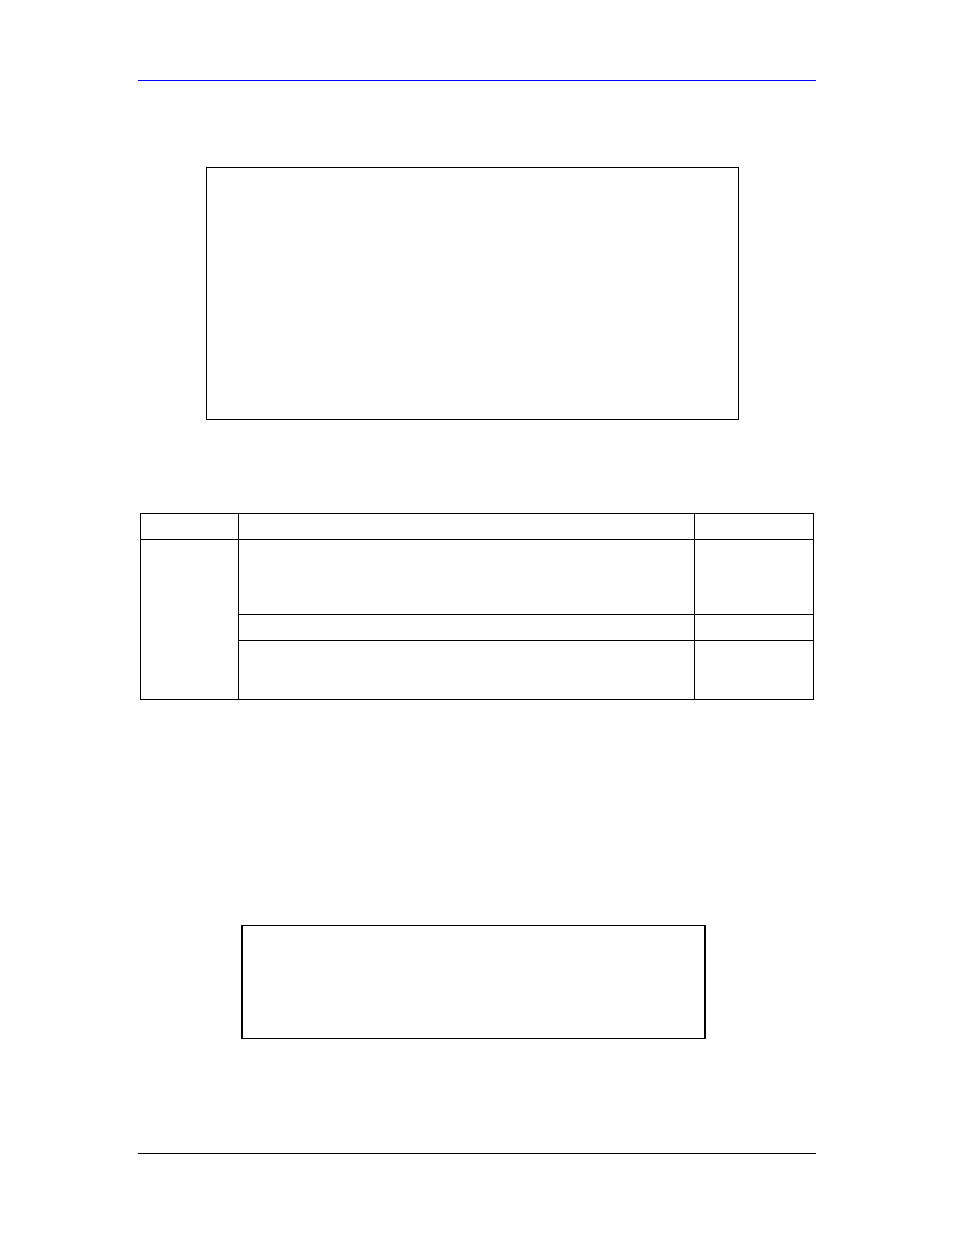
Figure 25-2 Menu 11.3 Applying NAT to the Remote Node
The following table describes the options for Network Address Translation.
Table 25-1 Applying NAT in Menus 4 & 11.3
FIELD DESCRIPTION EXAMPLE
Press [SPACE BAR] and then [ENTER] to select Full Feature if you
have multiple public WAN IP addresses for your HomeSafe. The SMT
uses the address mapping set that you configure and enter in the
Address Mapping Set field (menu 15.1 - see section 25.3.1).
Full Feature
Select None to disable NAT.
None
NAT
When you select SUA Only, the SMT uses Address Mapping Set 255
(menu 15.1 - see section 25.3.1). Choose SUA Only if you have just
one public WAN IP address for your HomeSafe.
SUA Only
25.3 NAT Setup
Use the address mapping sets menus and submenus to create the mapping table used to assign
global addresses to computers on the LAN. Set 255 is used for SUA. When you select Full
Feature in menu 4 or 11.3, the SMT will use Set 1. When you select SUA Only, the SMT will
use the pre-configured Set 255 (read only).
The server set is a list of LAN servers mapped to external ports. To use this set, a server rule must
be set up inside the NAT address mapping set. Please see the section on port forwarding in the
chapter on NAT web configurator screens for further information on these menus. To configure
NAT, enter 15 from the main menu to bring up the following screen.
Figure 25-3 Menu 15 NAT Setup
Menu 11.3 - Remote Node Network Layer Options
IP Address Assignment= Dynamic
IP Address= N/A
IP Subnet Mask= N/A
Gateway IP Addr= N/A
Network Address Translation= SUA Only
Metric= 1
Private= N/A
RIP Direction= None
Version= N/A
Multicast= None
Menu 15 - NAT Setup
1. Address Mapping Sets
2. Port Forwarding Setup
3. Trigger Port Setup