Kofax Getting Started with Ascent Xtrata Pro User Manual
Page 69
Chapter 2
50
Ascent Xtrata Pro User's Guide
a.
In the Project panel, right-click on a class and select Validation Form. The
Validation design dialog box will display, showing the new default
validation form for the selected class.
b.
Customize the form as desired by adding or removing elements.
c.
Test the validation form for different screen resolutions to check whether
the fields fit. For example, select Size | 800 x 600 to display the form for
that resolution.
d.
Define the desired script events. For example, if you add a button to the
form, you have to define the click events for the button. For further
details see interactive script events.
6
Test the validation form. For further details see Set Up Validation – Validation
Test .
a.
Select a test document from the Test Folder panel.
Note
The extraction process will not perform OCR; therefore, you must
select an XDocument, or you must perform OCR on the documents
before the extraction. (Select Perform OCR on the Folder.)
b.
Select Process | Extract Selected Document from the main menu, or click
Extract Selected Document from the main toolbar, or use F6.
c.
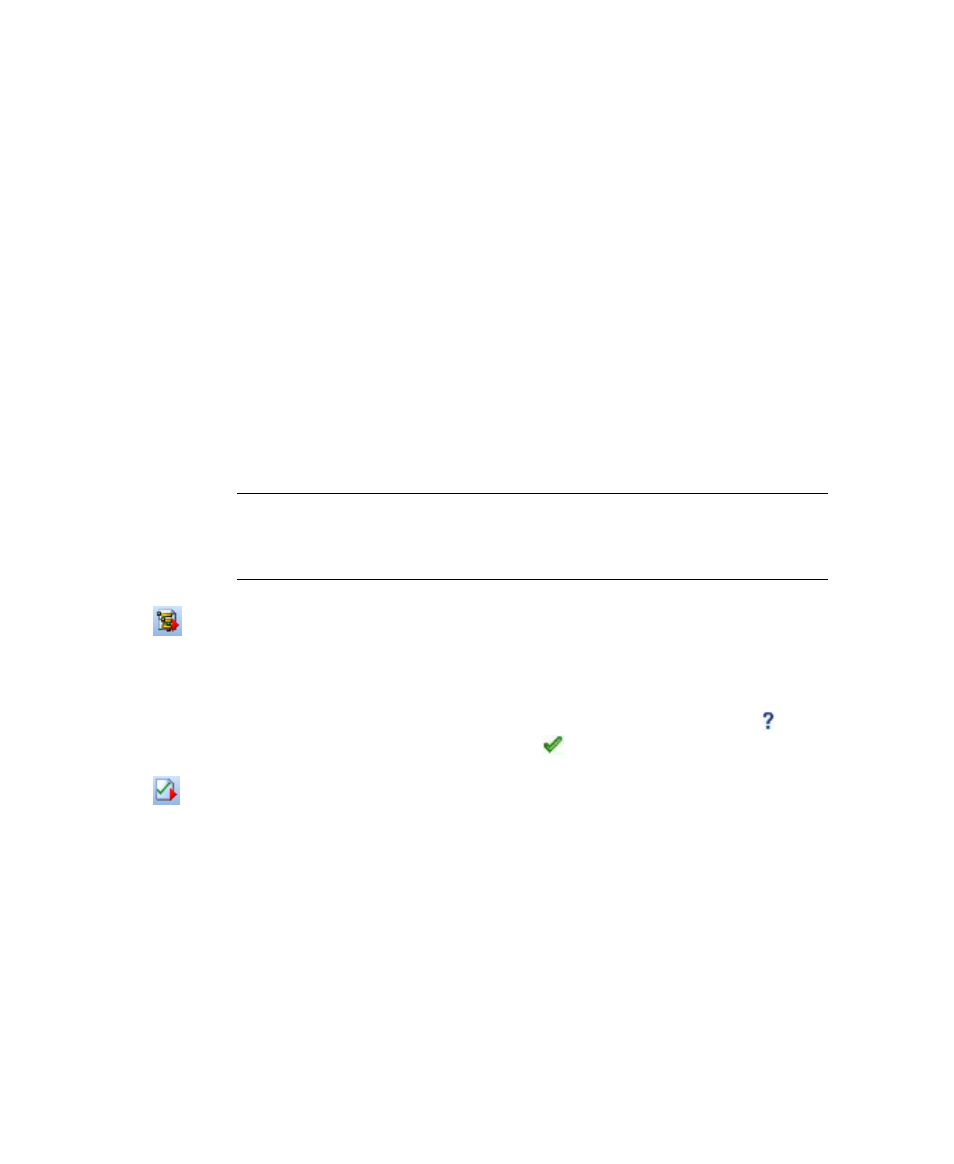
Before validation, you can check the extraction results first. Change to
the Extraction Results panel by clicking Show Extraction Results from
the toolbar. Invalid fields are marked with a blue question mark ( ) and
valid fields with a green check mark ( ).
d.
Select Process | Validate Document from the main menu, or click
Validate Document from the main toolbar, or use F8.
e.
The validation form for the processed document is displayed showing
the extracted values. Edit the form as needed.