Properties – Kofax Getting Started with Ascent Xtrata Pro User Manual
Page 230
Extraction
Ascent Xtrata Pro User's Guide
211
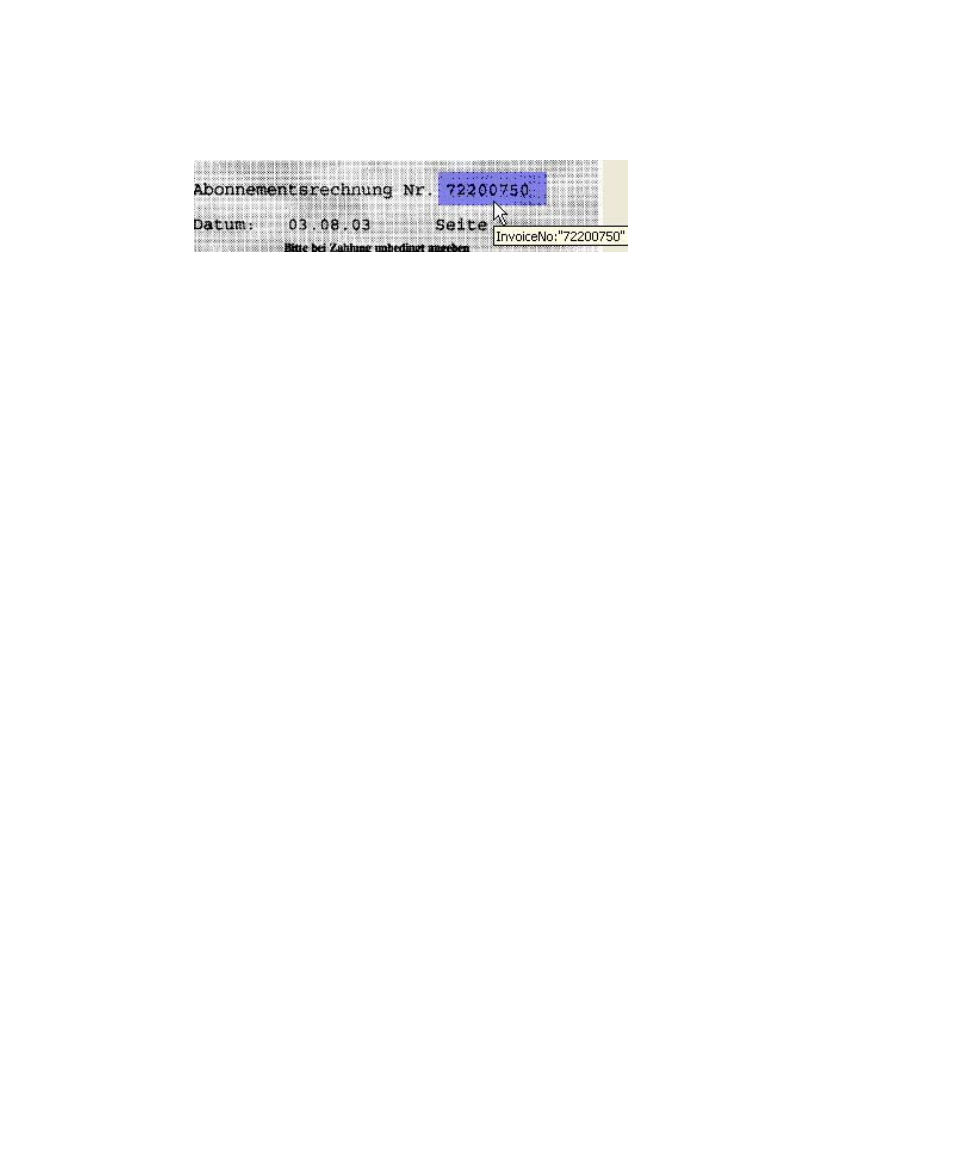
Testing the locator then shows following results:
Figure 4-72. Extraction Result for ‘InvoiceNo’ with Background Removal
Scanned documents are always slightly different (for example shifted by a number of
pixels). The zones that are defined for the Zone Locator must be defined for a
specified document. This document is called a reference document. During processing,
other documents of this document type are automatically registered to the reference
document, so that the zones defined on the reference document align with the
processed document.
Properties
X
To add and configure a Zone Locator
1
Select Show Extraction Design from the Mode toolbar.
2
Add a new Zone Locator.
3
Open the properties dialog box to set up the parameters.
a
Specify a reference document, on which the zones are defined. To do this,
select a sample document from the Test Folder or the Training Set. The
Zone Viewer displays with the selected document. Return to the Zone
Locator Properties dialog box and click Insert Sample from the General
tab to insert this document as a reference document.
b
Add zones. To do this click Add Text Zone on the Zone Viewer’s toolbar
to draw a zone on the reference document. The Zone Settings dialog box
displays when you release the left mouse button.
You can also add a zone manually. Select the Zones tab and click Add to
insert a new zone.
c
Edit the properties for your zones. To do this select a zone from the Zones
tab and click Properties to open the Zone Settings dialog box. You can
change the size, position, and name of the zone. Click Close to save the
settings and close the Zone Settings dialog box.
d
To change OCR profile settings, select the OCR Profiles tab. Select an
OCR profile and click Properties to show the OCR Profile Settings dialog