Enabling snmp traps – Brocade Mobility 5181 Access Point Product Reference Guide (Supporting software release 4.4.0.0) User Manual
Page 83
Brocade Mobility 5181 Access Point Product Reference Guide
69
53-1002516-01
Configuring SNMP settings
4
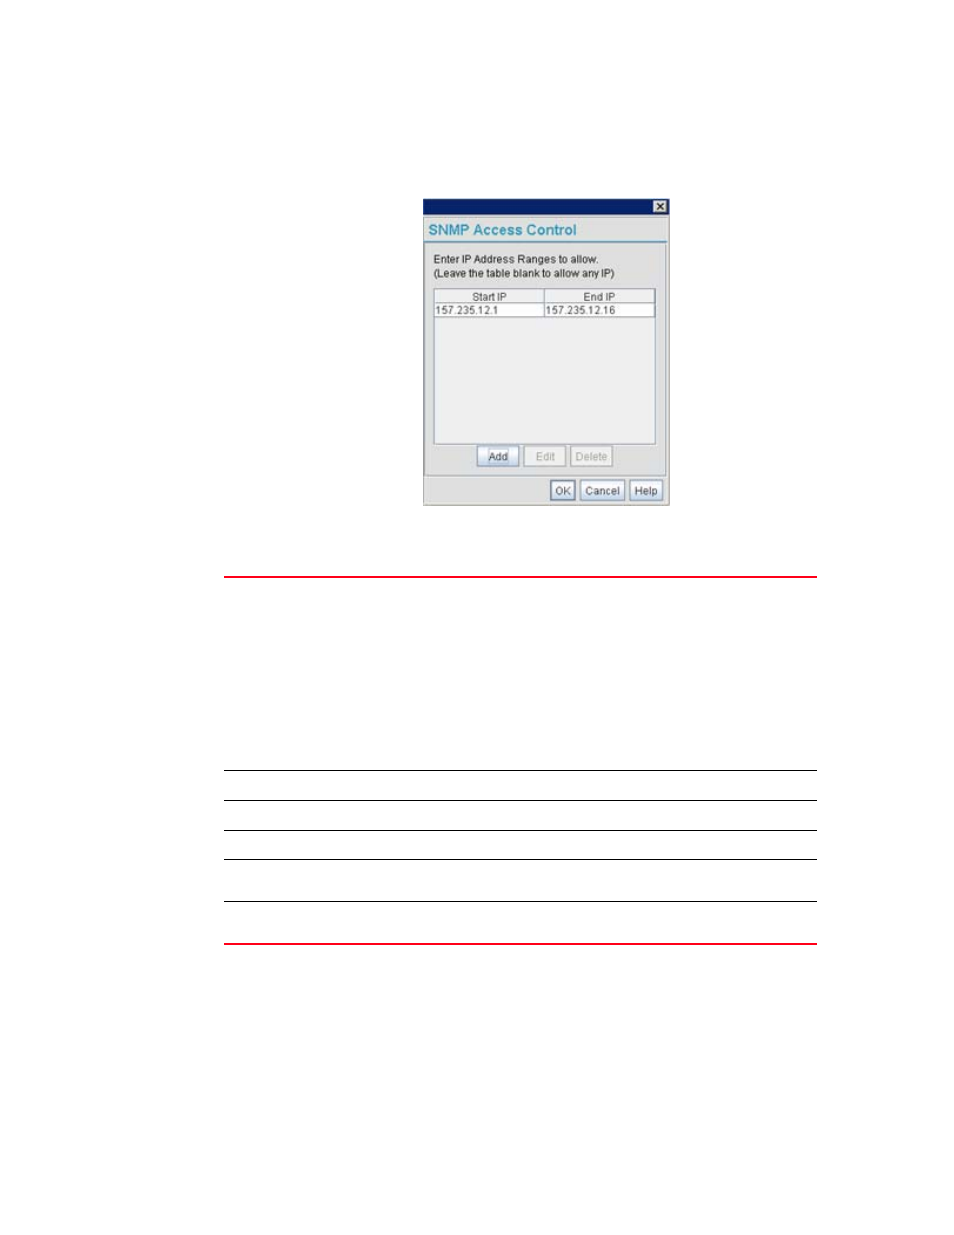
1. Select System Configuration - > SNMP Access from the Mobility 5181 Access Point menu tree.
Click on the SNMP Access Control button from within the SNMP Access screen.
2. Configure the SNMP Access Control screen to add the IP addresses of those users receiving
SNMP access.
Enabling SNMP traps
SNMP provides the ability to send traps to notify the administrator that trap conditions are met.
Traps are network packets containing data relating to network devices, or SNMP agents, that send
the traps. SNMP management applications can receive and interpret these packets, and optionally
can perform responsive actions. SNMP trap generation is programmable on a trap-by-trap basis.
Access Control List
Enter Start IP and End IP addresses (numerical addresses only, no DNS names
supported) to specify a range of user that can access the Mobility 5181 Access
Point SNMP interface. An SNMP-capable client can be set up whereby only the
administrator (for example) can use a read/write community definition.
Use just the Starting IP Address column to specify a single SNMP user. Use both
the Starting IP Address and Ending IP Address columns to specify a range of
addresses for SNMP users.
To add a single IP address to the ACL, enter the same IP address in the Start IP
and End IP fields.
Leave the ACL blank to allow access to the SNMP interface from the IP addresses
of all authorized users.
Add
Click Add to create a new ACL entry.
Edit
Click Edit to revise an existing ACL entry.
Delete
Click Delete to remove a selected ACL entry for one or more SNMP users.
OK
Click Ok to return to the SNMP Access screen. Click Apply within the SNMP Access
screen to save any changes made on the SNMP Access Control screen.
Cancel
Click Cancel to undo any changes made on the SNMP Access Control screen. This
reverts all settings for this screen to the last saved configuration.