Interlogix Topaz User Manual User Manual
Page 50
Topaz
User Manual
32
An Auto Configuration sequence may also be initiated from the Auto Configuration Home screen for
any or all selected devices listed in both the “Configured” and “Not Found” boxes.
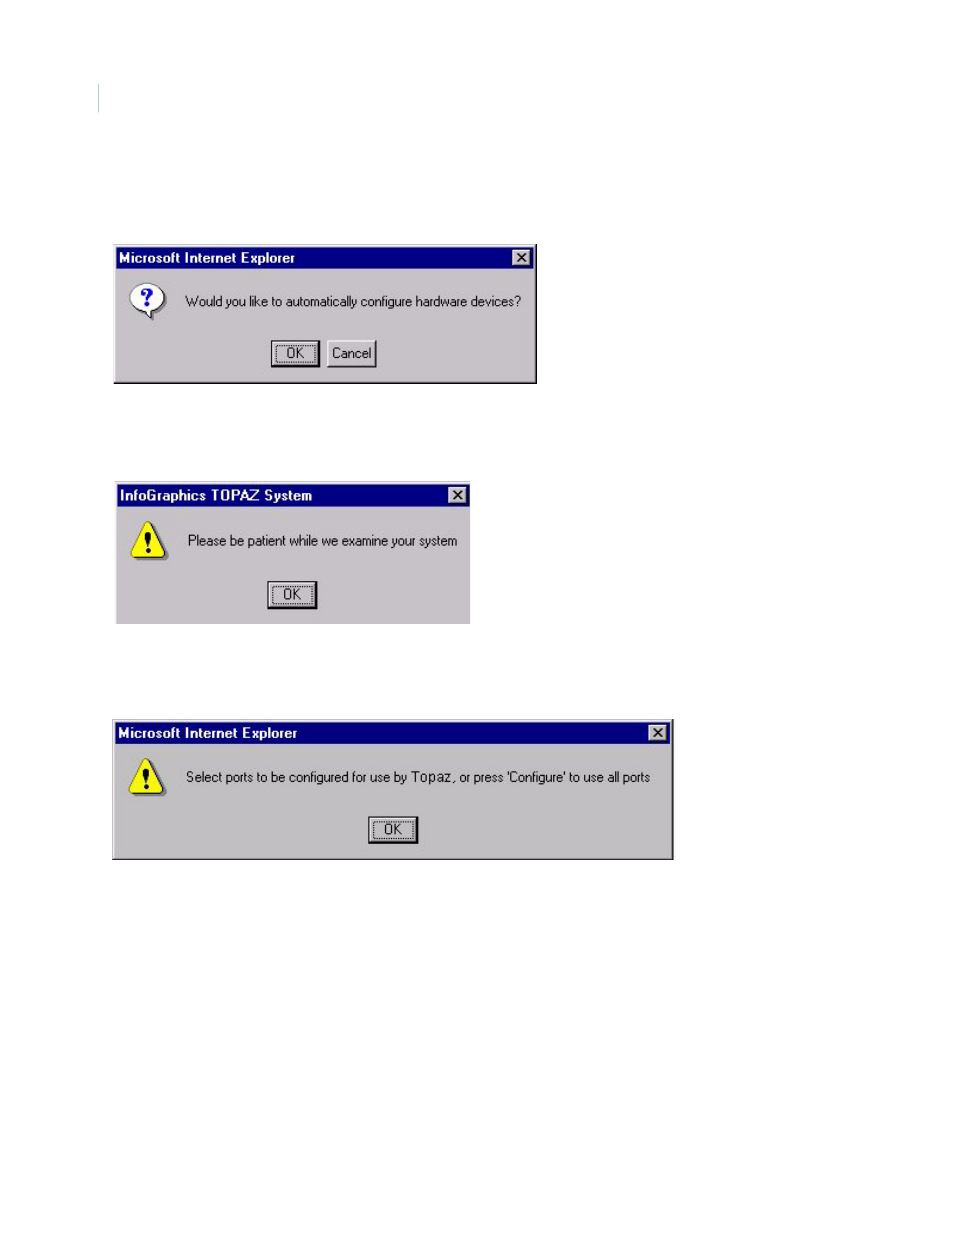
Starting Auto Configuration displays the following dialog box:
If you select Cancel, you may continue with manual programming of the system. If you select OK,
the following message displays along with an hourglass in place of the mouse pointer:
Click OK to continue.
Topaz starts the Auto Configuration process to detect and configure the hardware. The process may
take a few minutes. If you have COM ports, the following message displays:
Click OK to continue.
You may click to select one or more ports you wish to Auto Configure. You may de-select highlighted
ports by clicking the Clear button or you may leave this page without further changes being recorded
by clicking on any of the buttons in the main tool bar on the left side of the screen.
Once you have selected the ports, press the Configure button, the system performs an automatic
configuration to find new devices or changes to the system on those highlighted ports.
The message “Operation Complete” displays. Click OK to continue.
The left side of the screen displays devices that have been either: (1) detected as physically
connected to the server, but have not been programmed/configured or, (2) they have been
programmed but are currently not connected.
The Auto Configuration Home screen displays the entire network of field devices: found-and-
configured, found-and-not-configured, and configured-but-not-found. On the right side of the screen,
all devices are displayed in a dynamic “Tree” formation, with Graphical Icon representations of the