Figure 219.security areas tree – Interlogix Topaz User Manual User Manual
Page 342
Topaz
User Manual
324
Save your configuration changes by clicking
Save Configuration in the center of the toolbar at
the top of your screen.
Adding Security Areas to Map
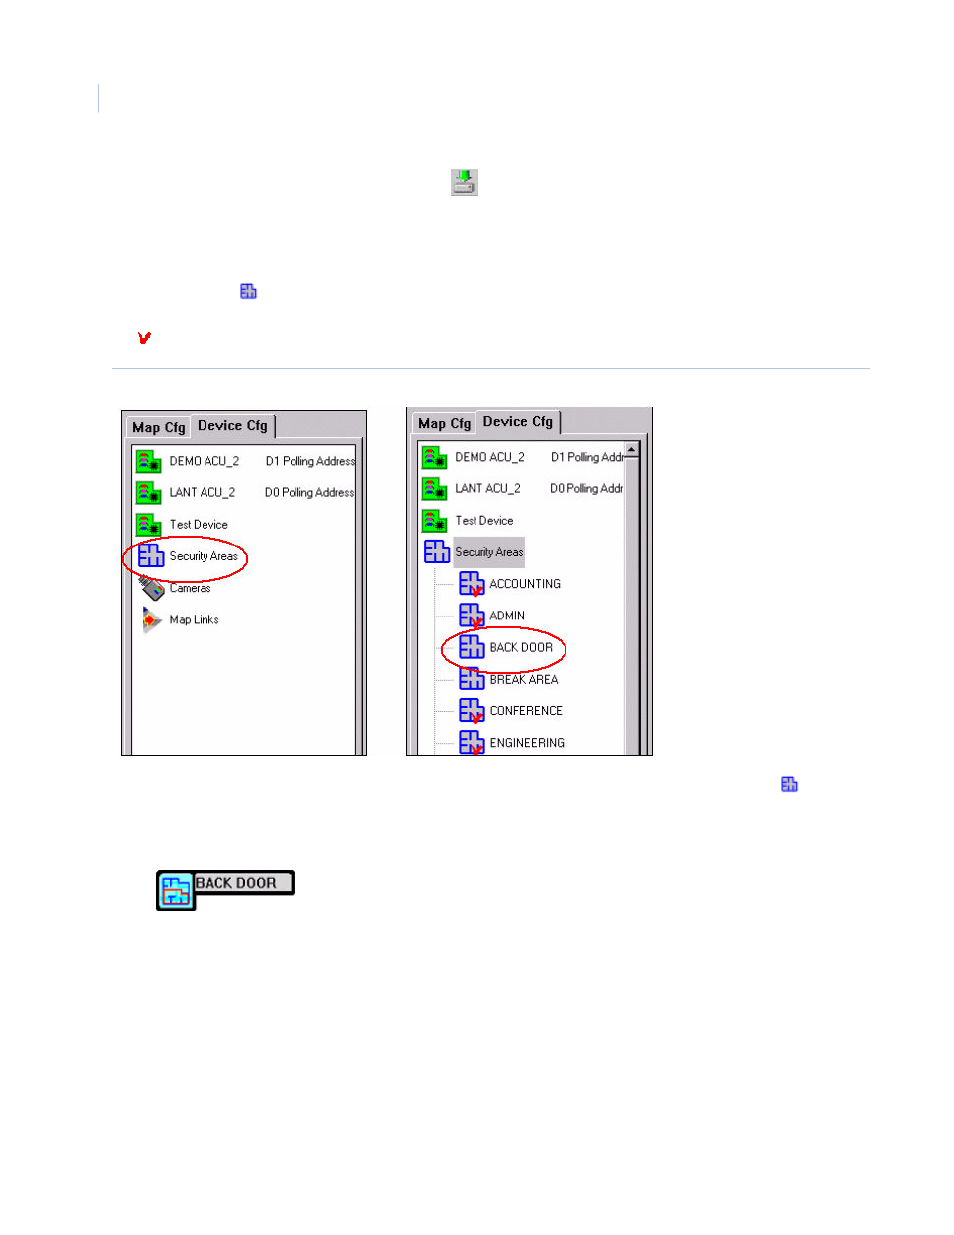
Double-click the
Security Areas icon to expand the Security Areas tree for the list of currently
configured security areas that can be added and cannot be added again. The Security Areas with
the check mark on their icon have already been added to a map.
Figure 219.Security Areas tree
In the Security Area tree locate the security area to add. Place the mouse pointer on the
Security
Area icon, click and hold the left mouse button. Drag the icon onto the map, and release the mouse
button.
When you release the mouse button, after dragging the security area icon onto the map, it changes
to an
Unmasked Security Area icon with the area name in a thick black outline.
To relocate the icon click and hold the left mouse button to drag the icon to a new location on the
map.