Project setup, Resolution, Project – RED ONE OPERATION GUIDE User Manual
Page 34
Build 31 v31.6.16
NOVEMBER 28, 2011
© 2007-2011 RED.COM INC.
33
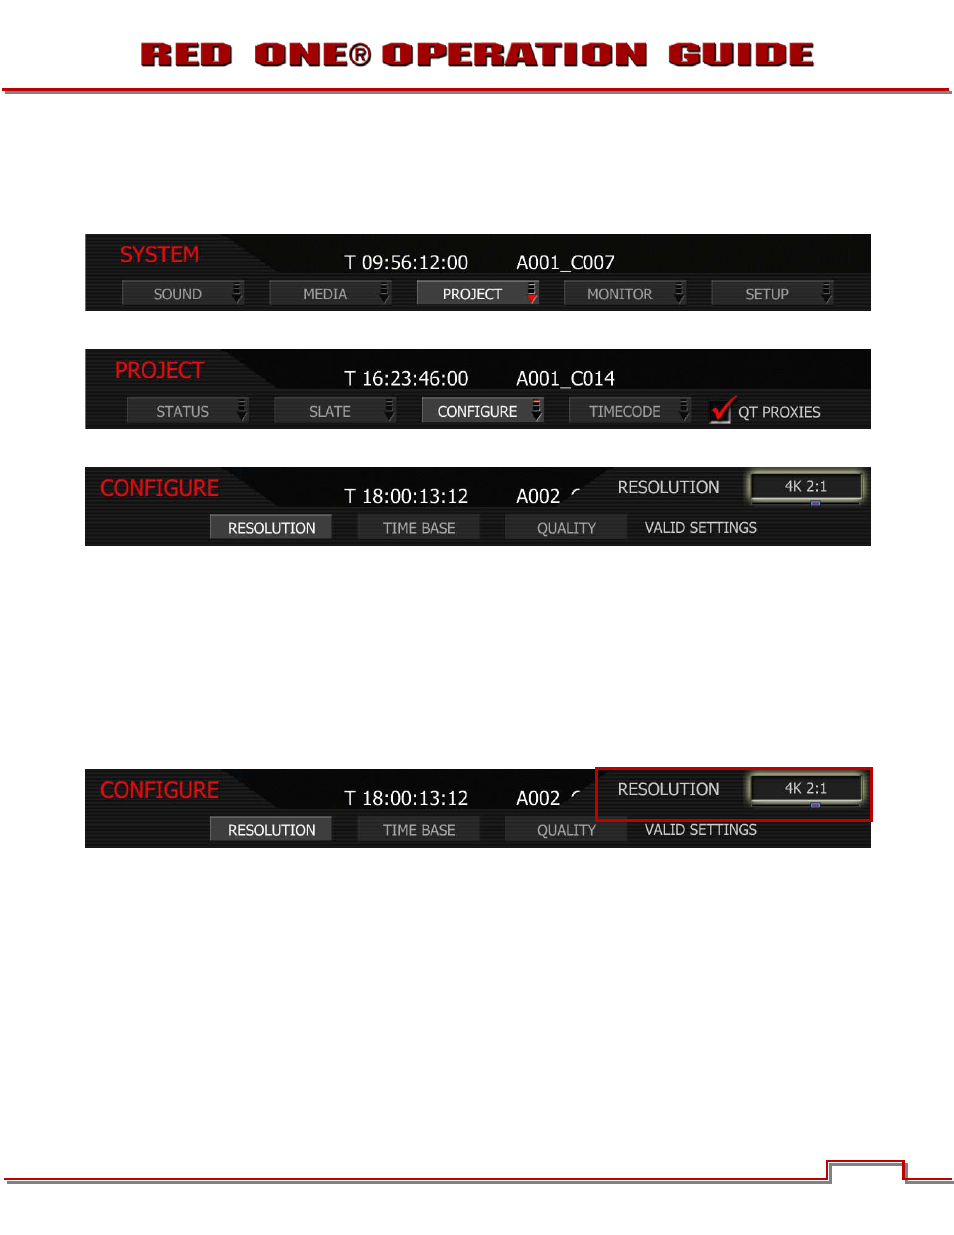
PROJECT SETUP
1.
Push the SYSTEM menu button.
2.
Using the joystick, highlight PROJECT. Push joystick in or down to select PROJECT.
3.
Using the joystick, highlight CONFIGURE. Push joystick in or down to select.
4.
CONFIGURE menu will be displayed.
5.
Select each item to set up your project using the joystick. Push joystick in or down to enter.
RESOLUTION
Selecting RESOLUTION will highlight the upper right hand menu item and give you the following options:
• 2K 2:1
• 2K 16:9
• 2K ANA
• 3K 2:1
• 3K 16:9
• 3K ANA
• 4K 2:1
• 4K HD
• 4K 16:9
• 4K ANA
• 4.5K WS
Default resolution is 4K 2:1.
1. To view options, twist joystick.
2. Choose 4.5K, 4K, 3K or 2K, or 2:1 variants. Use 2K or 2K 2:1 for S16mm/B4 lenses.
3. Push joystick in or down to set the selected resolution.
NOTE: A project can only support one project Time Base as this defines the frame rate to be used
for timecode and for clip playback. It is also the primary frame rate for acquisition, but variable
speed (over-crank and under-crank) recordings can be made above and below this base frame
rate. On playback these recordings will be displayed at the Project Frame Rate
NOTE: If operating on a multi-camera production, enter a different Camera I.D for each camera us-
ing the SLATE menu; otherwise skip this step; the camera is ready to shoot.
NOTE: Non-speed verified CF cards are limited to 2K record resolution.